Tired of your plain jackets feeling, well, plain? Do you yearn for a touch of luxurious whimsy to elevate your everyday style? Then get ready to transform your wardrobe with this simple yet stunning fluffy collar tutorial! A fluffy collar can instantly inject personality and a dash of unexpected elegance into even the most basic jacket, whether it's a denim classic, a tailored blazer, or a trusty trench coat. Imagine the possibilities: a pop of color, a textural contrast, a cozy hug of faux fur against the crisp air. The impact is surprisingly dramatic, and the process is surprisingly simple.
This tutorial will show you how to effortlessly add a fluffy, eye-catching collar to your existing jackets, breathing new life into your favorite outerwear. Prepare to be amazed at how a small addition can make a significant style statement. Ready to turn your ordinary jackets into extraordinary pieces? Let's dive into the step-by-step process and create something truly special.
Preparation and Safety Guidelines
- Foam board
- Paper or pattern tracing cloth
- Fashion ruler with curves
- Pins
- Pencil
- Scissors
- Sewing machine
- Walking foot or belt-driven presser foot
- Lint roller
- Always unplug your sewing machine before making any adjustments or cleaning.
- Use sharp, appropriate needles for your fabric type to prevent snags and breakage. Choose a needle suitable for the fluffy fabric of your collar.
- Test your stitching on a scrap of similar fabric before working on your jacket to ensure the correct tension and stitch length.
Step-by-Step Instructions
Pattern Creation
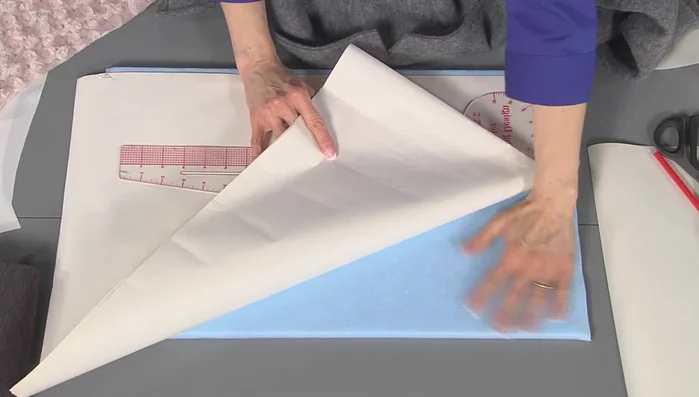
- Prepare a pattern-making surface using foam board.
- Create a rough draft of the collar pattern by pinning paper to the jacket's neckline and sketching the shape.
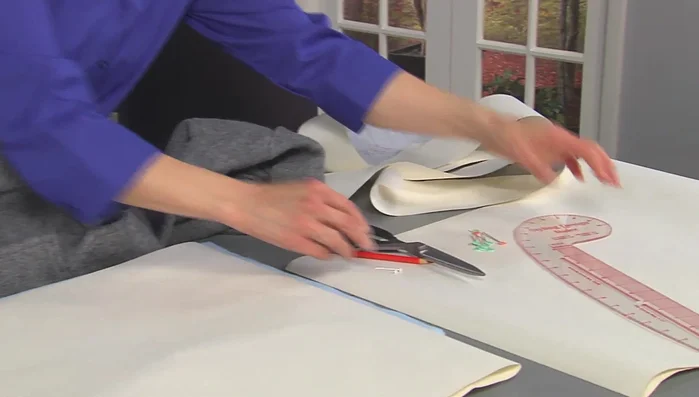
- Refine the pattern by adding measurements (e.g., 6 inches wide, tapering to 3 inches). Use the fashion ruler to create curves.
- Create multiple pattern drafts until you achieve the desired shape, adjusting for the curve of the neckline.

Pattern Creation Pattern Refinement and Cutting
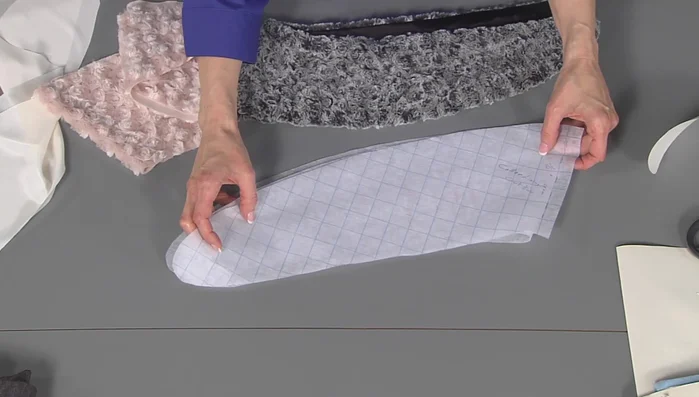
- Add seam allowance (0.5 inch) to the final pattern for the lining piece.
- Cut out the collar pattern from your chosen fluffy fabric and the lining pattern from a lining fabric.
Pattern Refinement and Cutting Collar Construction
- Sew the collar and lining pieces together using a walking foot or similar presser foot, leaving an opening to turn the collar right-side out.
- Turn the collar right-side out through the opening and press the seams.
Collar Construction Collar Attachment
- Attach the collar to the jacket using hooks or other fasteners.
Collar Attachment

Read more: Raglan Sleeve Sewing Tutorial: A Step-by-Step Guide
Tips
- Don't be too fussy with the initial pattern drafts. The fabric's softness makes it forgiving.
- Use clips or pins to secure fabric layers while sewing.
- Use a longer stitch length when sewing fluffy fabrics.
- Consider using a walking foot or belt-driven presser foot designed for uneven fabric layers.
- Test your sewing settings on a scrap piece of fabric before working on the final collar.