Love the look of decorative flower pot covers but frustrated by the limited sizes available in stores? Do your perfectly chosen plants deserve a perfectly tailored home? Then get ready to unleash your inner crafter! This tutorial will guide you through creating a custom-sized flower pot cover, allowing you to perfectly complement your plants and your home décor with a unique, handmade touch. You'll be amazed at how simple it is to transform a plain terracotta pot into a stylish statement piece, perfectly fitted to its resident greenery.
Forget searching endlessly for the right size – learn to make one that fits precisely! This step-by-step guide provides clear instructions and helpful tips, from choosing the right fabric to adding those finishing touches that will elevate your creation. Let's dive into the detailed process of sewing your own custom-sized flower pot cover, ensuring a perfect fit every time.
Preparation and Safety Guidelines
- sewing machine
- scissors
- iron
- pinking shears (optional)
- interfacing
- Always use sharp, well-maintained sewing scissors to prevent injury and ensure clean cuts. Dull scissors can lead to slips and accidents.
- If using fabric glue, ensure adequate ventilation and follow the manufacturer's instructions carefully. Some adhesives can release fumes that are harmful when inhaled.
- Be mindful of the pot's shape and size when measuring and cutting your fabric. Accurate measurements are crucial for a proper fit and to avoid wasting fabric.
Step-by-Step Instructions
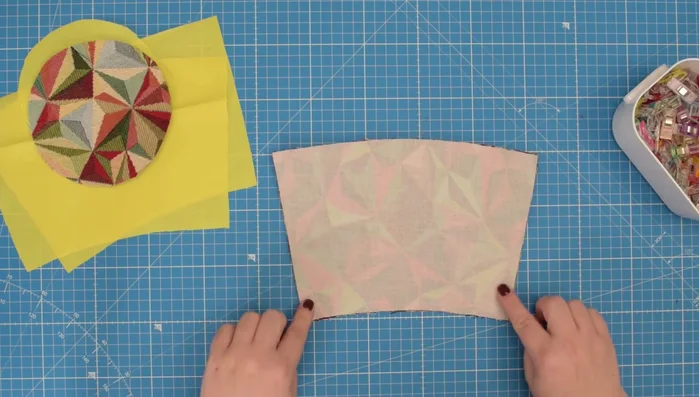
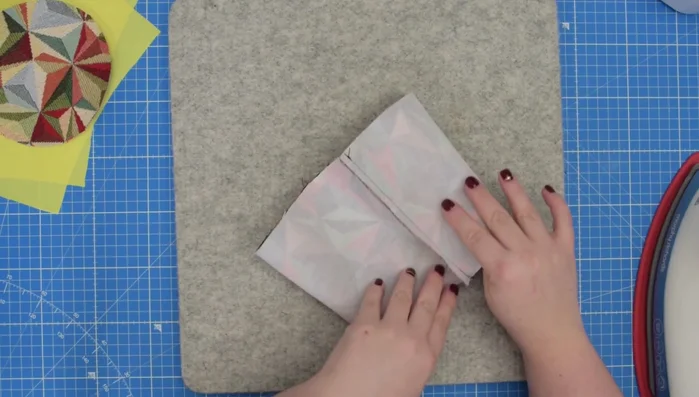
Prepare External Fabric
- Sew side seams of external fabric pieces.
- Press open and flat the seam allowance.
- Mark midpoints of external fabric pieces.
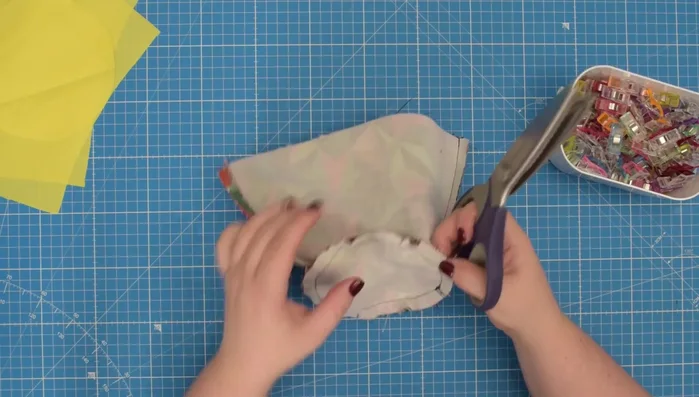
- Attach external base panel to the external fabric pieces.

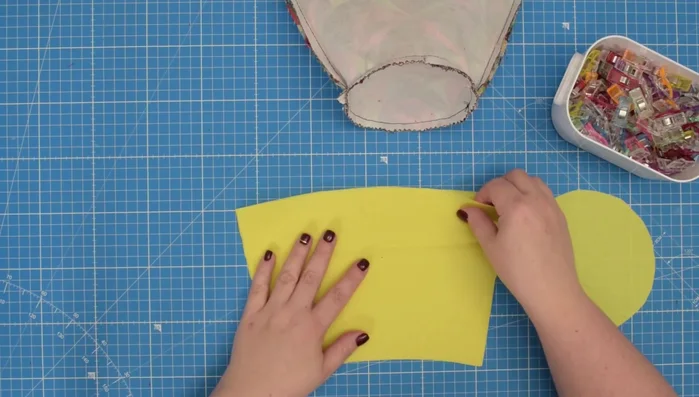
Prepare External Fabric - Trim the seam allowance of the external base.
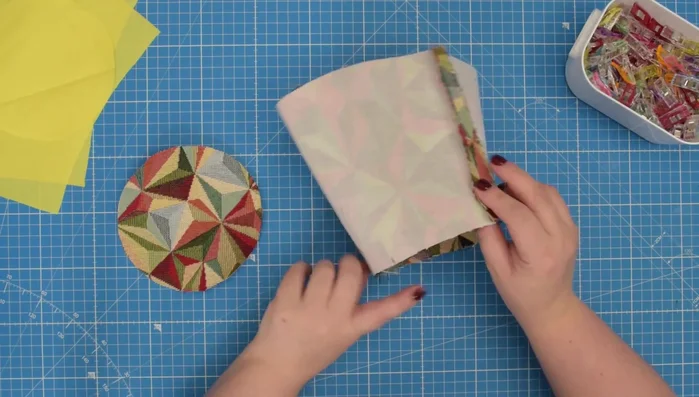
Prepare External Fabric Prepare Lining Fabric
- Repeat steps 1-5 for lining pieces, leaving an opening on one side seam.
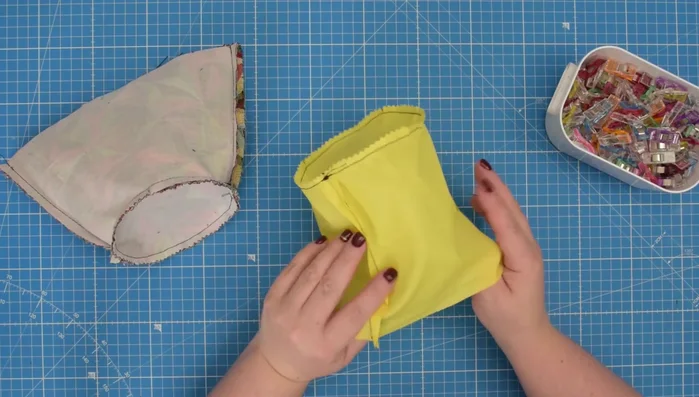
Prepare Lining Fabric Assemble Cover
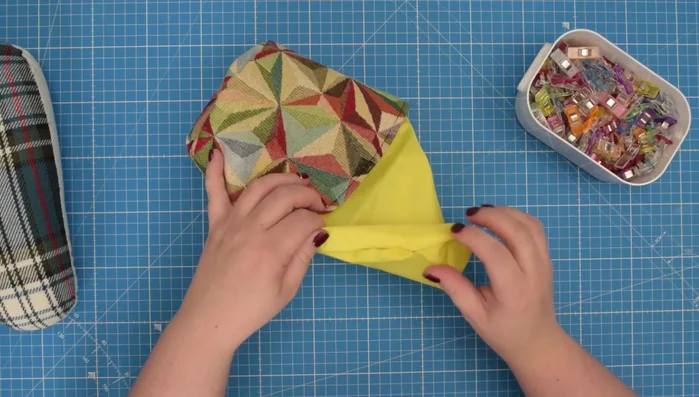
- Turn the lining right side out.
- Insert the lining into the external fabric, aligning seams and edges. Stitch around the top.
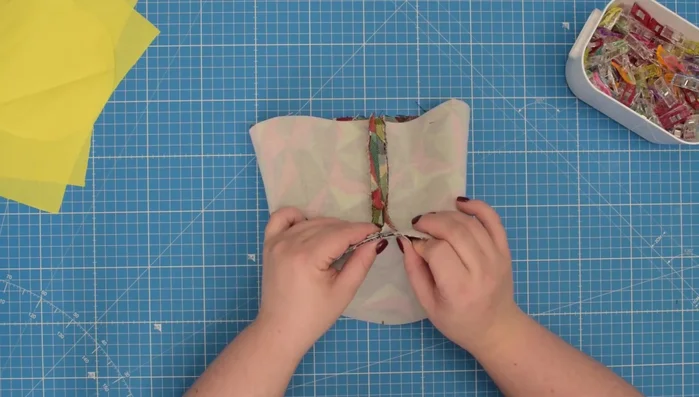
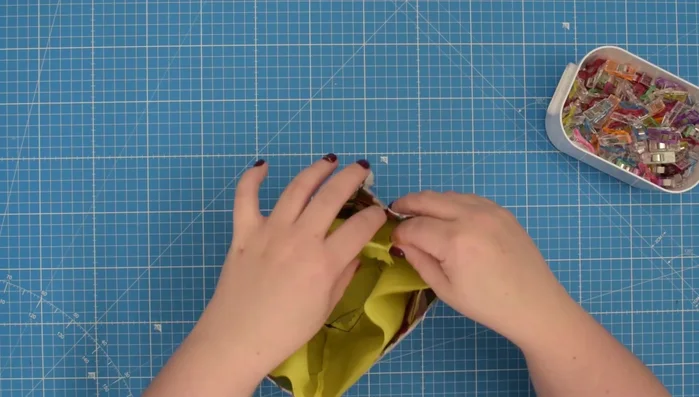
Assemble Cover Finish Cover
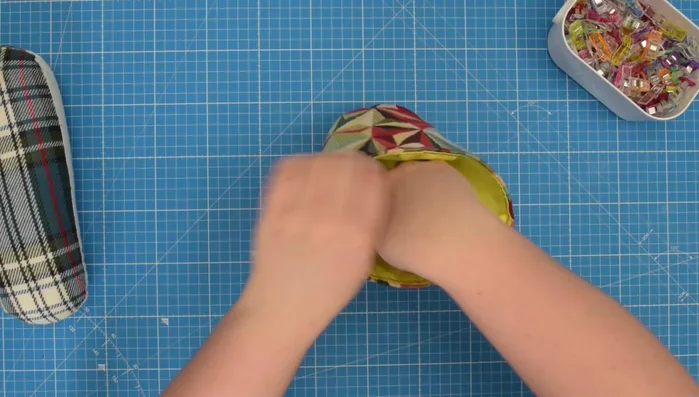
- Turn the cover right side out. Press and top stitch the seam.
- Close the opening in the lining using a ladder stitch or sewing machine.
- Insert the lining into the cover. Press and finish.
Finish Cover

Read more: DIY Super Cute Whale Shower Curtain: A Step-by-Step Tutorial
Tips
- Use interfacing or stabilizer for lightweight fabrics to ensure structure.
- Use waterproof lining for easy cleaning.
- Pinking shears help create a neat seam finish; V-shaped cuts can be used as an alternative.
- Finger press the lining seams if using waterproof fabric to prevent burning.
- Use a tailor's ham to help press the seam evenly.