Discover the enchanting world of flower meander quilting, a technique that transforms simple curves into breathtaking floral designs on your quilts. This versatile quilting style offers endless creative possibilities, allowing you to personalize your projects with intricate blooms or delicate blossoms, all while maintaining a surprisingly manageable skill level. Whether you're a seasoned quilter looking for a new challenge or a beginner eager to explore free-motion quilting, flower meander is a rewarding technique that will elevate your projects to a new level of artistry.
This tutorial will guide you through the fundamental steps of creating stunning flower meander patterns, from initial design considerations to mastering the essential stitching techniques. Prepare to be amazed by the diversity achievable within this single style, as we explore variations ranging from simple daisies to complex roses. Let's begin with a clear and concise step-by-step process that will have you stitching beautiful blooms in no time!
Safety Guidelines
- Always use sharp quilting needles and a rotary cutter with caution to prevent injury. Keep fingers away from the blade at all times.
- Pre-wash your fabrics to avoid shrinkage after quilting. This is especially important for cottons.
- Use a comfortable work surface and take breaks to avoid fatigue and ensure accuracy. Good posture is key to prevent strain.
Methods: Basic Flower Meander Quilting
Tools Needed
- sewing machine
- quilt
Step-by-Step Instructions
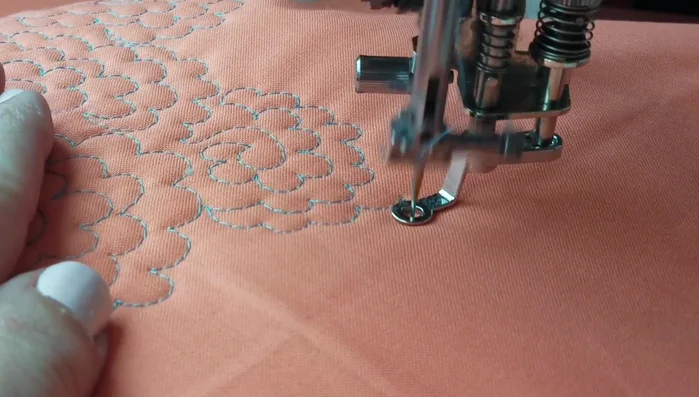
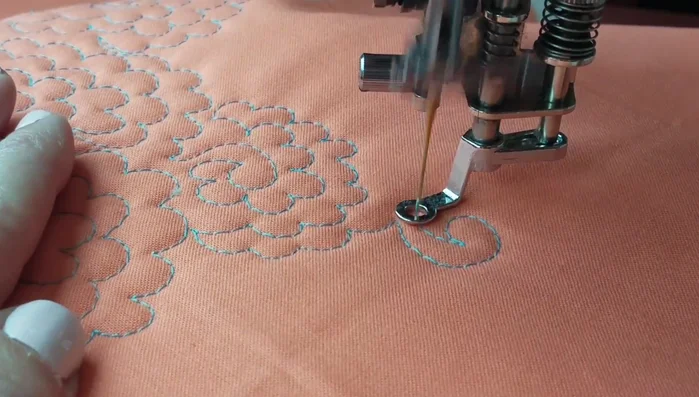
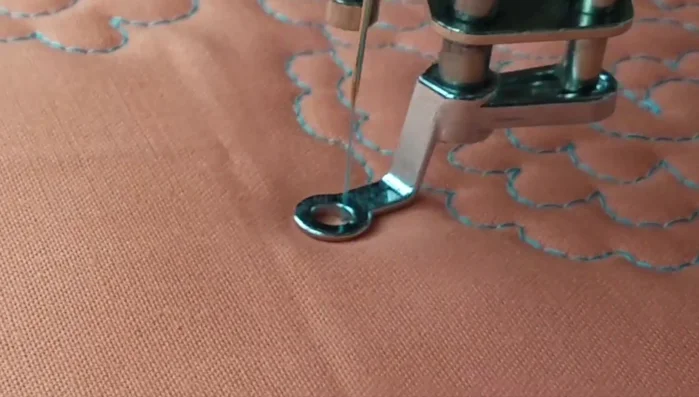
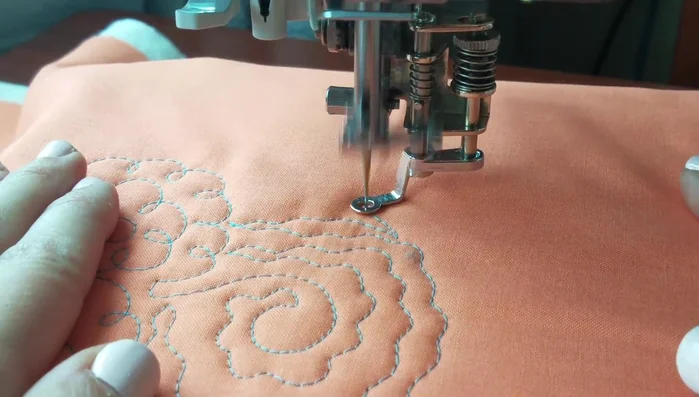
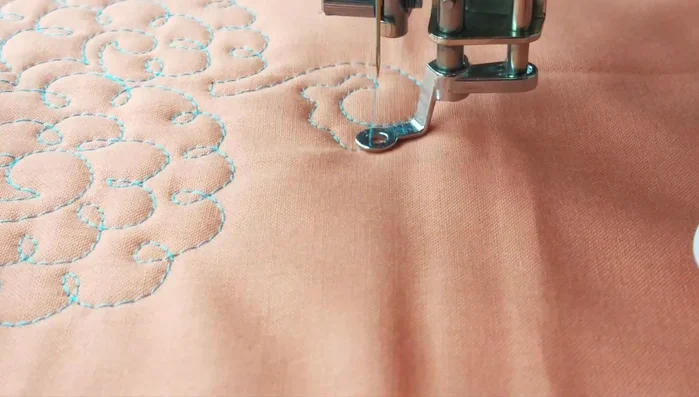
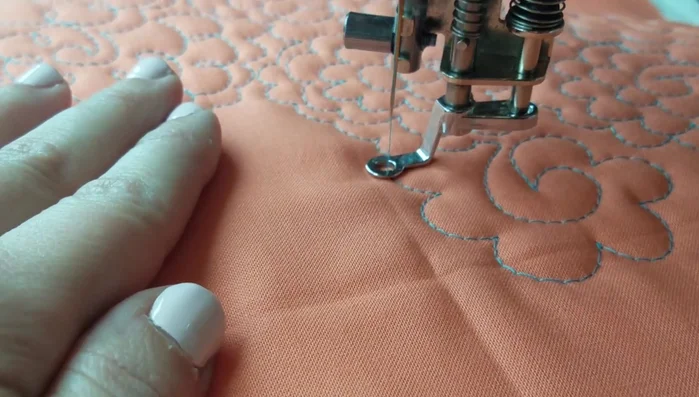
Creating the Center Swirl
- Start with a small swirl in the center.

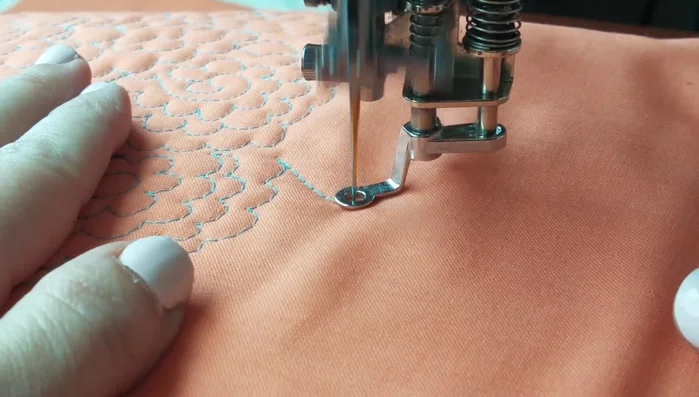
Creating the Center Swirl Building the First Petal Row
- Work your way outwards, quilting small petal-shaped arcs around the swirl.
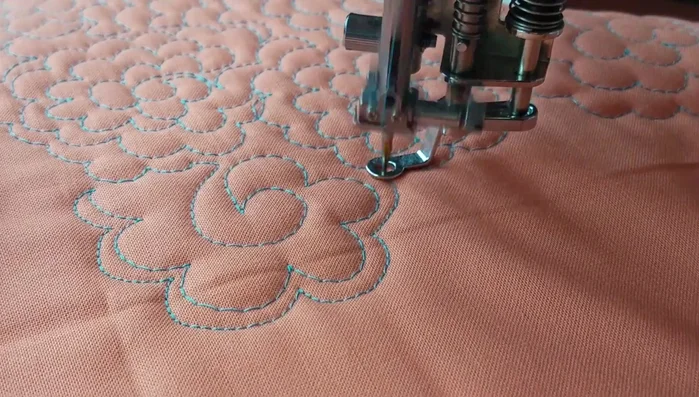
Building the First Petal Row Adding Subsequent Petal Rows
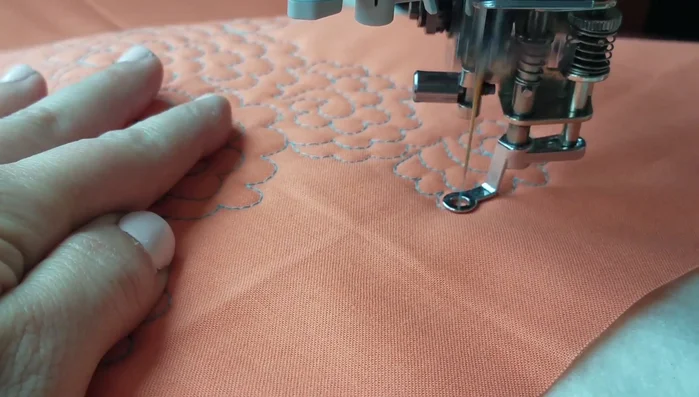
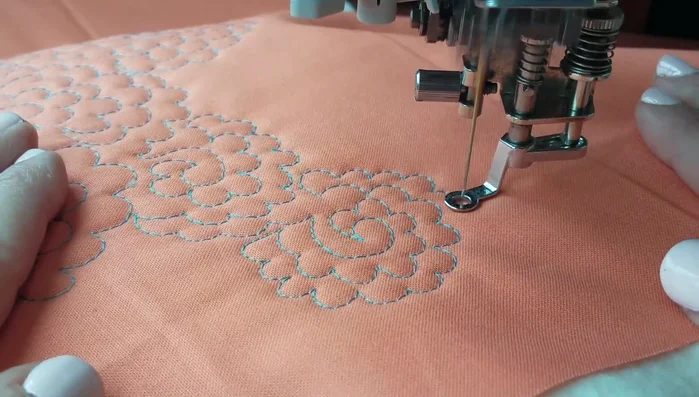
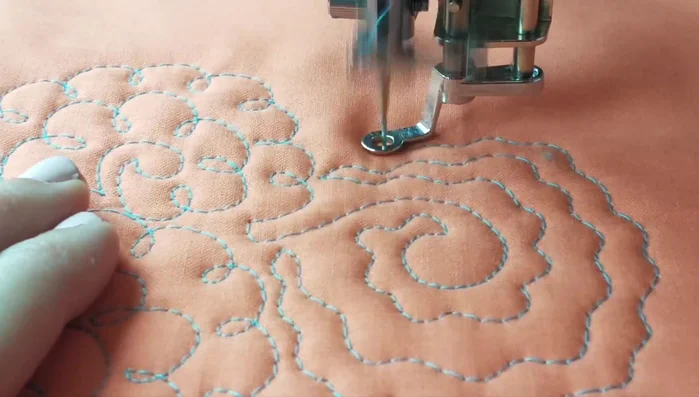
- Quilt additional rows of petals, keeping them consistent in size but not necessarily touching the previous row.
- Repeat steps 2 and 3 until the flower is complete.
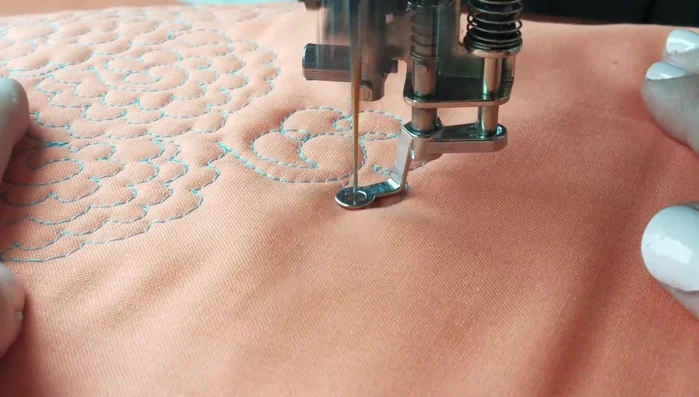
Adding Subsequent Petal Rows Starting a New Flower
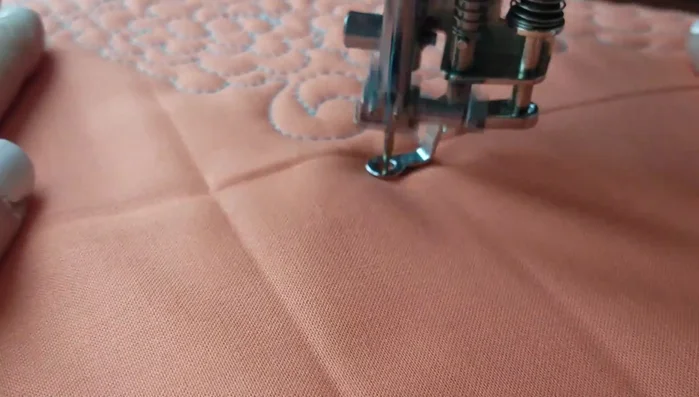
- Begin a new flower by quilting a partial row, then creating the swirl and adding petals.
Starting a New Flower
Tips
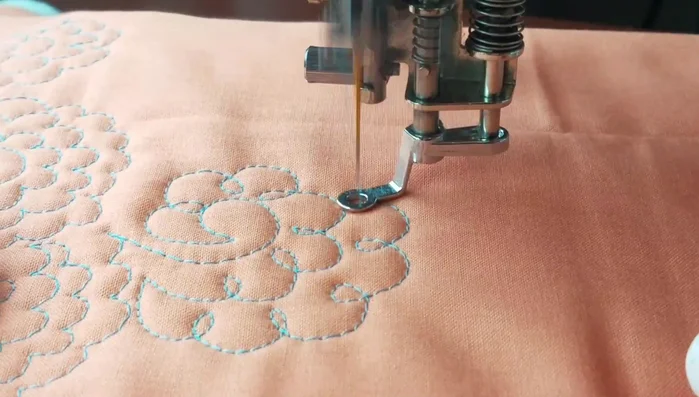
- Address gaps between flowers by adding more petals or arcs to create a consistent texture.
- The size of the petals, not the number of rows, determines the density of the quilting.
- Ensure swirls are round to avoid awkward shapes and gaps; fill any gaps by adding more petals.
Methods: Loopy Flower Meander Variation
Tools Needed
- sewing machine
- quilt
Step-by-Step Instructions
Creating the Loopy Petals
- Replace sharp petal points with a loopy shape.
- Maintain consistent loop size, without necessarily touching previous rows.
Creating the Loopy Petals Continuing the Meander Pattern
- Proceed to the next flower as in the basic method.
Continuing the Meander Pattern
Tips
- This variation is faster and suitable for busier fabrics.
Methods: Wavy Line Flower Meander Variation
Tools Needed
- sewing machine
- quilt
Step-by-Step Instructions
Create the Basic Flower Shape
- Proceed to the next flower, creating a partial row and swirl before adding the wavy lines.
Create the Basic Flower Shape Add Wavy Line Petals
- Replace petal arcs with a wavy line.
- Maintain consistent spacing between wavy lines.
Add Wavy Line Petals
Tips
- This variation is easy and creates an organic look; suitable for novelty quilts or children's clothes.
Methods: Echoed Flower Meander Variation
Tools Needed
- sewing machine
- quilt
Step-by-Step Instructions
First Petal Row and Echo
- Quilt the first row of petals.
- Echo back using larger arcs than the petals.
First Petal Row and Echo Subsequent Petal Rows and Echoes
- Add the next row of petals, then echo back again.
Subsequent Petal Rows and Echoes
Tips
- Maintain sufficient spacing between echoes and petals to make the echoing stand out.
- This variation is more time-consuming but creates a visually striking effect, ideal for areas needing emphasis.
Read more: 3 Easy Pieced Heart Tutorials for Quilting Projects