Frustrated with fiddly sleeve insertion techniques that leave you with puckers and frustration? Sewing sleeves can often feel like a daunting task, even for experienced sewists. But what if there was a simpler, more efficient method that guaranteed a perfectly-fitting, wrinkle-free sleeve every time? The flat method offers just that – a streamlined approach that eliminates the complexities of traditional sleeve setting. This method prioritizes accuracy and ease, making it perfect for beginners and a welcome time-saver for seasoned professionals alike. It's all about precision and understanding the key steps to achieve professional results.
This guide will walk you through the flat method, step-by-step, providing clear instructions and helpful tips to ensure success. Whether you're working with a simple T-shirt or a more intricate garment, the flat method provides a reliable and satisfying way to sew sleeves. Prepare to say goodbye to sleeve-setting struggles and hello to beautifully finished garments. Let's get started!
Preparation and Safety Guidelines
- sewing machine
- pins
- scissors
- needle
- thread
- iron
- Always use sharp sewing machine needles and pins appropriate for your fabric to prevent skipped stitches and fabric damage. Dull needles can cause breaks and injury.
- Ensure your fabric is properly prepped (washed, dried, and ironed) before cutting and sewing to avoid shrinkage and distortion after the garment is finished.
- Carefully check your sleeve cap ease calculations to ensure a proper fit. Too much or too little ease will result in puckering or gaping at the shoulder seam.
Step-by-Step Instructions
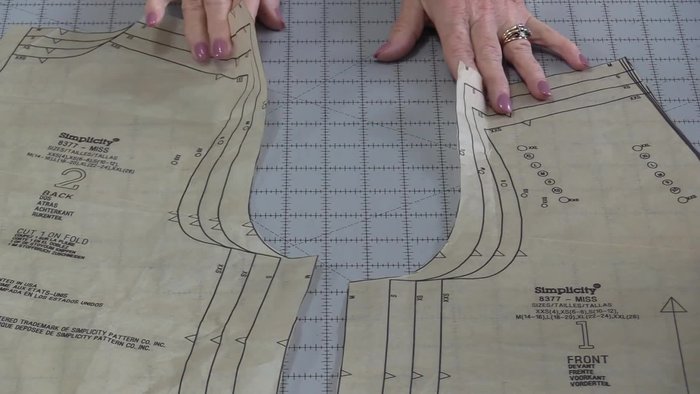
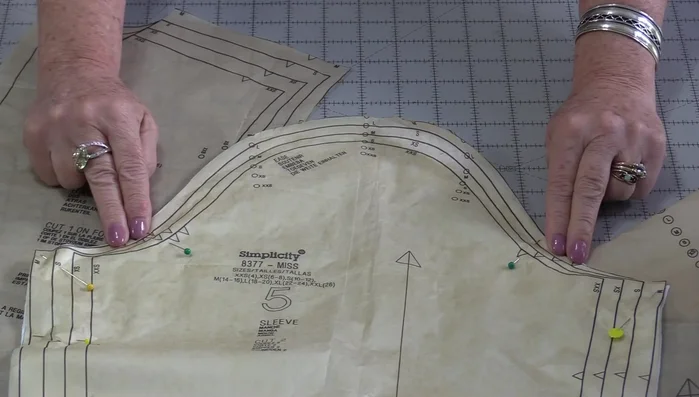
Prepare Pattern Pieces
- Mark notches (single on front, double on back) and dots on both sleeve and garment.

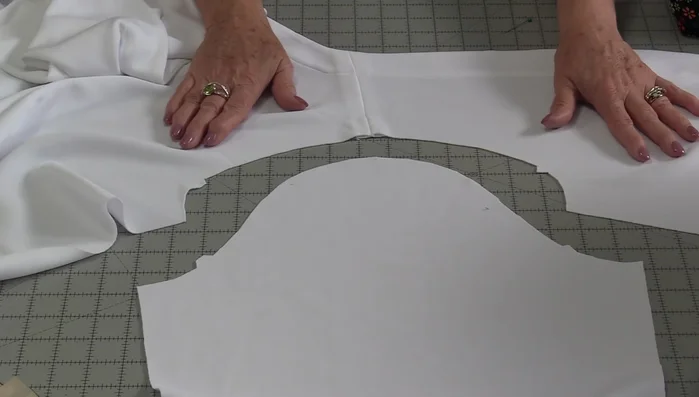
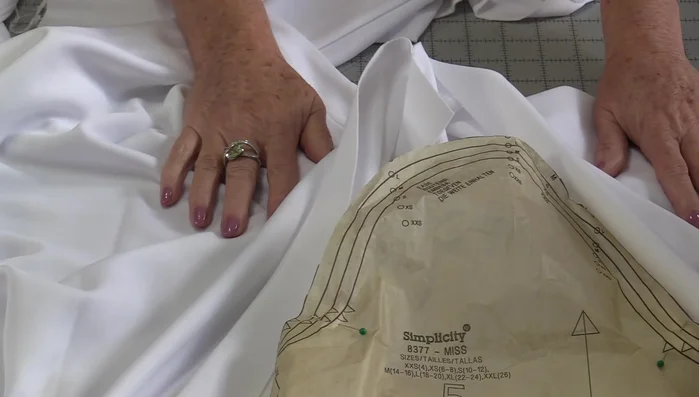
Prepare Pattern Pieces Match and Pin
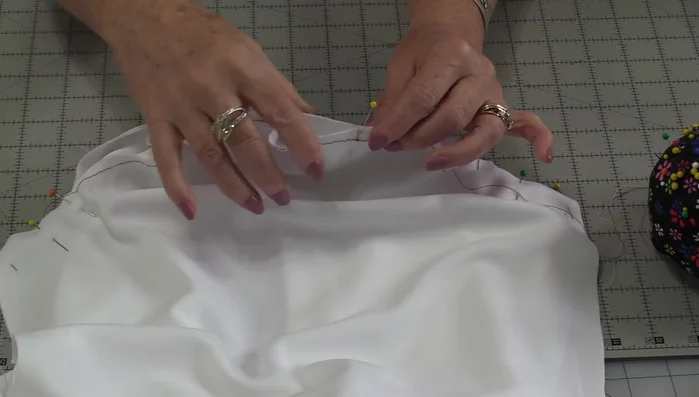
- Align single notch of sleeve with garment's front, double notch with back, and center dots.
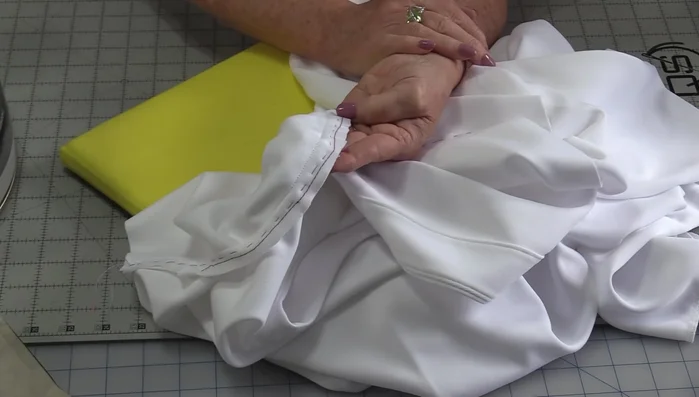
- Place garment right-side up, align notches and dots, ensuring correct sleeve placement. Pin, leaving tails of basting threads.
Match and Pin Ease the Sleeve Cap
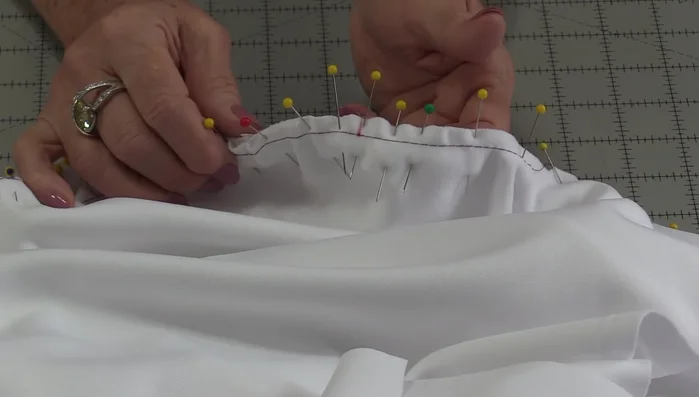
- Using the largest stitch length on your machine, create a basting stitch along the sleeve's top edge from notch to notch. This will allow for controlled gathering.
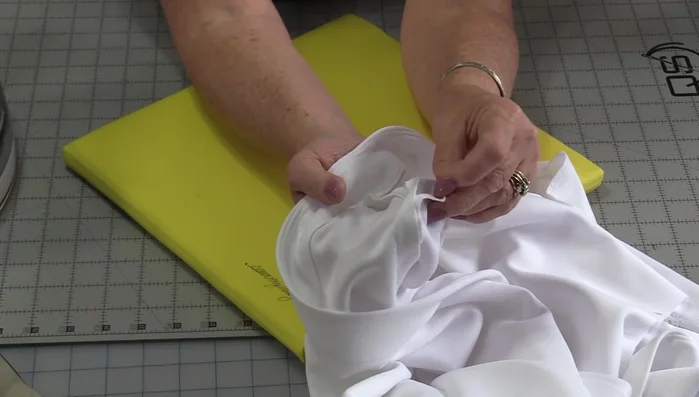
- Gently pull basting threads to ease the sleeve's fullness, ensuring even distribution of fabric between pins. Work in sections to maintain an even fit.
Ease the Sleeve Cap Baste and Secure
- Once evenly distributed, baste the sleeve to the garment to secure the fabric and ensure a smooth seam.
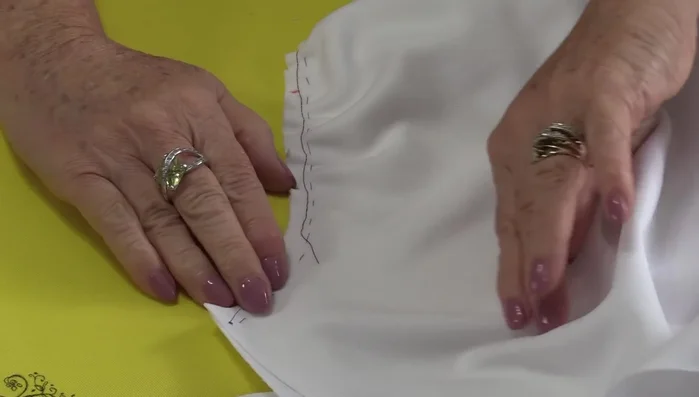
Baste and Secure Press the Seam
- Press the seam gently using the tip of the iron, concentrating on the area where the sleeve and garment are joined, to create a flat seam.
Press the Seam Machine Stitch
- Stitch the seam using your regular stitch length, keeping the fabric aligned correctly. Be sure to use a 5/8 seam allowance.
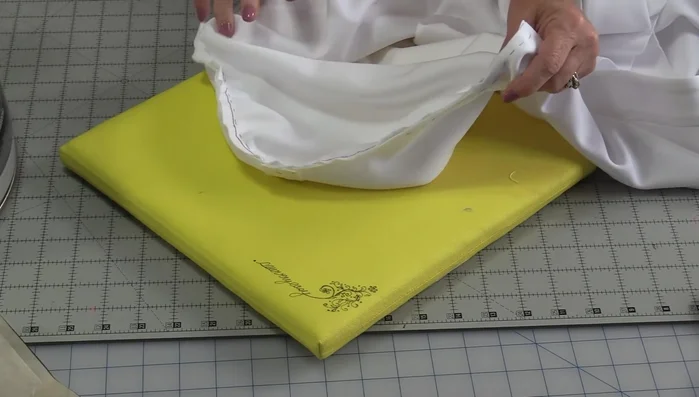
Machine Stitch Finish Up
- Remove the basting threads once machine stitching is complete.
- Finish the seam allowances of the garment according to your pattern instructions.
Finish Up
Read more: Raglan Sleeve Sewing Tutorial: A Step-by-Step Guide
Tips
- Test your machine's largest stitch on scrap fabric before starting the basting stitch.
- Stitch within the 5/8 seam allowance to prevent visible seams.
- Don't switch sleeves; front and back armholes have different angles.
- Only press the seam allowance—not the whole sleeve—to avoid unwanted wrinkles.