Unleash your inner child and learn to sew the cutest, easiest flat dinosaur ever! This beginner-friendly guide will walk you through the simple steps of creating your own adorable prehistoric pal, perfect for adding a whimsical touch to your home, using as a fun patch on a bag, or even as a delightful gift. No prior sewing experience is necessary, just a little enthusiasm and some basic supplies. We'll be focusing on a design that's both charming and incredibly easy to execute, even if you're picking up a needle and thread for the very first time.
Forget complicated patterns and intricate stitches; this project prioritizes simplicity and fun. We'll be using straightforward techniques that are easily manageable for absolute beginners. Ready to transform fabric scraps into a miniature Mesozoic marvel? Let's dive into the step-by-step instructions and bring your own cute flat dinosaur to life!
Preparation and Safety Guidelines
- Green minky fabric
- Coordinating minky fabric for spikes
- Matching thread
- Fiber fill or poly fill
- Embroidery thread
- Fabric marker
- Rotary cutter
- Cutting mat
- Scissors
- Pins
- Sewing needle
- Embroidery needle
- Pattern pieces (downloadable)
- Always supervise young children when using sewing needles and scissors. Keep them out of reach when not in use.
- Use sharp scissors to prevent accidental slips and injuries. Cut away from yourself.
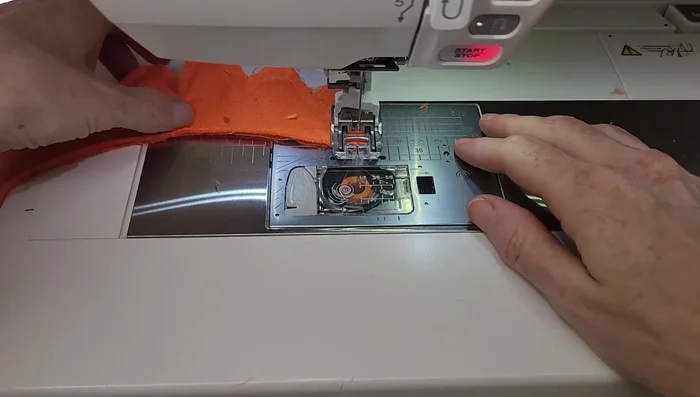
- If using a sewing machine, ensure it is properly plugged in and used according to the manufacturer's instructions.
Step-by-Step Instructions
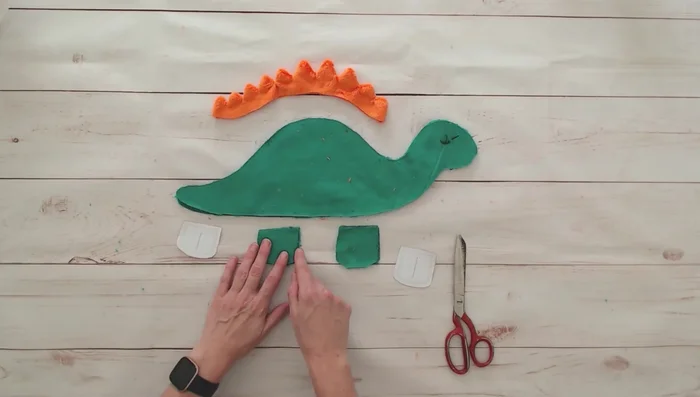
Prepare the Fabric
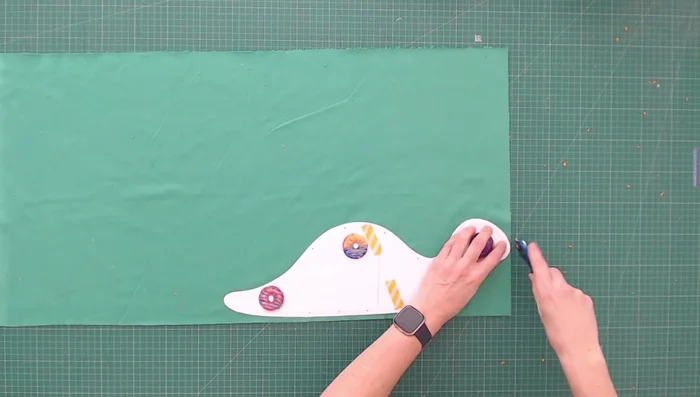
- Cut out pattern pieces, ensuring nap direction is consistent (from wrong side of fabric for easier cutting).

Prepare the Fabric Mark and Embroider
- Transfer pattern markings using a needle to punch holes and fabric marker to fill them.
- Embroider eyes on both sides using 6 strands of embroidery floss and backstitches.
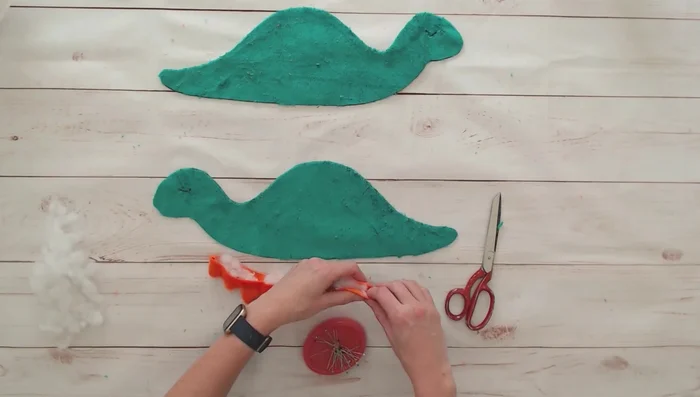
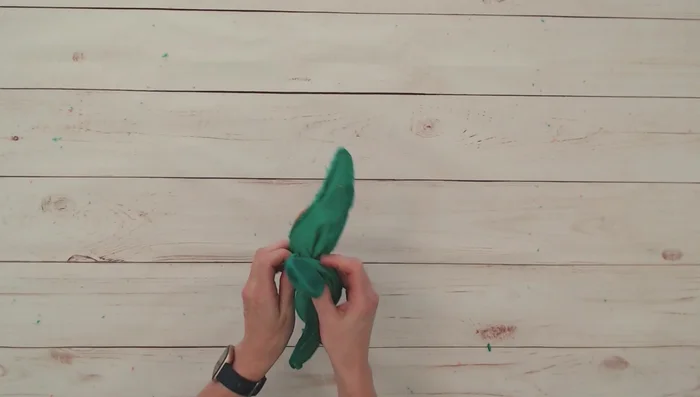
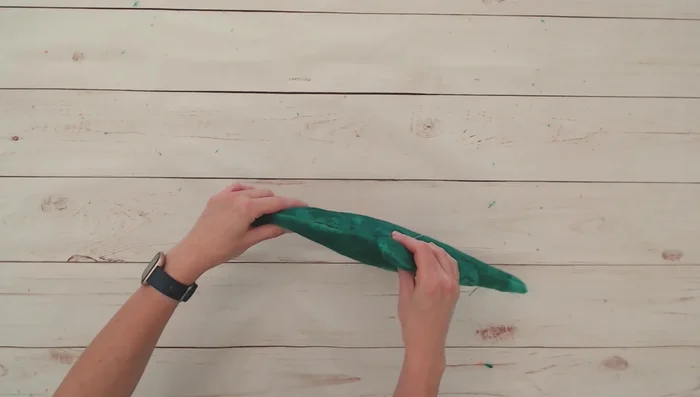
Mark and Embroider Sew the Spikes
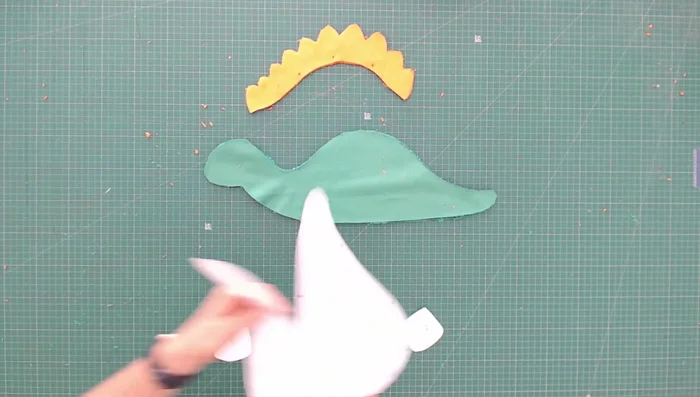
- Stitch around the outside of the spikes, leaving the edge that attaches to the body open. Use lots of pins to hold layers together.
- Clip seam allowance, turn spikes right side out, and use a tool to smooth out points.
Sew the Spikes Sew and Stuff the Legs
- Sew around the edges of front and back legs, leaving an opening. Turn right sides out and lightly stuff with polyfill.
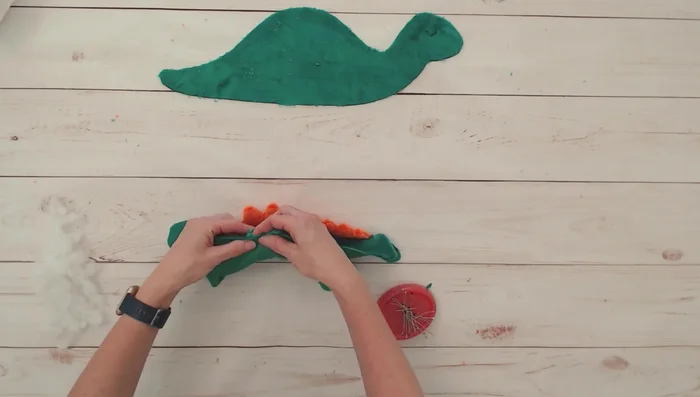
Sew and Stuff the Legs Attach Spikes to Body
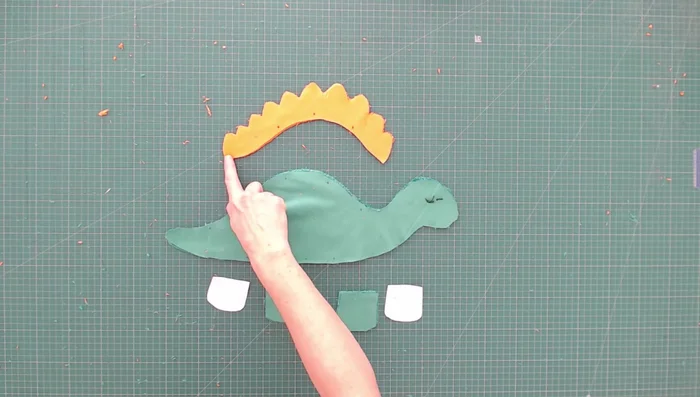
- Pin spikes onto one body piece, aligning with markings. Baste them in place using a long basting stitch.
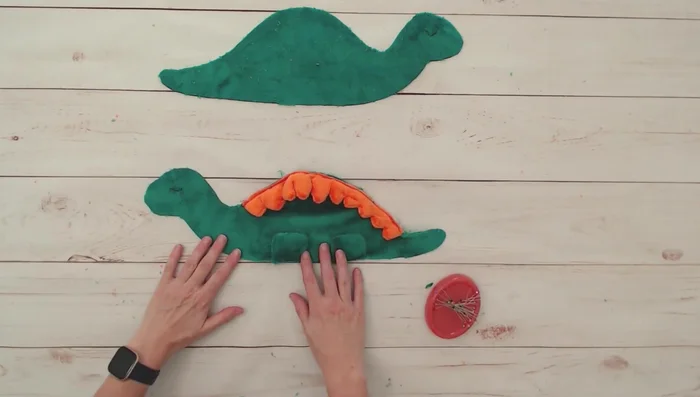
Attach Spikes to Body Attach Legs to Body
- Baste legs into position, aligning with pattern markings. Use pins to hold them.
Attach Legs to Body Sew the Dinosaur Together
- Sew the two body pieces together, right sides together, leaving a gap for turning. Tuck legs and spikes inwards. Use plenty of pins.
Sew the Dinosaur Together Turn, Stuff, and Close
- Turn right side out through the gap. Smooth out curves and points. Stuff lightly with polyfill.
- Stitch the gap closed using a ladder stitch to make it invisible. Bury the thread ends.
Turn, Stuff, and Close

Read more: DIY Fluffy Duck Plushie Tutorial: A Step-by-Step Guide
Tips
- Pay attention to the nap of the minky fabric for a consistent look.
- Use lots of pins, especially when working with minky.
- Don't pull embroidery stitches too tight.
- Clip curves gently to prevent damage to the fabric.
- Use a basting stitch to attach spikes and legs, so you can easily remove it if necessary.