Flannel shirts: cozy, versatile, and perfect for layering through the cooler months. But what if you could craft your own, perfectly tailored to your fit and style preferences? This guide will walk you through the process of sewing a beautiful flannel shirt from start to finish, empowering you to create a garment that reflects your individuality. Forget generic store-bought options; you'll be amazed at how rewarding it is to sew your own unique piece. The rich texture and soft drape of flannel make it a joy to work with, but achieving a professional finish requires attention to detail.
Beyond basic sewing skills, mastering pattern matching is key to a truly stunning shirt. This guide will not only detail the step-by-step process of construction, but also provide invaluable tips and tricks for seamlessly matching your flannel's pattern throughout the garment, creating a cohesive and visually appealing result. Let's dive into the step-by-step instructions to sew your dream flannel shirt.
Preparation and Safety Guidelines
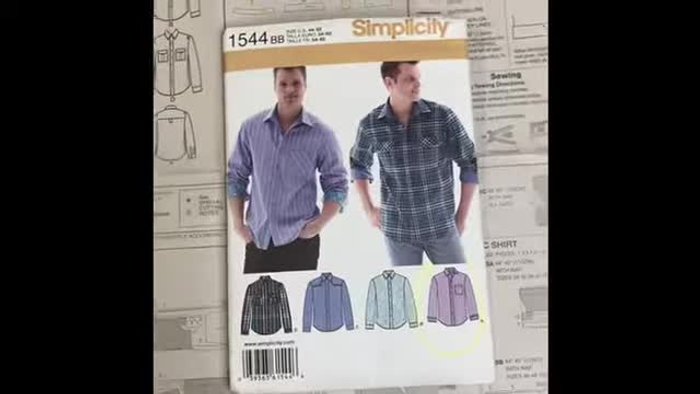
- Simplicity 1544 pattern
- Flannel fabric
- Contrast fabric (optional)
- Lightweight fusible interfacing
- Highlighter or red pen
- Fabric scissors
- Chalk or fabric markers
- Sewing machine
- Pins
- Iron and ironing board
- Always use sharp sewing machine needles and pins appropriate for flannel's weight to prevent skipped stitches and fabric damage. Dull needles can cause injury.
- Flannel can be slippery. Use pins liberally to hold fabric pieces together accurately, especially during pattern matching and seams.
- Pre-wash your flannel fabric before cutting and sewing to prevent shrinkage and ensure the final shirt fits correctly. Flannel may also fray, pre-washing helps mitigate this.
Step-by-Step Instructions
Prepare the Pattern
- Highlight your chosen view (View A in this case) and all relevant pattern pieces and instructions.

Prepare the Pattern Prepare the Fabric
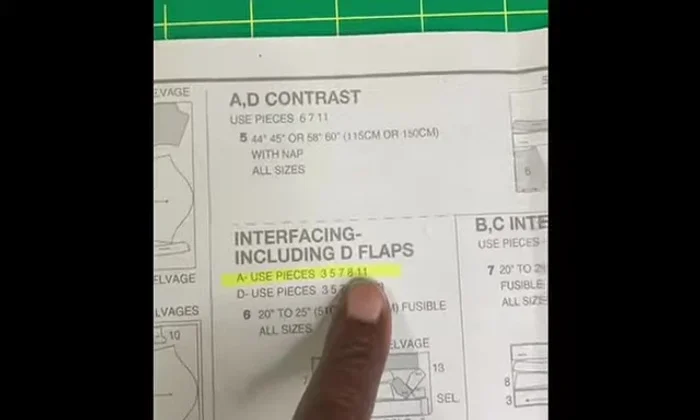
- Cut out interfacing pieces for the pattern pieces that require interfacing (collar, etc).
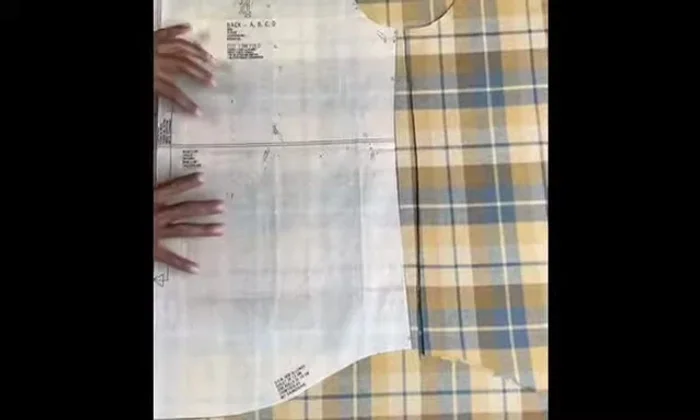
- Cut out all fabric pieces, paying close attention to pattern matching, especially for the front and back pieces.
Prepare the Fabric Mark and Prepare Pieces
- Before removing pattern pieces, cut notches and mark all circles on the fabric using a pen, stickers, or other methods to ensure alignment during sewing.
Mark and Prepare Pieces Sew the Pockets
- Begin sewing the pockets as indicated in the pattern instructions.
Sew the Pockets Complete the Shirt
- Follow the pattern instructions step by step, using the markings to align fabric pieces correctly.
Complete the Shirt


Read more: Raglan Sleeve Sewing Tutorial: A Step-by-Step Guide
Tips
- Prewash Fabric: Wash and press your fabric before starting.
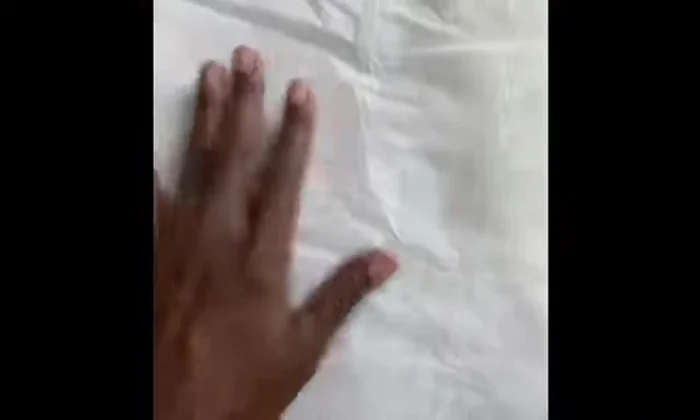
- Identify Right Side of Fabric: Use the selvage or feel of the fabric to determine the right side; if uncertain, mark the wrong side with chalk to maintain orientation throughout the sewing process.
- Pattern Matching: For plaid fabrics, lay out fabric pieces on the fold and test alignment before cutting to ensure seamless pattern matching, especially for front and back panels. Match the underarm seams for consistent plaids across the body.
- Cut Interfacing and Notches Together: Cut interfacing pieces and notches at the same time to avoid losing notch markings after interfacing.
- Cut Contrast Fabric Pieces Together: Cut contrast fabric pieces together with corresponding pattern pieces to guarantee even edges.