Does your feline friend deserve a brand new, irresistible toy? Then look no further! This tutorial will guide you through crafting a super speedy finger-knitted mouse, the perfect catnip-stuffed plaything that's quick, easy, and incredibly fun to make. Forget expensive store-bought toys; with just a few simple materials and a little bit of your time, you can create a purr-fectly delightful distraction for your furry companion. This project is ideal for beginners, requiring no needles or complicated techniques – just your fingers and a desire to spoil your cat rotten.
We'll be covering everything from gathering the necessary supplies to mastering the surprisingly simple finger-knitting technique. Get ready to unleash your inner crafter and create a toy your cat will adore in a matter of minutes! Let's dive into the step-by-step instructions and begin crafting this adorable, and undeniably fun, finger-knitted mouse cat toy.
Preparation and Safety Guidelines
- Wool (chunky yarn recommended)
- Second color wool for details
- Scissors
- Always supervise your cat while they play with the toy to prevent ingestion of yarn or small parts. Swallowing yarn can cause serious internal injuries.
- Use only non-toxic yarn suitable for pets. Avoid yarns that are treated with chemicals or dyes that could be harmful if ingested.
- Inspect the toy regularly for any signs of wear and tear. Discard the toy immediately if it becomes damaged or frayed to prevent choking hazards.
Step-by-Step Instructions
Prepare and Knit the Body
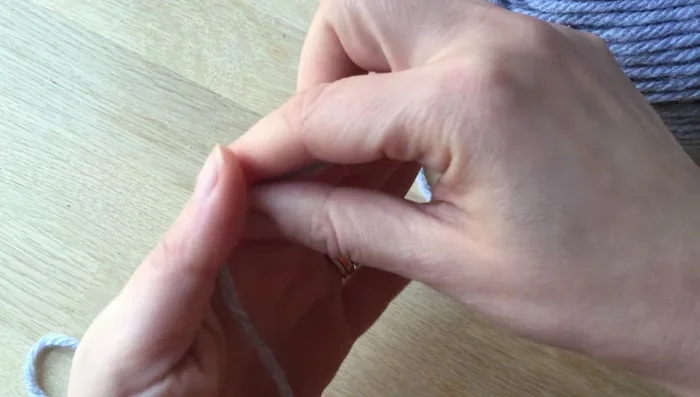
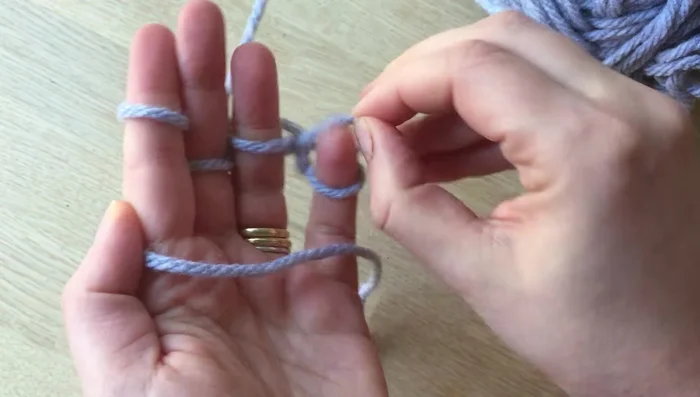
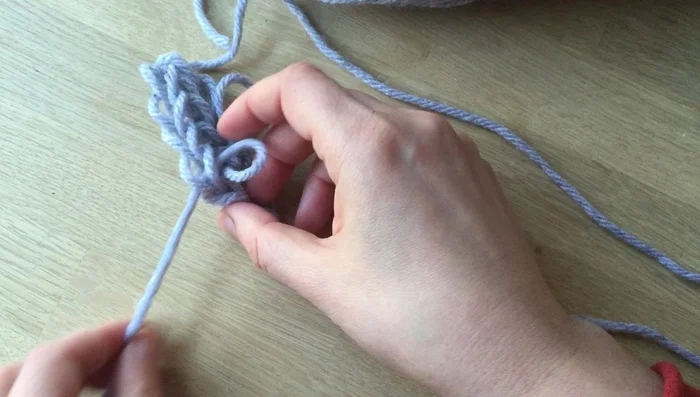
- Start finger knitting with a long piece of wool (this will be the tail). Wrap the wool around your thumb and index finger, then around your little finger, twice.
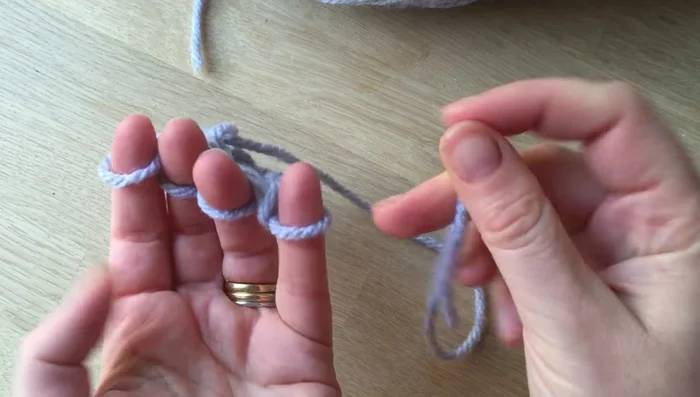
- Continue finger knitting from left to right, creating about six rows. The thicker the wool, the better.
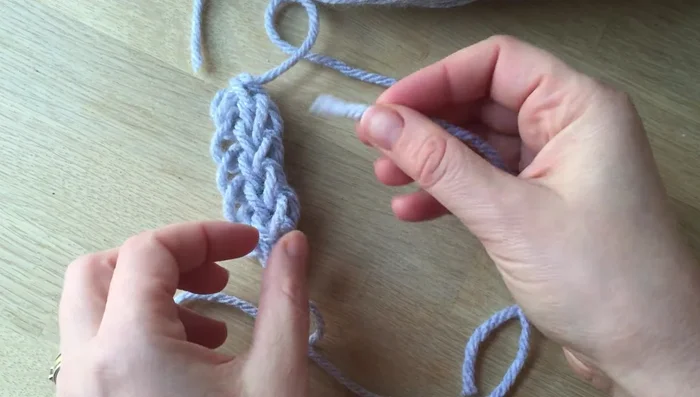
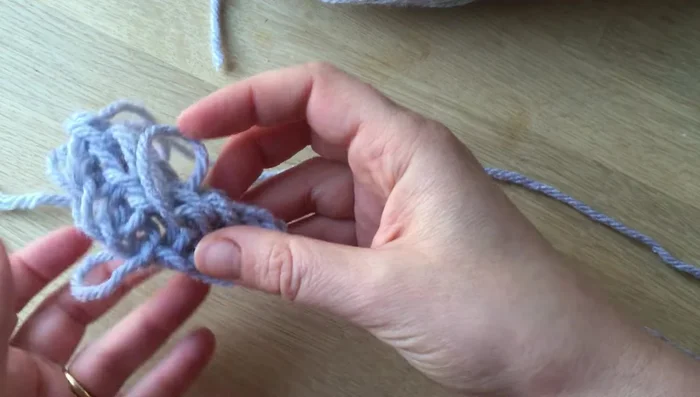
- Cut a long piece of wool and weave it through each loop to secure the knitted piece. Pull tight.

Prepare and Knit the Body Create the Ears
- Decide the mouse's orientation. Take a new piece of wool and create the first ear by looping it around the body and tying a knot to secure it.
- Repeat step 4 to create the second ear.
Create the Ears Finish and Detail
- Weave any remaining wool into the body and trim the ends.
- Add whiskers using a small piece of contrasting color wool. Create 2-3 small loops, insert them into the front of the mouse's face, and tie a knot to secure.
Finish and Detail

Read more: DIY Fluffy Duck Plushie Tutorial: A Step-by-Step Guide
Tips
- Use chunky wool for easier knitting and a sturdier toy.
- The number of rows for the body can be adjusted to your preference for length.
- Don't worry about perfect placement of ears. It gives each mouse a unique character.