Add a touch of natural elegance to your quilting projects with the simple charm of fern appliqué! This seemingly intricate design is surprisingly easy to achieve, even for beginner quilters. Forget fussy cutting and complex stitching; this guide will show you how to create realistic-looking ferns using a straightforward technique that requires minimal supplies and effort. The delicate, lacy forms of ferns add a unique textural element and a touch of the outdoors to any quilt, from whimsical children's designs to sophisticated modern patterns.
This step-by-step guide will walk you through the entire process, from selecting your fabrics and creating your fern templates to the final pressing and stitching. Prepare to be amazed at how quickly and effortlessly you can transform plain fabric into a breathtaking display of leafy greens. Let's get started and create some beautiful fern appliqué for your next quilting masterpiece!
Preparation and Safety Guidelines
- Iron
- Freezer paper
- Stiletto
- Fabric
- Scissors
- Starch
- Paintbrush
- Glue
- Always use a sharp appliqué needle to prevent fabric from tearing or stretching. A smaller needle is better for finer work.
- When using an iron, test the heat setting on a scrap of fabric first to ensure you don't scorch your appliqué or quilt backing.
- Use a stabilizer (like fusible interfacing or a light weight cotton) beneath your appliqué piece, especially on delicate fabrics, to help prevent puckering and ensure clean lines.
Step-by-Step Instructions
Prepare the Fabric
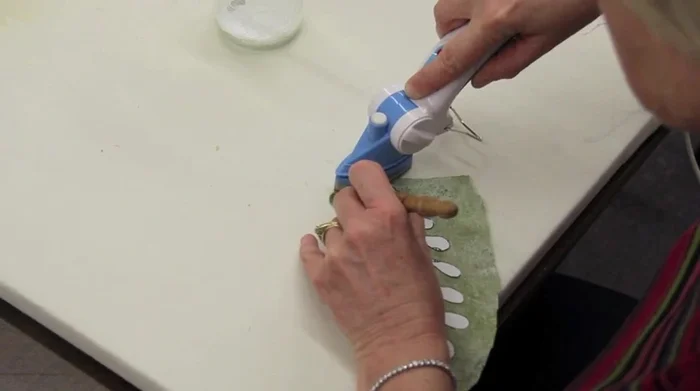
- Iron the freezer paper template to the back of your fabric.
- Trim the fabric around the template, maintaining a 1/4 inch seam allowance.
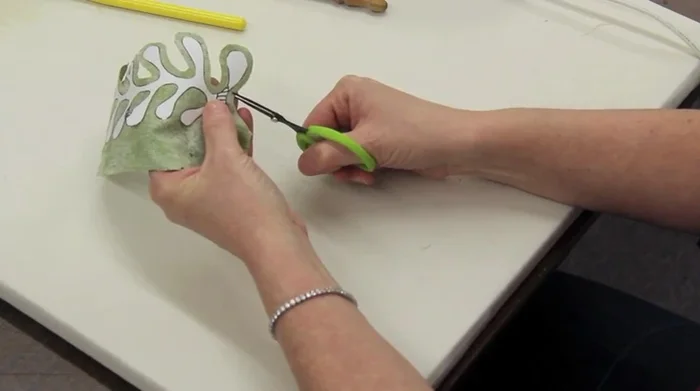
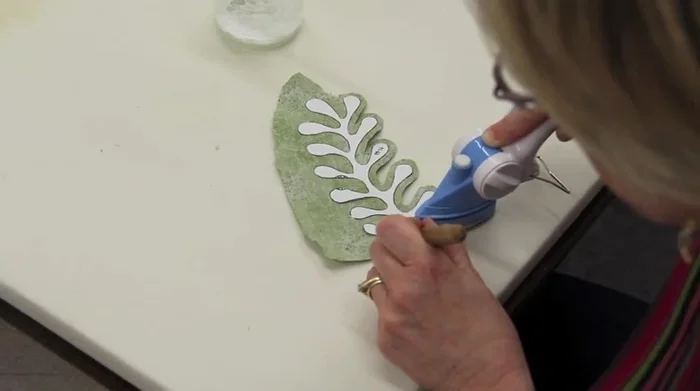
- Cut narrow sections of the template straight down the middle to allow for easier turning and pressing.
- Clip the curves of the fabric, staying about 1/8 inch away from the freezer paper to prevent raw edges.

Prepare the Fabric Turn and Press the Appliqué
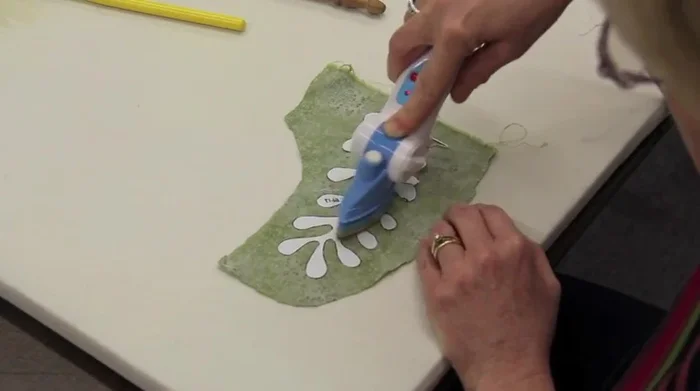
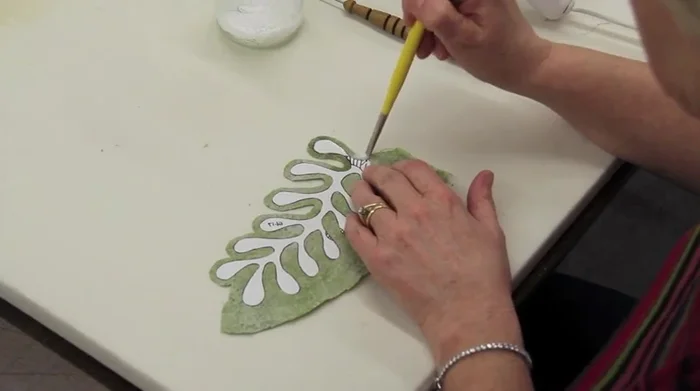
- Apply starch to the fabric up to the first curve.
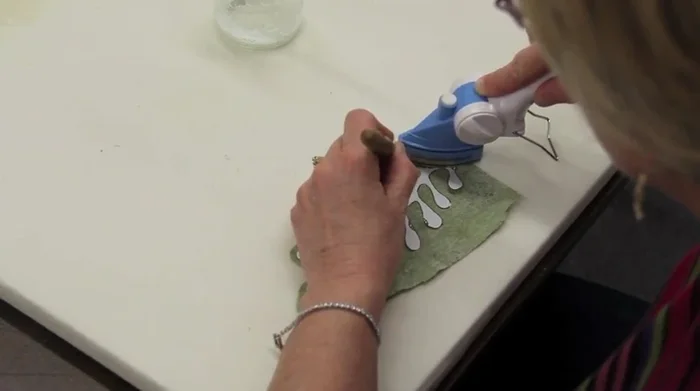
- Using a stiletto, carefully ease the seam allowance over the freezer paper, working from right to left and turning the piece as you go.
- For tight curves, bend the fabric and freezer paper towards yourself to expose only the seam allowance, and press with the iron.
- Repeat steps 5-7 for all curves and sections of the fabric.
Turn and Press the Appliqué Finish and Attach
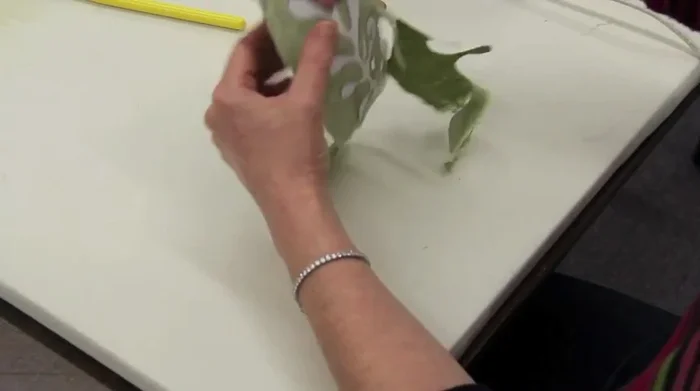
- Flip the piece over and give it a final pressing to ensure all seam allowances are tucked under.
- Peel off the freezer paper template, leaving a little bit attached at first to aid in removal.
- Finger press or iron the seam allowances to ensure they are neatly tucked under.
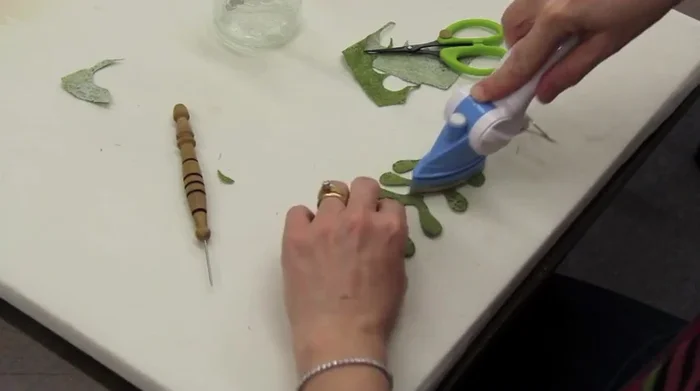
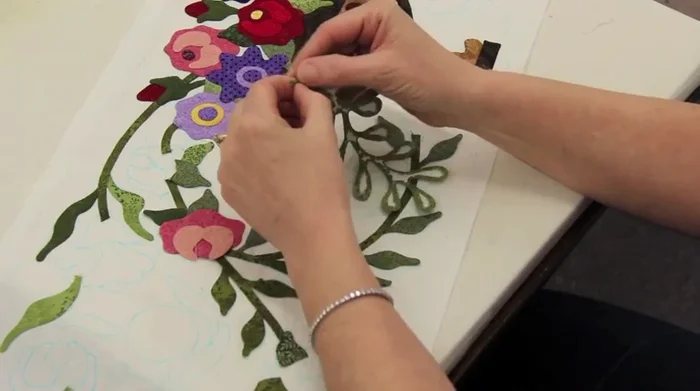
- Apply glue dots to the back of the appliqué and position it onto the quilt.
Finish and Attach
Read more: King Size Quilt Tutorial: Efficient Chain Piecing Method
Tips
- Maintain a 1/4 inch seam allowance for easier handling and preventing raw edges from showing.
- Don't clip all the way to the freezer paper when clipping curves.
- Don't starch too far ahead of where you're working as it will dry.
- Leave the freezer paper template on until you're ready to place the appliqué on your quilt for easier handling.