Dive into a creative ocean adventure with this delightful DIY felt whale sewing kit tutorial! Perfect for crafting enthusiasts of all skill levels, this project offers a charming way to bring a playful marine creature into your home, or create a unique and thoughtful gift. Whether you're a seasoned sewer or just starting out, the simple design and readily available materials make this a wonderfully accessible craft. You'll learn how to easily create a charming whale, complete with adorable details, using nothing more than felt, thread, and a few basic sewing supplies.
Get ready to embark on your underwater crafting journey! This step-by-step guide will walk you through each stage of construction, from cutting the felt shapes to adding the finishing touches, ensuring you create a beautifully crafted felt whale you'll be proud of. Let's transform simple felt into a whimsical underwater friend, ready to swim onto a shelf or hang from a nursery mobile.
Preparation and Safety Guidelines
- Sewing kit (containing felt, needle, thread, stuffing, screws, and embellishments)
- Threader
- Scissors
- Adult supervision is required, especially for younger crafters, due to the use of sharp needles and scissors.
- Always use caution when handling needles and scissors to prevent accidental pricks or cuts. Keep them out of reach of children when not in use.
- If using a sewing machine, ensure it is properly maintained and used according to the manufacturer's instructions. Never leave a running machine unattended.
Step-by-Step Instructions
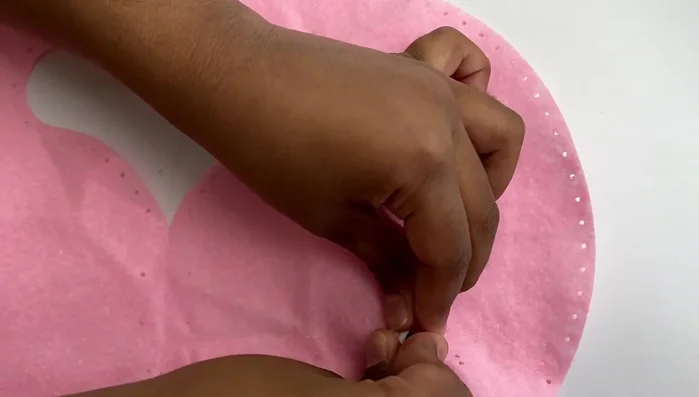
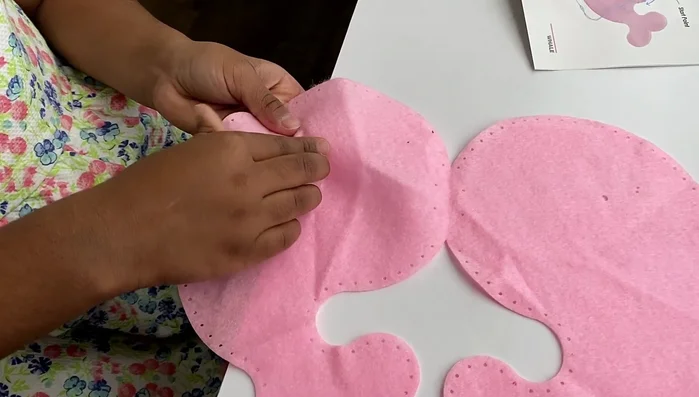
Prepare Materials
- Lay out the felt pieces for the whale's body.

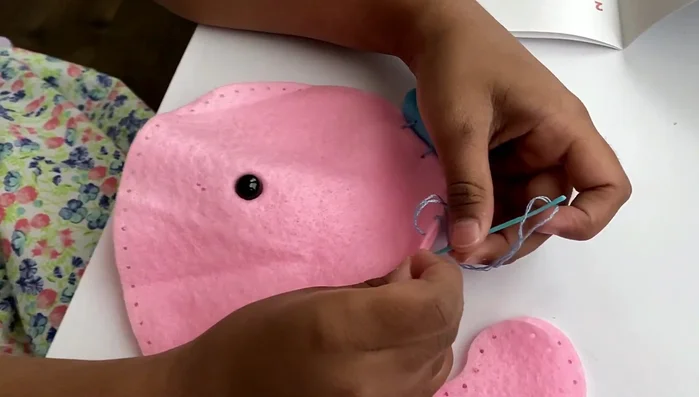
Prepare Materials Attach Eyes
- Secure the eye screws into the designated holes on the whale's felt face.
Attach Eyes Prepare Needle and Thread
- Thread the needle using the threader.
- Tie a knot at the end of the thread.
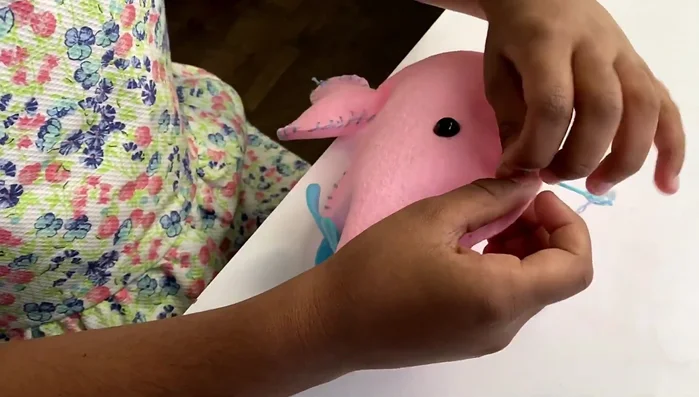
Prepare Needle and Thread Sew Whale Body
- Use a whip stitch to sew the edges of the whale's body together, leaving a gap for stuffing.
Sew Whale Body Stuff the Whale
- Fill the whale body with stuffing.
Close Opening
- Sew the opening closed.
Close Opening

Read more: DIY Fluffy Duck Plushie Tutorial: A Step-by-Step Guide
Tips
- Make sure to align both felt pieces perfectly to create a neat hole for stuffing.
- Don't be afraid to shove in plenty of stuffing.
- Tie a knot securely to finish sewing.