Felt is a wonderfully versatile crafting material, offering a soft texture and vibrant color options perfect for a variety of projects. Today, we're tackling a charming and surprisingly simple creation: a felt donut! These adorable little treats are perfect for adding a whimsical touch to keychains, ornaments, or even as standalone decorations. Whether you're a seasoned crafter or a curious beginner, the satisfying process of shaping and stuffing this delightful felt confection is sure to bring a smile to your face.
This guide will walk you through each step, from cutting out the felt pieces to the final satisfying squeeze of stuffing. Get ready to unleash your inner artisan and discover the joy of creating your own unique felt donut, because in the following sections, we’ll detail precisely how to sew and stuff your very own delectable-looking (but inedible!) felt creation.
Preparation and Safety Guidelines
- Felt (for icing and dough)
- Scissors
- Pens
- Decorations (sprinkles)
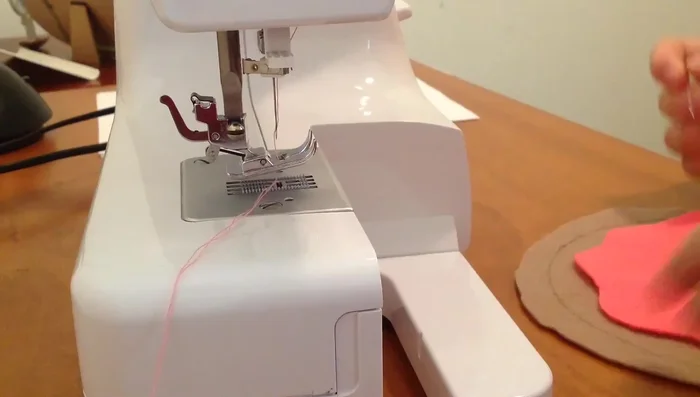
- Thread
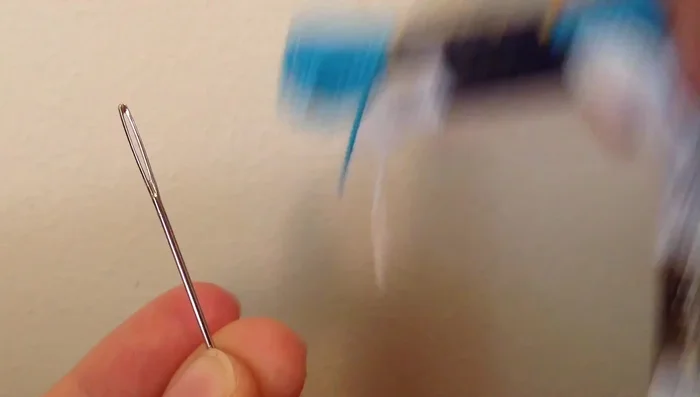
- Needles
- Pins
- Donut template
- Use sharp scissors with caution, keeping fingers away from the blades while cutting felt.
- Supervise young children closely during all steps, especially when using needles and scissors.
- If using a needle, be mindful of the direction you are pushing it to avoid pricking yourself or others. Always work away from yourself.
Step-by-Step Instructions
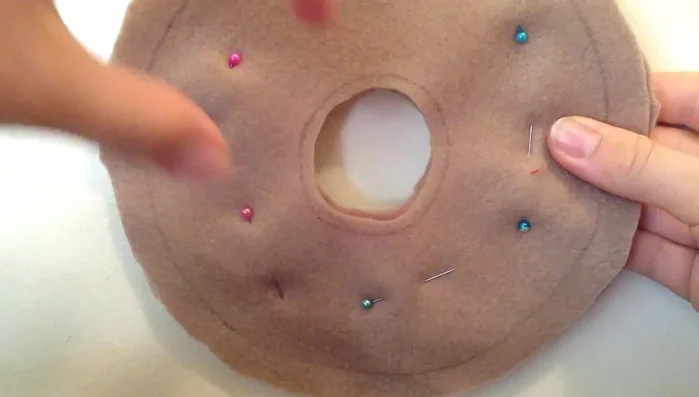
Prepare Dough Base
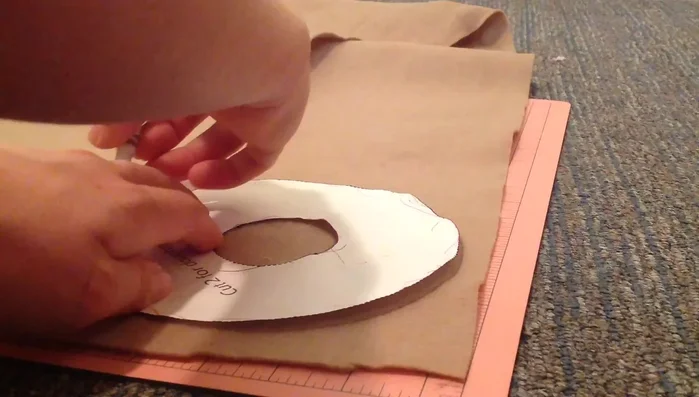
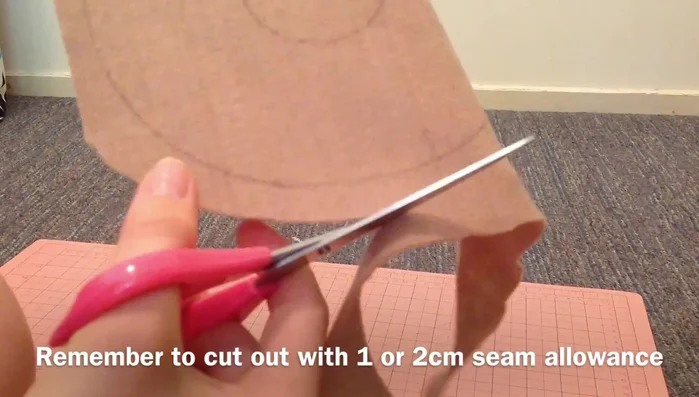
- Trace the donut dough template onto felt twice, leaving a 1-2cm seam allowance.
- Cut out the felt dough shapes.

Prepare Dough Base Prepare Icing
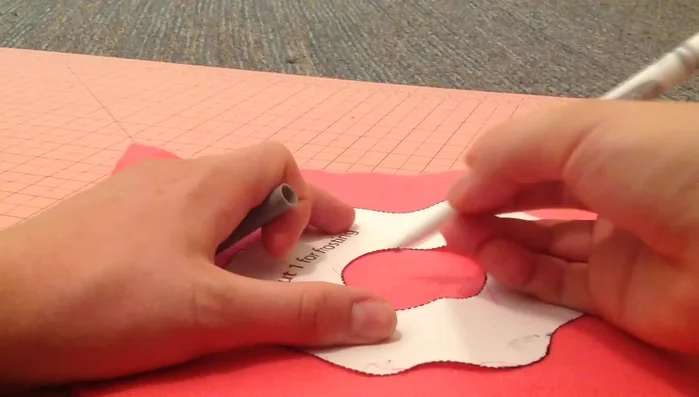
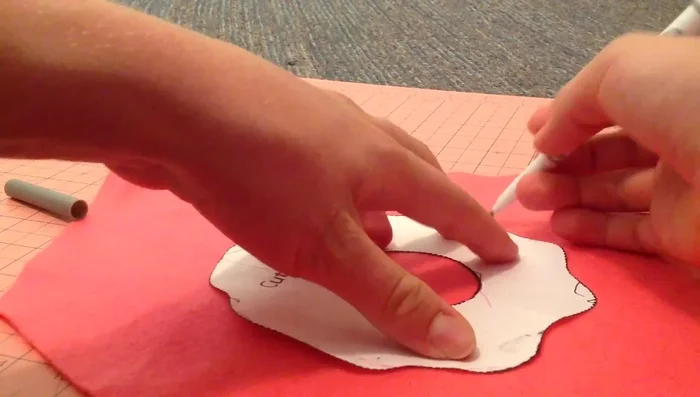
- Trace the icing template onto felt once, without a seam allowance.
- Cut out the felt icing shape.
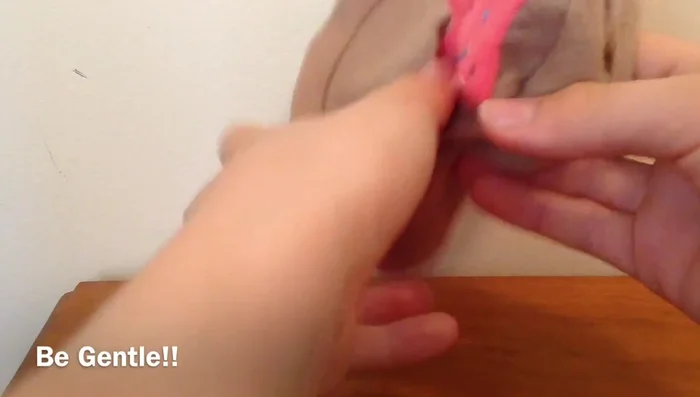
Prepare Icing Attach Icing to Base
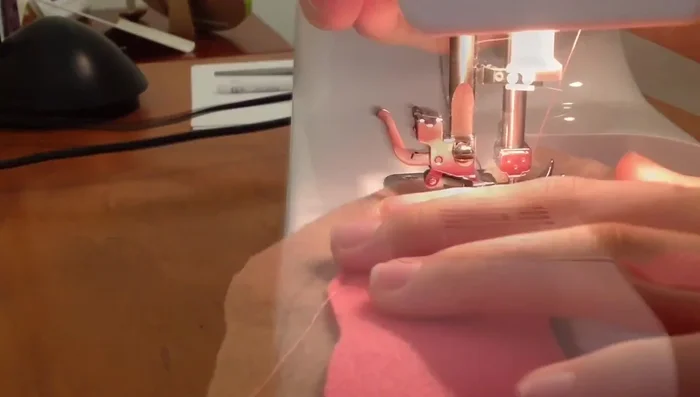
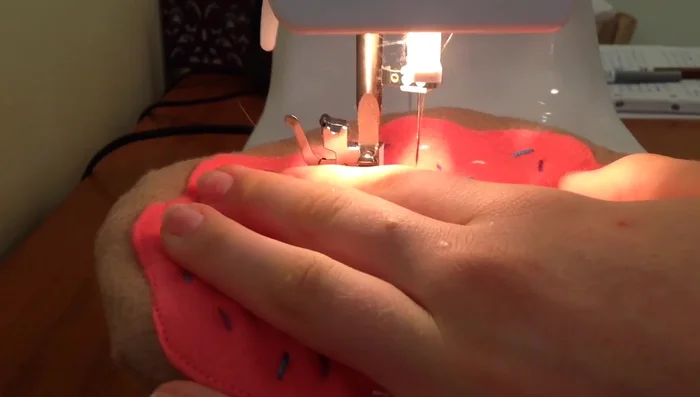
- Pin the icing to the dough base.
- Sew along the edges of the icing and dough base.
Attach Icing to Base Decorate
- Decorate the donut (e.g., with sprinkles).
Decorate Prepare for Stuffing
- Pin the two sides of the donut together, leaving a gap for stuffing.
- Sew along the outside circle, leaving a gap for stuffing.
Prepare for Stuffing Turn and Close
- Turn the donut inside out through the gap.
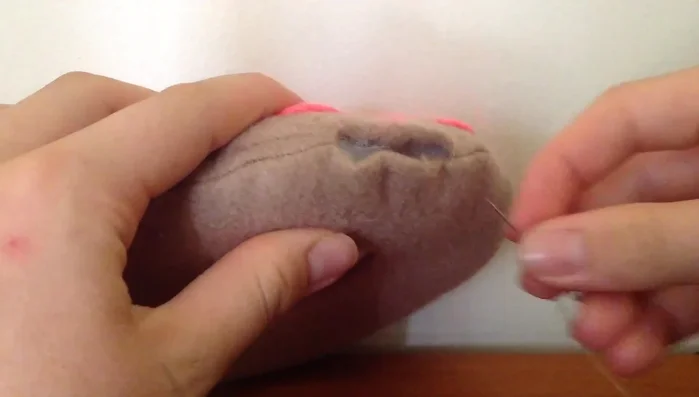
- Sew along the inside circle to close the gap.
Turn and Close Stuff and Finish
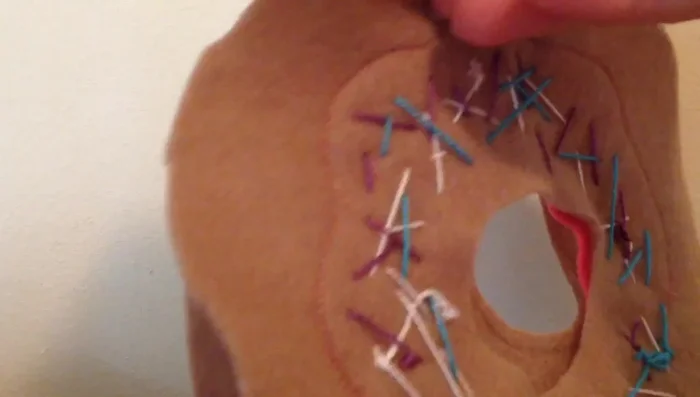
- Stuff the donut through the hole.
- Hand sew the hole closed.
Stuff and Finish
Read more: DIY Fluffy Duck Plushie Tutorial: A Step-by-Step Guide
Tips
- Leave enough seam allowance for easier finishing.
- Use a large needle and colored cotton for decorating.