Bargello, with its intricate, geometric patterns, often evokes images of complex needlepoint and hours of meticulous stitching. But what if you could achieve that stunning, textured effect with a fraction of the effort? This tutorial introduces you to the delightful world of faux Bargello wall hangings, utilizing a surprisingly simple strip-sewing technique. Forget the painstaking individual stitches; we'll create the same captivating visual impact using readily available fabric strips, easily manipulated to form those characteristic angled lines and vibrant color gradations. The result? A beautiful, handcrafted wall hanging that’s perfect for adding a touch of sophisticated elegance to your home.
This incredibly accessible method makes creating a faux Bargello wall hanging a perfect project for both beginners and experienced crafters alike. No special tools or advanced sewing skills are required, just a few basic supplies and a willingness to experiment with color. Ready to transform simple fabric strips into a captivating work of art? Let's dive into the step-by-step process and create your own stunning faux Bargello masterpiece!
Preparation and Safety Guidelines
- Iron
- Cutting board
- Ruler
- Dumbbell (weight)
- Scissors
- Chalk pencil
- Pins
- Sewing machine
- Quilting machine
- Batik fabric (1.5 yards)
- Use sharp scissors and rotary cutter (if using) to prevent fabric slippage and ensure clean cuts. Dull blades increase the risk of injury.
- Always use a cutting mat to protect your work surface and prevent accidental cuts to yourself or your table.
- If using a sewing machine, be mindful of your fingers while guiding fabric. Keep fingers away from the needle at all times.
Step-by-Step Instructions
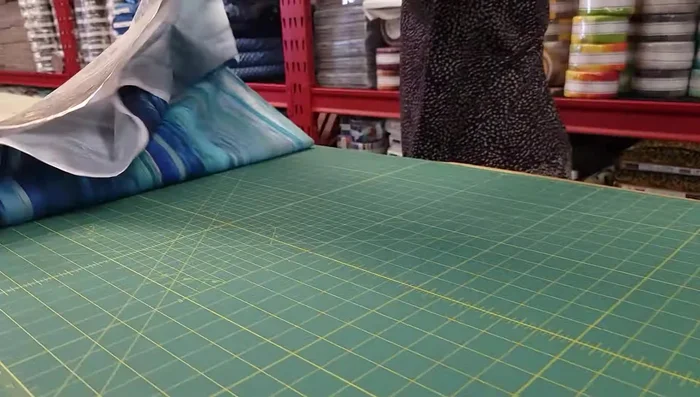
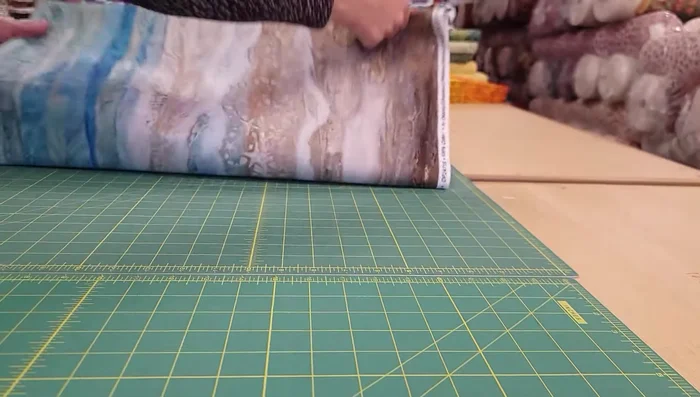
Prepare the Fabric
- Iron your fabric to remove wrinkles.
- Cut off the selvedges, ensuring straight edges.
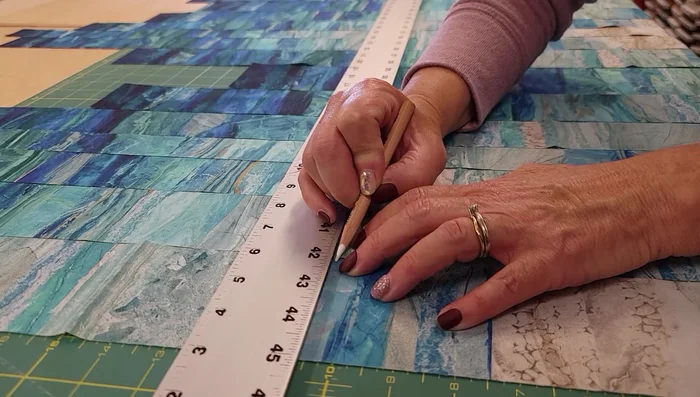
- Fold the fabric and align it with your cutting board lines.
- Cut the fabric into strips according to the pattern (3", 2.5", 2", 1.5", 2", repeating).

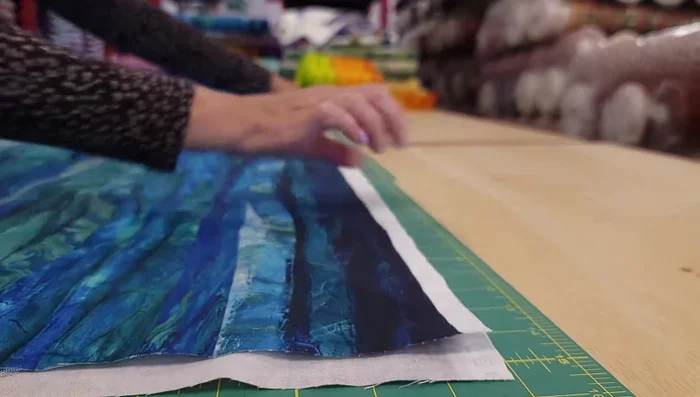
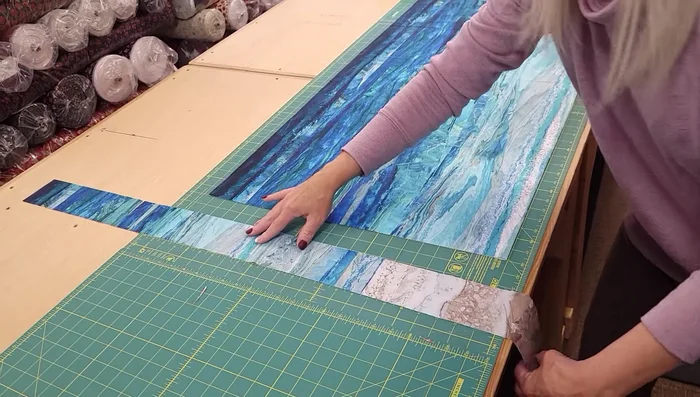
Prepare the Fabric Arrange and Mark Strips
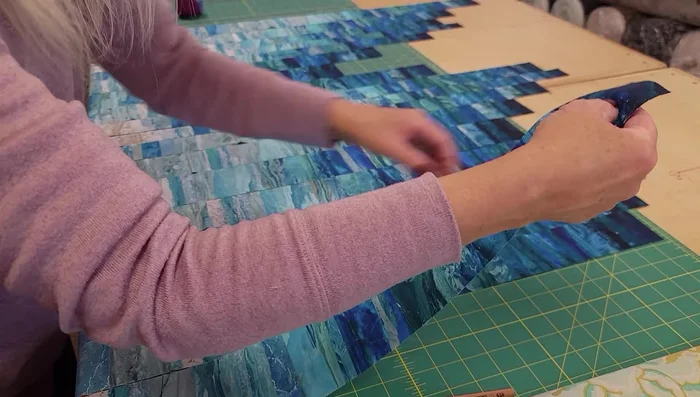
- Arrange the strips on a surface, overlapping and adjusting their positions to create a pleasing pattern.
- Mark the edges of the strips with chalk pencil for seam allowance (1/4" or less).
Arrange and Mark Strips Sew the Strips
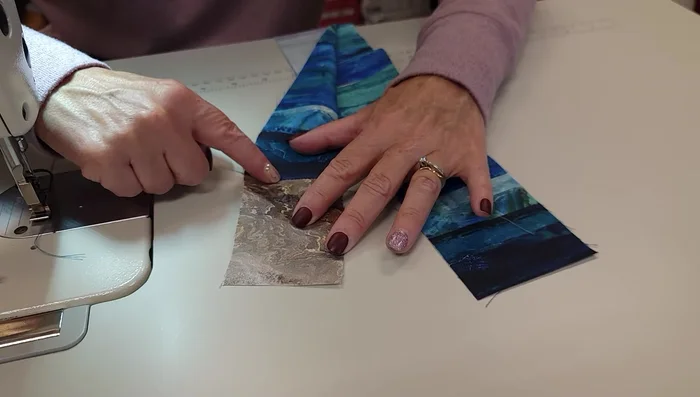
- Stack the strips together, aligning marked edges.
- Pin the stacked strips securely.
- Sew the strips together in the stacked order, using a 1/4" seam allowance.
- Finger press each seam allowance to the same direction.
Sew the Strips - Repeat the stitching process for the rest of the strips.
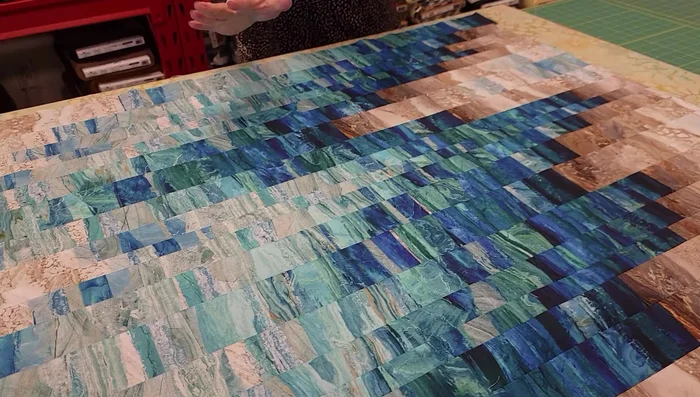
Finish the Wall Hanging
- Trim any excess fabric from the edges.
- Quilt the finished piece on a quilting machine (optional).
Finish the Wall Hanging
Read more: DIY Super Cute Whale Shower Curtain: A Step-by-Step Tutorial
Tips
- Using a weight to hold down your ruler prevents slippage while cutting.
- The pattern is abstract; feel free to adjust strip placement for a unique design.
- Finger pressing seams helps with ironing.
- Consider adding an appliqué to further enhance the wall hanging's design.