Are you drowning in fabric scraps, wishing you could magically transform them into something useful and adorable? Then this tutorial is for you! We'll show you how to whip up a charming mini wallet using only scraps of your favorite fabrics and a few basic sewing supplies. This project is perfect for beginners, requiring minimal sewing experience and only a short amount of time. Forget expensive, mass-produced accessories; let's embrace the joy of upcycling and create something unique and personalized. Imagine the possibilities – coordinating it with your outfit, making matching sets for friends, or even using it as a fun little gift!
This simple mini wallet is not only incredibly practical for holding cards and a little cash, but it’s also a fantastic way to use up those leftover fabric scraps that often accumulate in our sewing corners. Ready to get started on your own fabric scrap masterpiece? Let's dive into the step-by-step instructions below, and transform your fabric scraps into a stylish and functional accessory in no time!
Preparation and Safety Guidelines
- Fabric scraps
- Interfacing (Pelon or similar)
- Bias tape (1 1/4" wide)
- Sewing machine
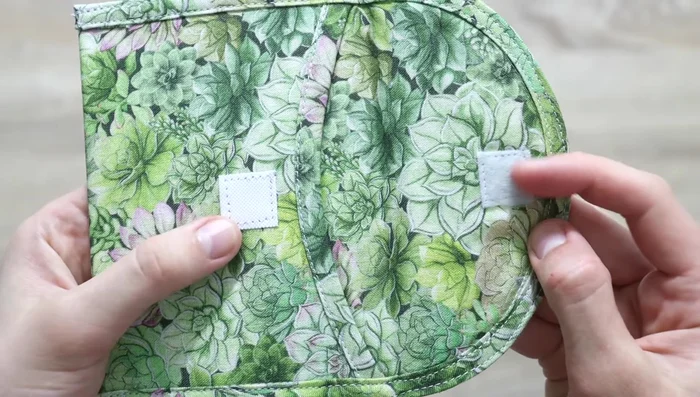
- Velcro or snaps
- Always use sharp scissors or a rotary cutter for clean cuts. Jagged edges will make sewing more difficult and may compromise the wallet's durability.
- Pre-wash your fabric scraps before starting. This prevents shrinkage after the wallet is completed and ensures the finished product retains its shape.
- Use a strong, coordinating thread. A thread that's too thin might break easily, especially with multiple layers of fabric. Consider using a heavier-duty thread for added strength.
Step-by-Step Instructions
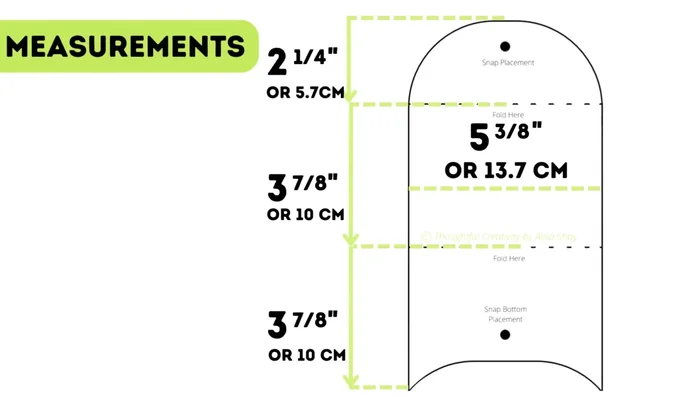
Prepare the Interfacing
- Cut interfacing template.
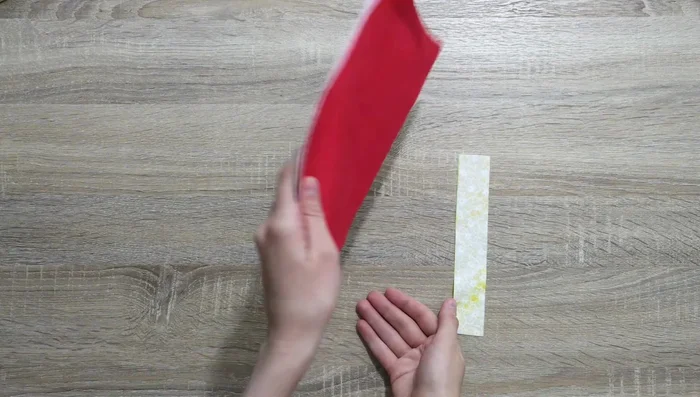
- Fuse interfacing to fabric scrap.

Prepare the Interfacing Cut Fabric Pieces
- Cut out fabric pieces (main and lining).
Prepare the Lining
- Attach bias tape to the curved edge of the lining.
Prepare the Lining Assemble the Pouch
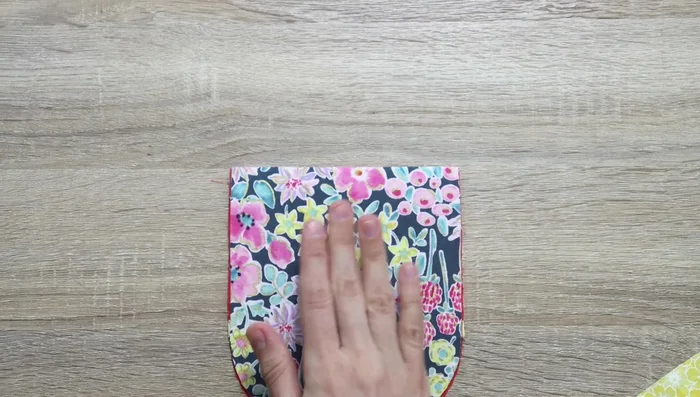
- Fold the pouch according to the template markings.
- Attach bias tape to the folded edges of the pouch.
- Topstitch the bias tape on both sides.
Assemble the Pouch Attach Velcro
- Attach velcro to one side of the pouch.
- Attach the second piece of velcro to the other flap.
Attach Velcro
Read more: DIY Quilted Makeup Pouch Tutorial: The Easiest and Fastest Method
Tips
- Use sturdy interfacing for shape and stability. If using quilting cotton, leather, or other firm materials, interfacing may not be needed.
- For materials that don't fray (leather, etc.), finishing raw edges isn't necessary.
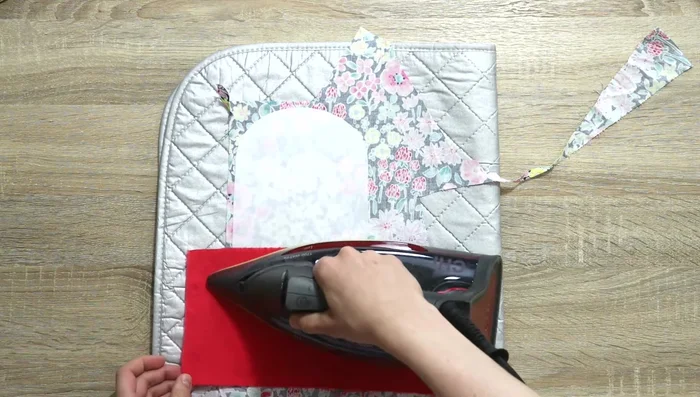
- Press fabric before fusing interfacing.
- Use fingers to guide bias tape while sewing, but don't stretch it.
- Use back stitch at the beginning and end of seams for extra security.