Tired of tangled scarves and misplaced gloves cluttering your closet? Plain wire hangers, while functional, lack the organization to keep your wardrobe truly neat. This easy DIY project transforms those humble hangers into stylish and practical storage solutions with the addition of simple fabric pockets. Say goodbye to frustrating rummages and hello to a more organized and aesthetically pleasing closet! We'll show you how to add a touch of personalized charm and incredible functionality to your wardrobe, upgrading your everyday organization with minimal effort and cost.
This tutorial will guide you through the simple process of sewing fabric pockets onto plain hangers, adding a level of sophistication and practicality that will make a big difference. Get ready to unleash your inner crafter and transform your closet one hanger at a time! Let's dive into the step-by-step instructions and create these handy upgrades together.
Preparation and Safety Guidelines
- Plain Hangers (wooden preferred)
- Fabric
- Fusible Fleece (or batting)
- Pencils
- Tape
- Scissors
- Iron
- Sewing Machine
- Thread
- Optional: Lace or binding
- Measuring tape
- Always use sharp scissors and pins to avoid accidents. Handle them carefully and keep them away from children.
- If using fabric that frays easily, finish the edges of your fabric pockets (e.g., with zigzag stitch, pinking shears, or seam sealant) before attaching to prevent unraveling.
- Ensure your sewing machine needle is appropriate for the fabric weight you are using to prevent breakage or skipped stitches.
Step-by-Step Instructions
Prepare Hangers and Pattern
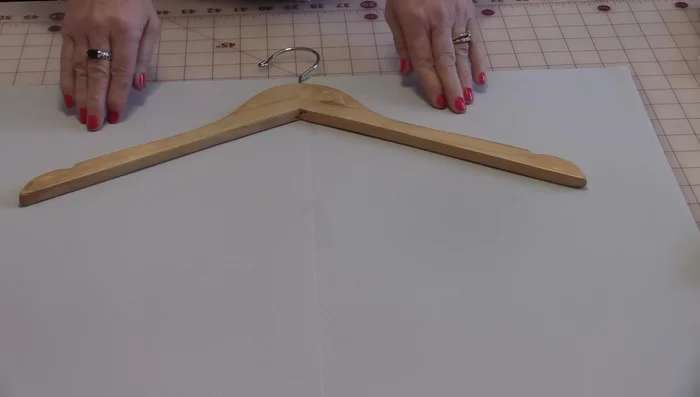
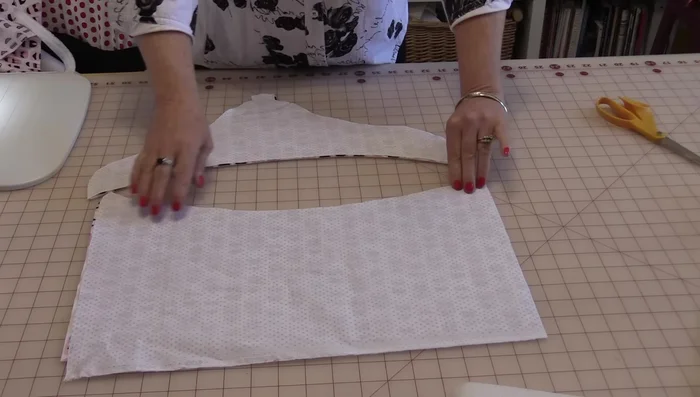
- Choose sturdy hangers without a bottom bar. Wooden hangers are recommended.
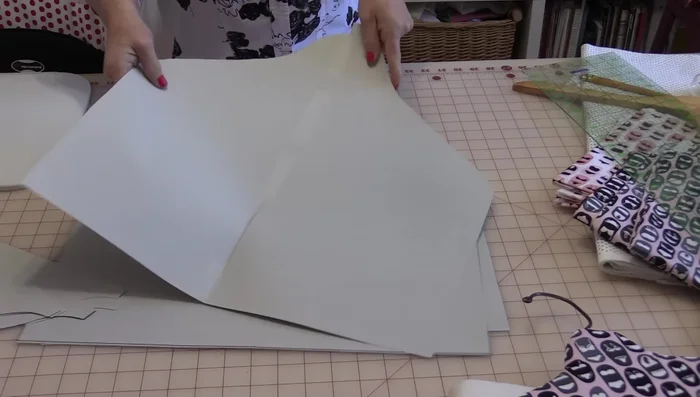
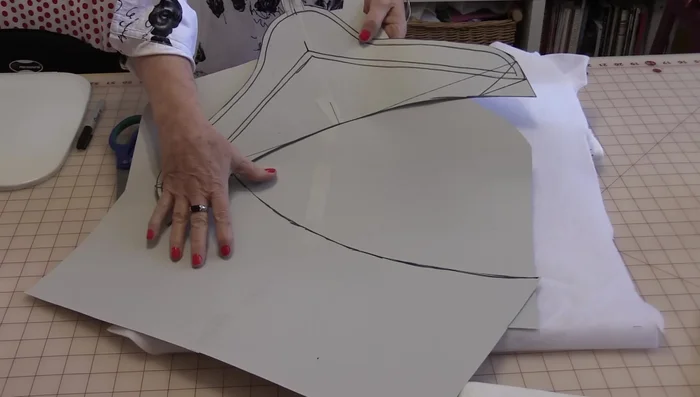
- Create a pattern. Trace the hanger's shape three times, adding a ¼ inch seam allowance. Add a 2-inch space at the top for hanger insertion and a 10-inch square at the bottom for the pocket. Curve the top and bottom lines to create the pocket opening.

Prepare Hangers and Pattern Cut Fabric and Fuse Fleece
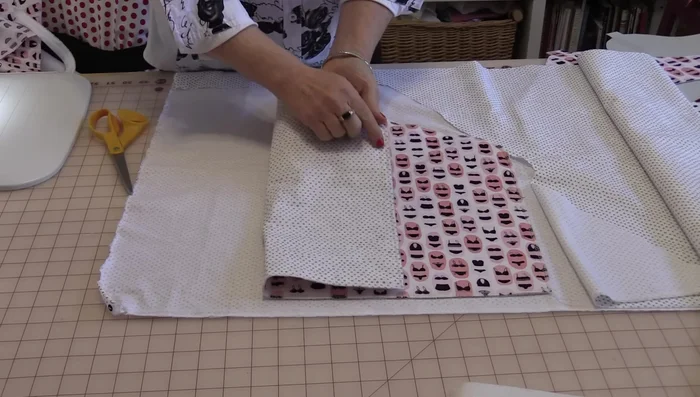
- Cut out three identical pattern pieces from fabric and fusible fleece.
- Fuse the fleece to the wrong side of the fabric pieces.
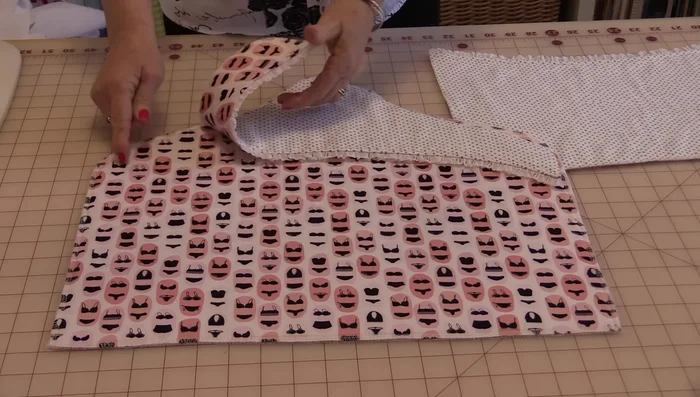
Cut Fabric and Fuse Fleece Assemble the Pocket
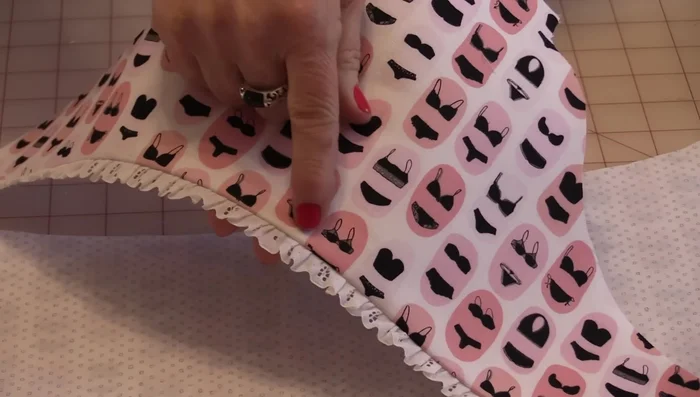
- Sew the two front pieces together along the curved edges, creating the pocket opening. Optionally, add decorative lace or binding along the raw edges before sewing.
Assemble the Pocket Attach Front and Back
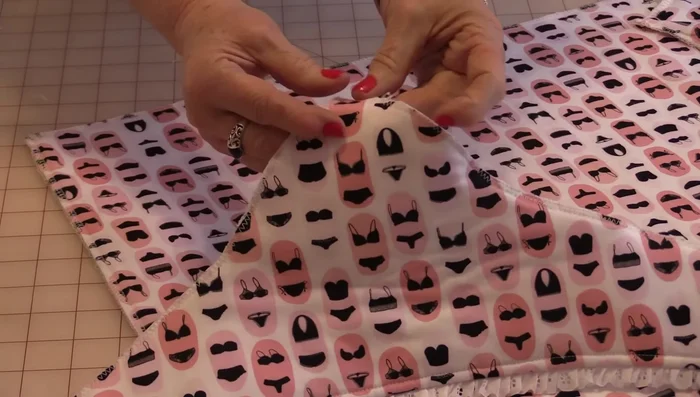
- Sew the back piece to the front pocket pieces, matching the seams. Press the seams to one side.
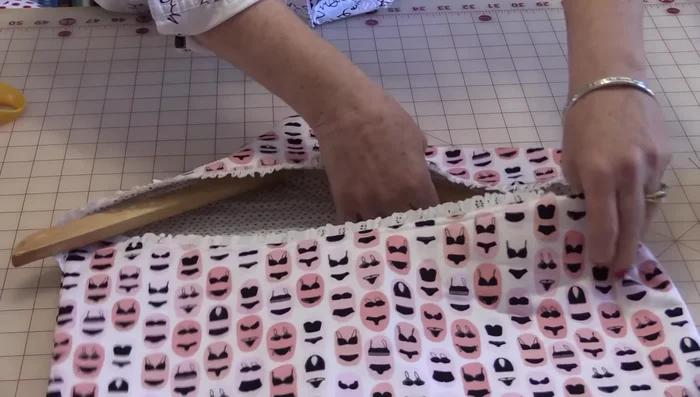
Attach Front and Back Finish and Attach Top
- Top stitch along the pocket opening, securing the layers together and keeping any lace or trim in place.
- Fold and sew the top piece to the inside of the bag.
Finish and Attach Top Sew the Bag
- Pin and sew the top of the pocket to the back of the bag, then sew the entire bag together (except for an opening on top). Trim the corners, turn right side out, and press.
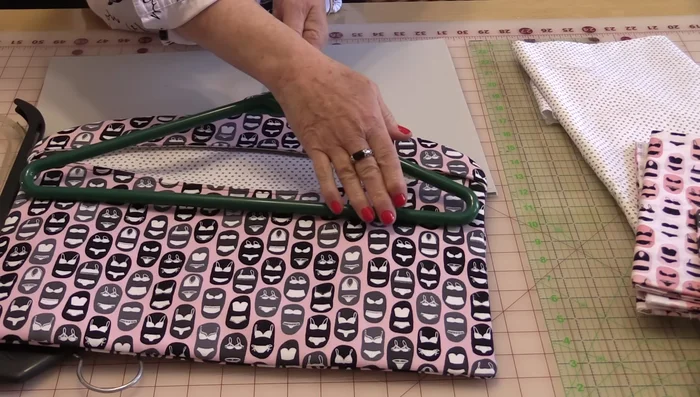
Sew the Bag Insert Hanger
- Insert the hanger through the opening. The hanger should be underneath both flaps.
Insert Hanger
Read more: DIY Super Cute Whale Shower Curtain: A Step-by-Step Tutorial
Tips
- Use strong hangers that won't break easily.
- Fusible fleece is stronger than fusible batting for this project.
- Leave extra fusible fleece when cutting, then trim to the exact size of the pattern.
- Cut off the bottom corners of the bag after sewing to make turning it inside out easier.