Looking for a fun, creative project that yields adorable, reusable decorations? Then look no further than DIY fabric balloon balls! These charming, personalized ornaments are surprisingly simple to make, requiring only a few basic materials and a touch of patience. Whether you're crafting for a party, sprucing up your home décor, or simply seeking a relaxing afternoon activity, this project offers a rewarding experience for crafters of all skill levels. They make fantastic gifts too, offering a personal touch that store-bought decorations simply can't match. Imagine the possibilities – vibrant colours, playful patterns, and endless customization options!
Forget expensive, single-use party supplies; these fabric balloon balls are both beautiful and sustainable. This step-by-step guide will walk you through the entire process, from gathering your materials to creating your own unique, charming fabric balloon balls. Let's get crafting!
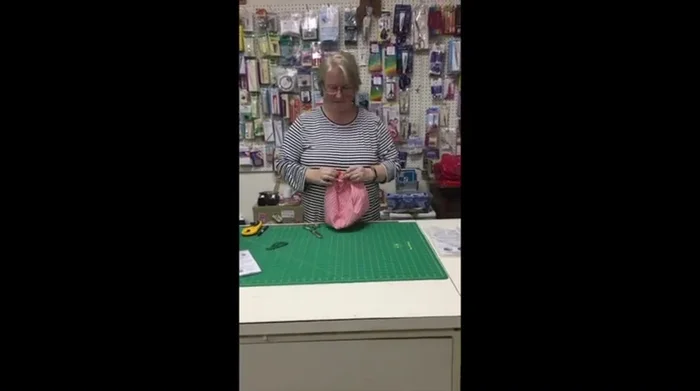
Preparation and Safety Guidelines
- Funtime templates
- Fabric (1/3 yard for large ball, 1/4 yard for small ball)
- Two balloons
- Sewing machine
- Scissors
- Pins
- Adult supervision is required, especially for younger children, throughout the entire process due to small parts and potential choking hazards.
- Use only fabric-safe glue and dyes. Ensure adequate ventilation when using adhesives or paints.
- Thoroughly inspect the finished balloon ball for any loose threads or weak points before allowing children to play with it to prevent potential injuries.
Step-by-Step Instructions
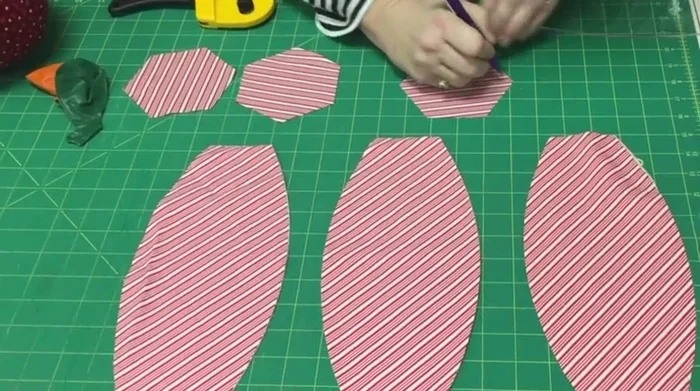
Prepare Fabric and Cut Pieces
- Fan fold your fabric and cut out the pattern pieces using the Funtime templates. You'll need six side pieces and three end pieces for each ball size.

Prepare Fabric and Cut Pieces Mark Seam Lines
- Use the holes on the templates to mark where the seams will meet on the hexagon pieces. Only mark every other one to save time.
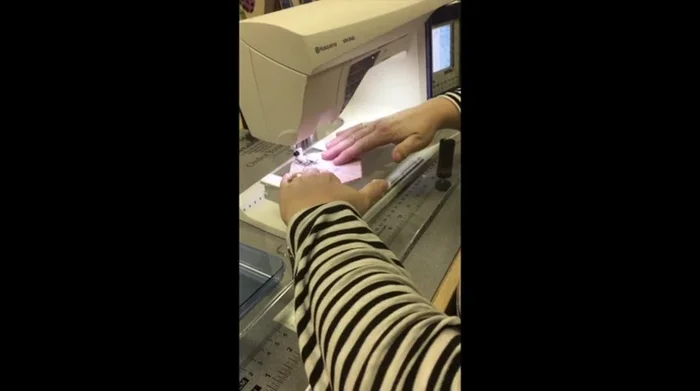
Mark Seam Lines Sew Balloon Opening
- Sew the section where the balloon will go through. Sew until you reach your marked line, reverse stitch slightly for stability, and then cut.
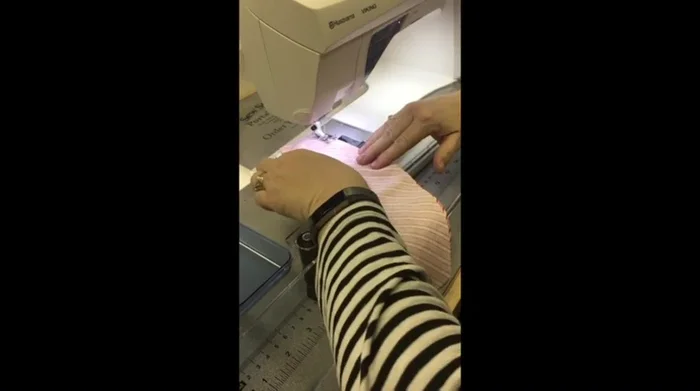
Sew Balloon Opening Sew Side Pieces
- Sew the six side pieces together, using a slightly more than 1/4 inch seam allowance. Follow the curve and stop at each marked line.
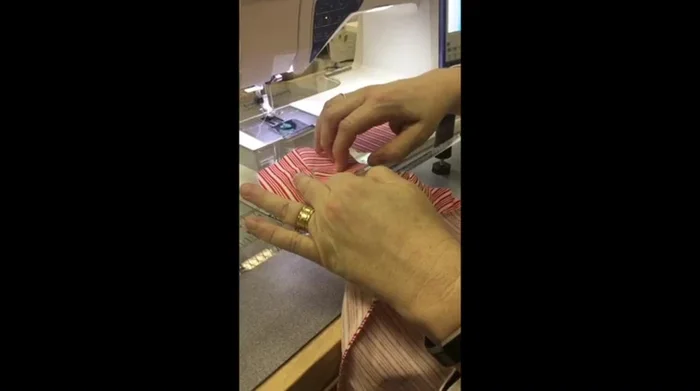
Sew Side Pieces Attach End Pieces
- Sew the plain hexagon piece to one side of the ball, from marking to marking. Repeat for the other five sides. Baste around the top of the ball before attaching the second hexagon to make it easier to handle.
Attach End Pieces Turn Right Side Out
- Turn the ball right side out through the small opening you created. This might take some effort.
Turn Right Side Out Insert and Inflate Balloon
- Slide a balloon down into the opening, inflate it, and tie a knot. Tuck in the excess balloon.
Insert and Inflate Balloon


Read more: DIY Fluffy Duck Plushie Tutorial: A Step-by-Step Guide
Tips
- Using the templates is crucial for accurate cutting and sewing.
- Marking only every other seam line on the hexagon pieces saves time.
- Basting the top of the ball before attaching the second hexagon makes sewing much easier.
- These balls are reusable! After use, pop the balloon, remove it, and store the fabric until next time.