Love the look of perfectly flat-bottomed zipper pouches but intimidated by the construction? Fear not! This tutorial will guide you through creating a stunning zipper pouch using the incredibly simple and efficient EZ Tab method. Forget struggling with complex techniques; this method simplifies the process, allowing you to achieve professional-looking results even as a beginner quilter. You'll be amazed at how quickly you can whip up these adorable pouches, perfect for storing everything from makeup to quilting tools. They make delightful gifts too!
This clever method utilizes pre-made tabs to create that sought-after flat bottom, eliminating the need for fiddly corner stitching. Prepare to be impressed by how easy it is to achieve a crisp, clean finish. Ready to get started on your own gorgeous zipper pouch? Let's dive into the step-by-step instructions!
Preparation and Safety Guidelines
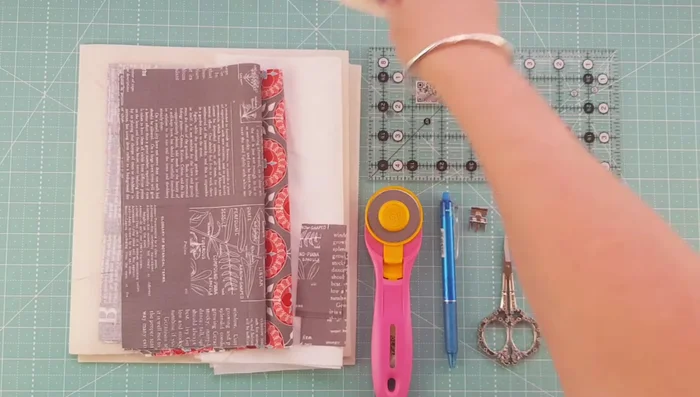
- Foam interfacing
- Shape-Flex 101 interfacing
- Exterior fabric
- Lining fabric
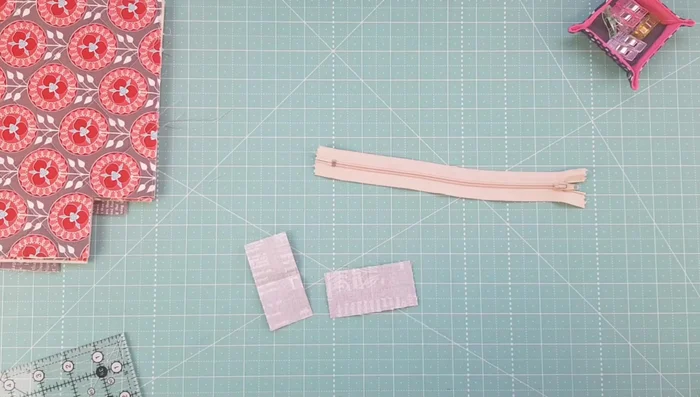
- Zipper tabs
- Zipper
- Rotary cutter
- Marking device
- Matching thread
- Zipper foot
- Patchwork foot
- Quilting rulers
- Seam ripper
- Always use sharp scissors or a rotary cutter to ensure clean cuts of your fabric. Jagged edges will make sewing and achieving a flat bottom difficult.
- Pay close attention to the placement of your zipper. Improper placement will result in an uneven or poorly functioning pouch.
- Press your seams well after each step. This helps to create a crisp, professional finish and ensures the pouch lies flat.
Step-by-Step Instructions
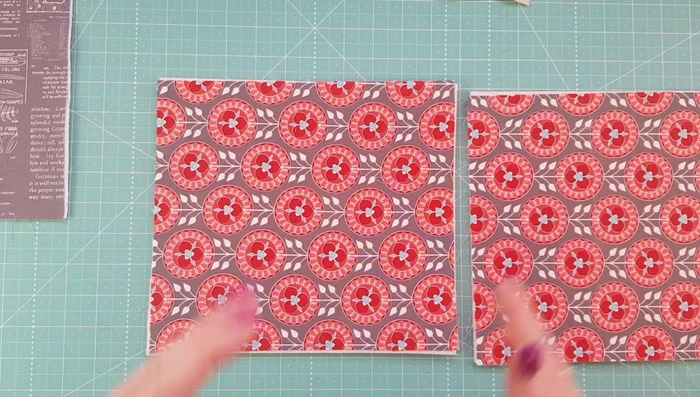
Prepare Fabrics and Interfacing
- Fuse interfacing onto exterior and lining fabric.

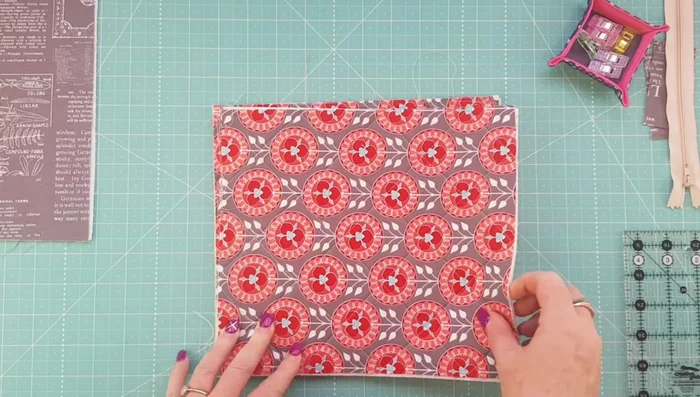
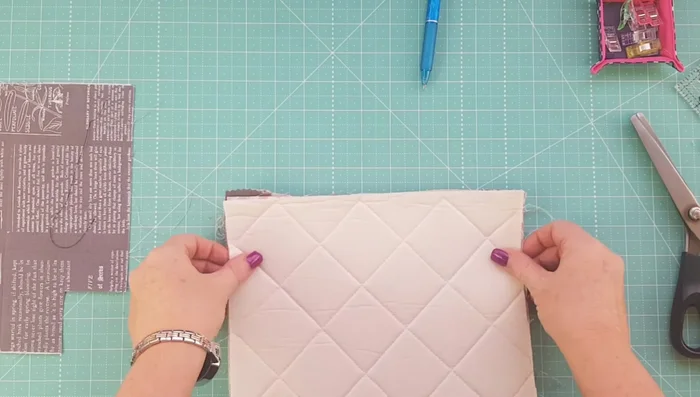
Prepare Fabrics and Interfacing Quilt Exterior Fabric (Optional)
- Quilt the exterior fabric (optional, but adds dimension).
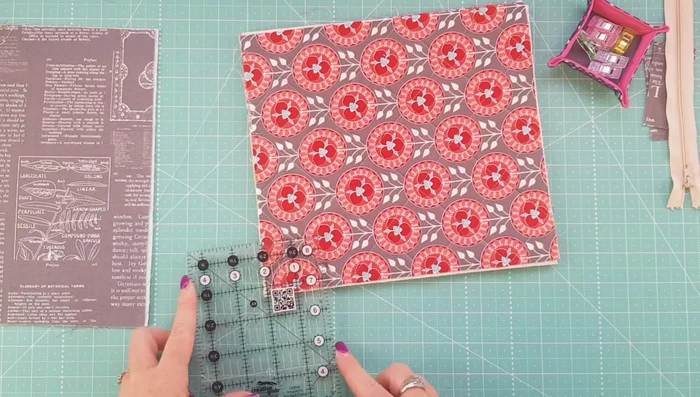
Quilt Exterior Fabric (Optional) Prepare for Zipper Installation
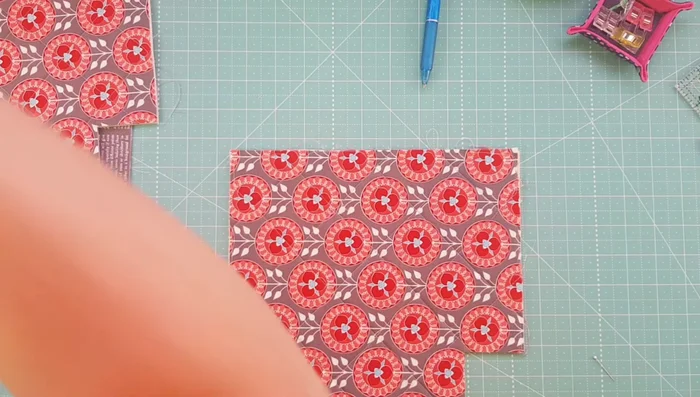
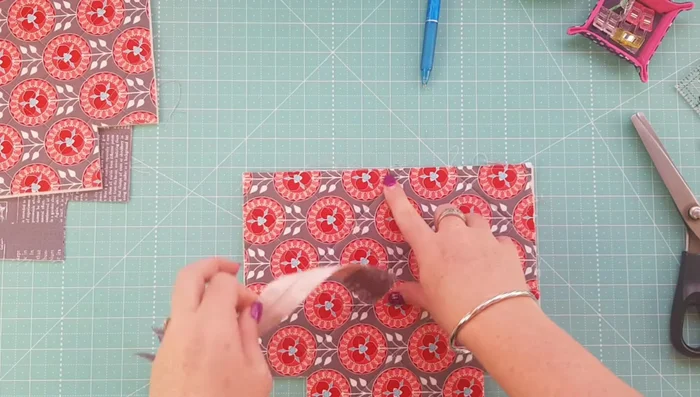
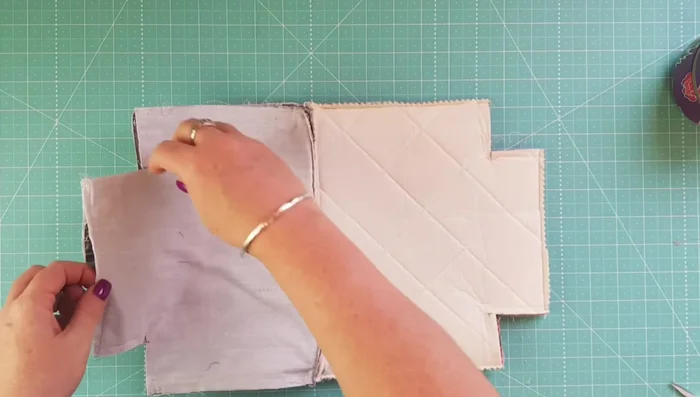
- Prepare exterior and lining fabrics by measuring 10 inches across and 9 inches down, marking for zipper placement.
- Cut 2-inch squares from each bottom corner of the exterior and lining fabrics to create a flat bottom.
Prepare for Zipper Installation Prepare Zipper Tabs
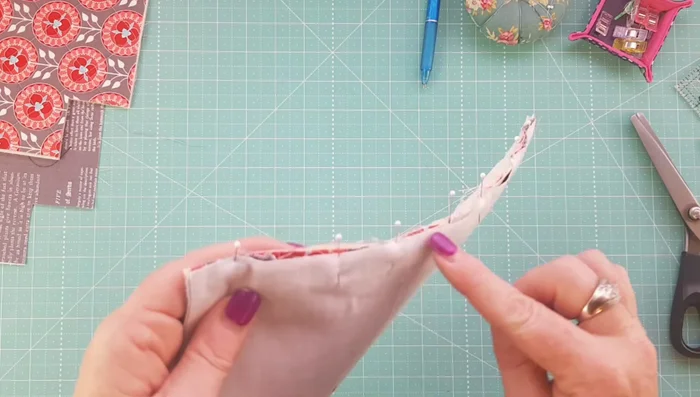
- Prepare zipper tabs by folding in half and marking a stitching line.
Prepare Zipper Tabs Prepare Zipper
- Prepare the zipper by removing the metal stops.
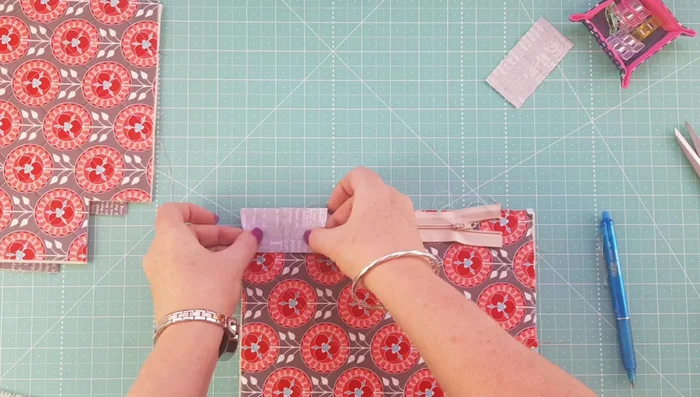
Prepare Zipper Attach Zipper Tabs
- Attach zipper tabs to the zipper.
- Trim excess zipper tab fabric.
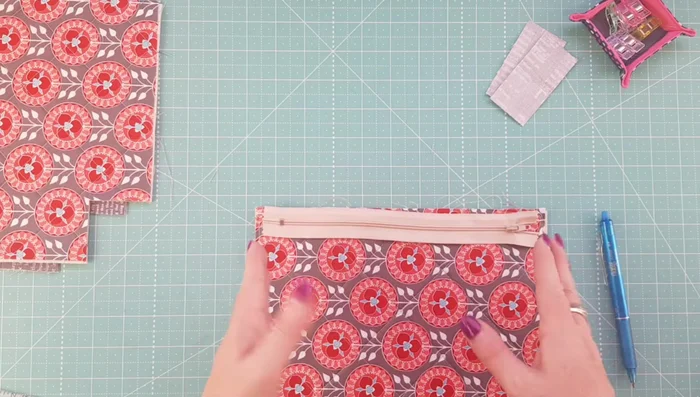
Attach Zipper Tabs Install Zipper
- Center the zipper and align it with the center of the exterior fabric, then add the lining fabric, right sides together. Pin or clip to secure.
- Stitch the zipper to the exterior and lining fabrics.
Install Zipper Attach Remaining Fabric Layers
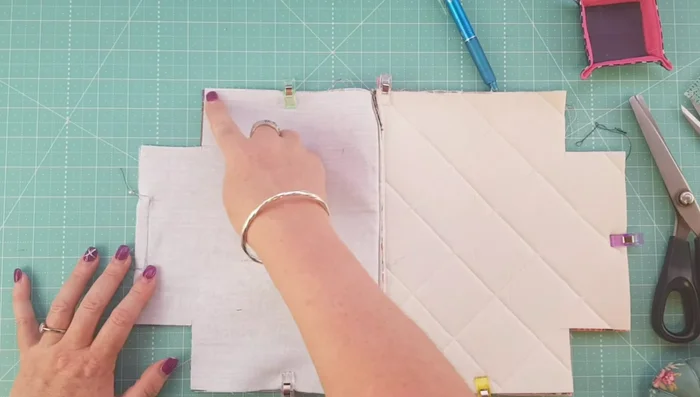
- Attach the other side of the exterior and lining fabrics to the zipper, right sides together. Leave a gap for turning.
- Stitch around the perimeter, leaving a gap for turning.
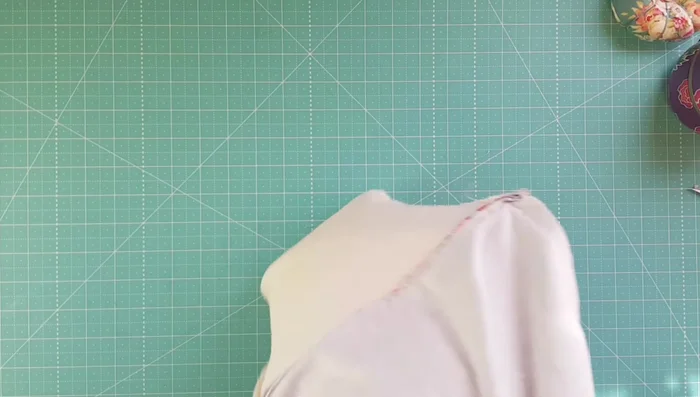
Attach Remaining Fabric Layers Box Corners
- Align seams, pin or clip, and stitch across.
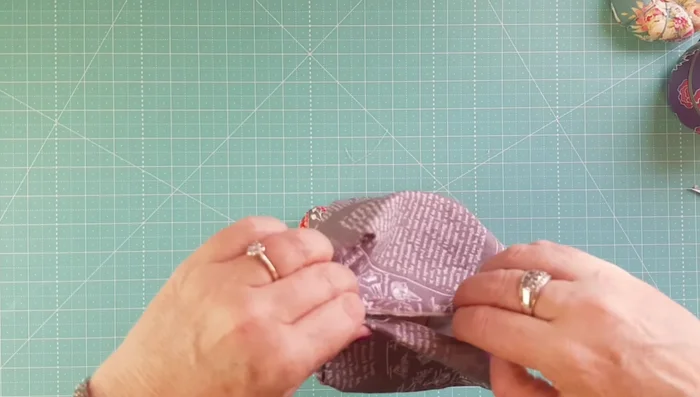
Box Corners Turn and Finish
- Turn the pouch right side out through the gap.
- Topstitch the gap closed.
- Add embellishments (optional).
Turn and Finish
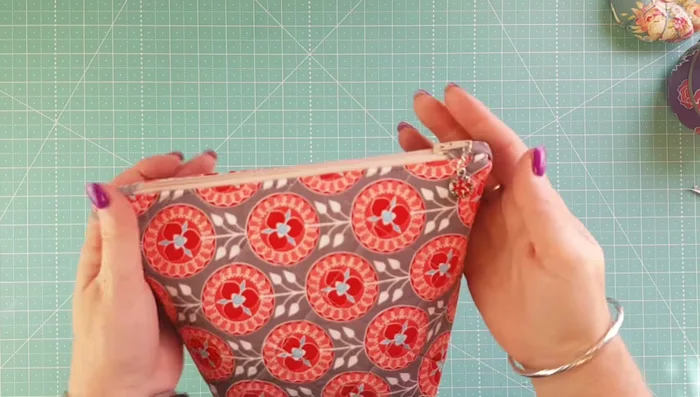
Read more: DIY Quilted Makeup Pouch Tutorial: The Easiest and Fastest Method
Tips
- Lengthen your stitch length when sewing through foam.
- Use a zipper foot for easier zipper installation.
- Remember right sides together when assembling the pouch.
- Ensure your zipper pull is out of the way when top stitching.