Are you ready to sew a stunning and effortlessly chic tunic top? This sew along will guide you through creating the Esther Tunic, a beautiful garment perfect for warmer weather, using the incredibly soft and drapey fabric, viscose. Viscose can sometimes seem intimidating for beginners, but we'll break down the process into manageable steps, making this project accessible to sewists of all skill levels, from confident beginners to seasoned pros. This pattern is designed for a relaxed fit and features a flattering neckline and comfortable sleeves, making it a versatile addition to your wardrobe.
Prepare to be amazed at how easily you can elevate your sewing skills and create a garment you'll love wearing. We’ll cover everything from choosing the right fabric and understanding the pattern pieces to mastering essential techniques like working with bias edges and achieving a professional finish. Follow along with our detailed step-by-step instructions below to start sewing your own Esther Tunic today!
Preparation and Safety Guidelines
- Sewing Machine
- Sharp Needles (size 70 recommended)
- Fabric Scissors
- Pins
- Tape Measure
- Elastic
- Safety Pin
- Iron
- Chalk/Pencil
- Always use sharp sewing machine needles appropriate for viscose fabric to prevent skipped stitches and fabric damage. Dull needles can cause snags and tears.
- Viscose can be slippery. Use pins carefully to avoid creating holes. Consider using a walking foot or a roller foot on your sewing machine for better fabric feeding.
- Pre-wash your viscose fabric before sewing to prevent shrinkage after the garment is completed. This is especially important for the final result.
Step-by-Step Instructions
Prepare and Measure
- Wash and prepare your fabric. Use a tape measure to check your measurements against the pattern.
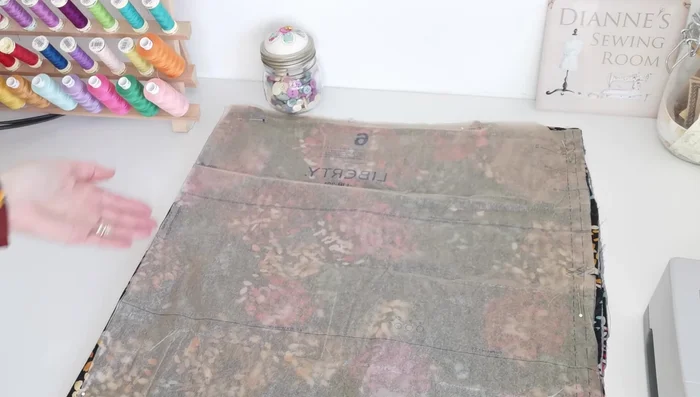
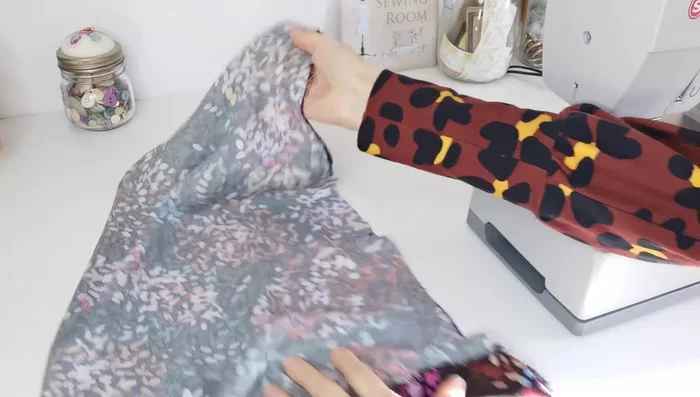
Cut Fabric
- Cut two pieces each of the lower front, lower back, sleeve, upper back, and upper front pieces, following the pattern instructions and noting notches.

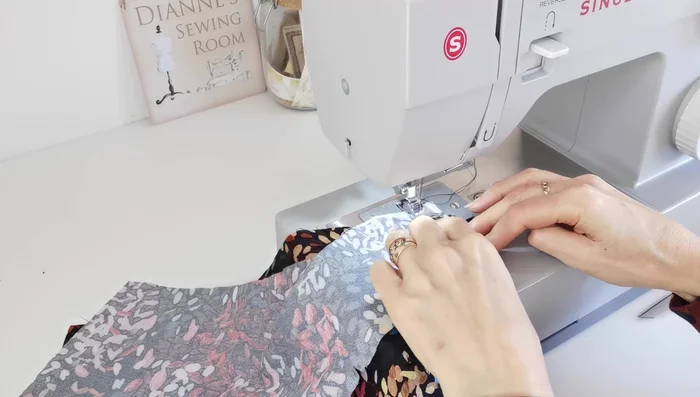
Cut Fabric Sew Shoulder Seams
- Stitch the shoulders of the upper front and upper back pieces together using a 1.5 cm seam allowance. Repeat for the facings.
Attach Neck Facing
- Pin the outer and facing pieces right sides together, stitch around the neckline, leaving a slit at the front for opening. Understitch around the neckline.
Attach Neck Facing Gather Sleeves
- Sew two lines of gathering stitches along the top of each sleeve between markings.
Gather Sleeves Attach Sleeves
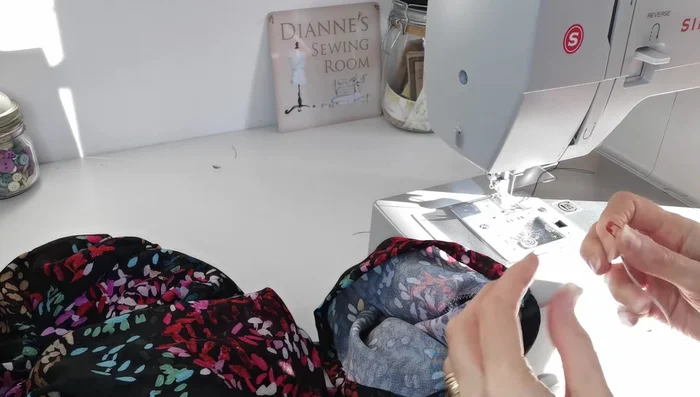
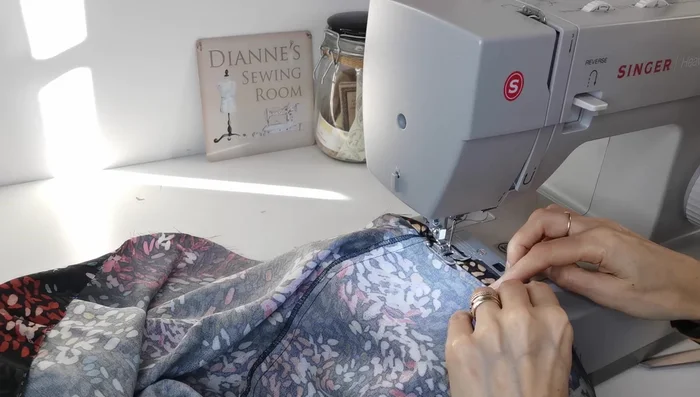
- Pin and sew sleeves to armholes, matching notches and center points, pulling gathering stitches to even the fabric.
Attach Sleeves Sew Sleeves
- Sew down the sleeve from the cuff to the small square mark, backstitching at the mark. Repeat for both sleeves.
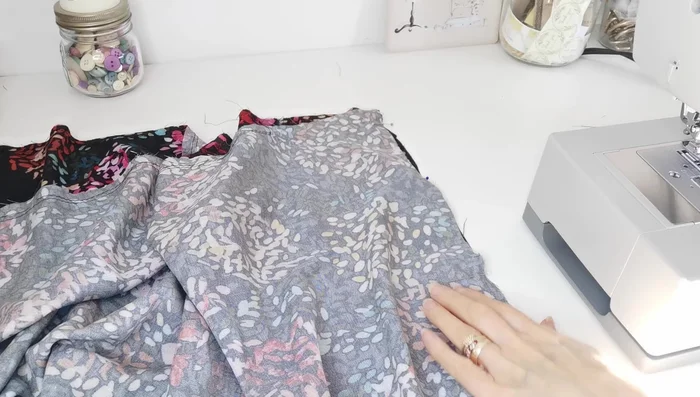
Sew Sleeves Gather Bottom Panels
- Sew two lines of gathering stitches along the top of the bottom front and back panels.
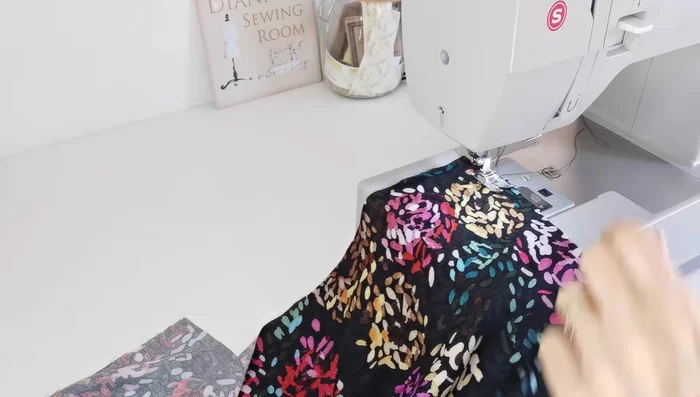
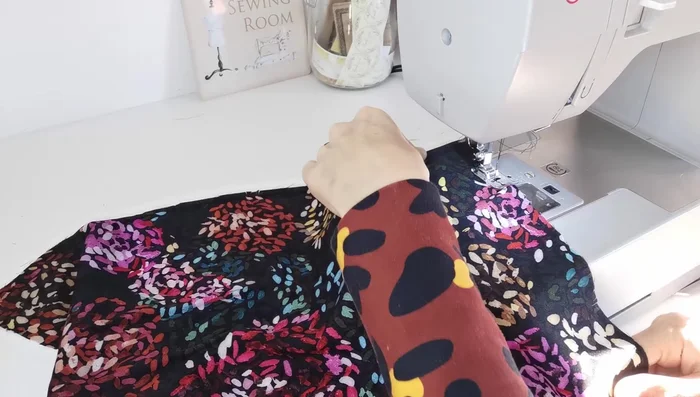
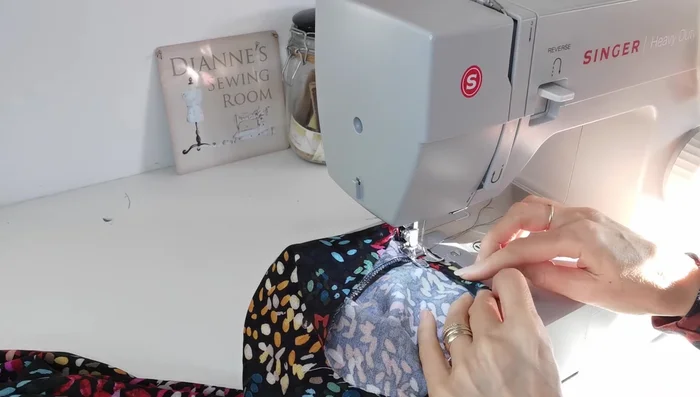
Gather Bottom Panels Attach Bottom Panels
- Sew the side seams of the lower panels together. Then, pin and sew the bottom panels to the top bodice, matching notches and center points, pulling gathering stitches evenly.
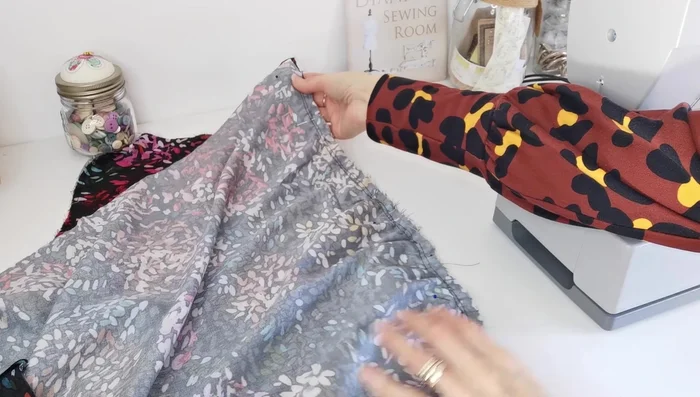
Attach Bottom Panels Hem Sleeves and Insert Elastic
- Fold and hem the sleeves, leaving an opening at the underarm seam for elastic insertion.
- Measure and thread elastic through the sleeve openings, joining the ends and stitching securely. Close the opening.
Hem Sleeves and Insert Elastic Hem Top
- Create a narrow hem on the top of the tunic.
Hem Top
Read more: Raglan Sleeve Sewing Tutorial: A Step-by-Step Guide
Tips
- Use a sharp needle (size 70 recommended).
- Make gathering stitches longer for better control.
- Use two lines of gathering stitches for even gathers.
- Add 2.5cm to your wrist measurement when cutting elastic for the sleeves.