Creating beautiful, comfortable pillows often involves a daunting finishing process. Many methods are time-consuming and require specialized sewing skills, leaving even experienced crafters feeling frustrated. But what if there was a faster, simpler way to achieve professional-looking results? Introducing the envelope pillow back – a revolutionary technique that drastically reduces the time and effort involved in pillow construction. This method eliminates the need for zippers, invisible closures, or complex seams, making it perfect for beginners and seasoned sewists alike.
Forget struggling with fiddly zippers or intricate piping; the envelope pillow back is truly a game-changer. Its straightforward design allows for quick assembly and a clean, polished finish. This simple yet effective technique relies on cleverly overlapping fabric panels to create a neat and secure closure. Ready to learn how to make your pillow-making process significantly easier and faster? Let's dive into the step-by-step instructions.
Preparation and Safety Guidelines
- Sewing machine
- Iron
- Ironing board
- Clover Wonder Clips
- Purple Thing Corner Tool (optional)
- Scissors
- Always use sharp sewing machine needles and appropriate thread weight for your fabric to prevent skipped stitches and fabric damage. Dull needles can cause the fabric to snag and break.
- Ensure your seam allowances are consistent throughout the process for a neat and professional finish. Inaccurate seam allowances can lead to uneven pillow dimensions and a sloppy look.
- Carefully check your measurements before sewing the final seam to ensure the pillow insert will fit snugly. A too-tight or too-loose casing will affect the final pillow's look and feel.
Step-by-Step Instructions
Measure and Cut
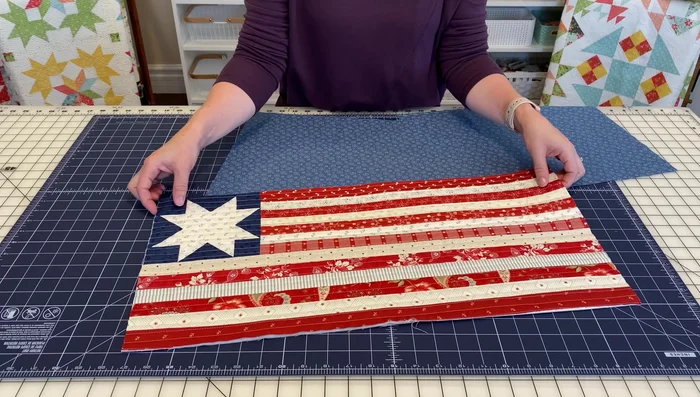
- Measure your pillow front. This example uses a 12-inch by 25-inch pillow.
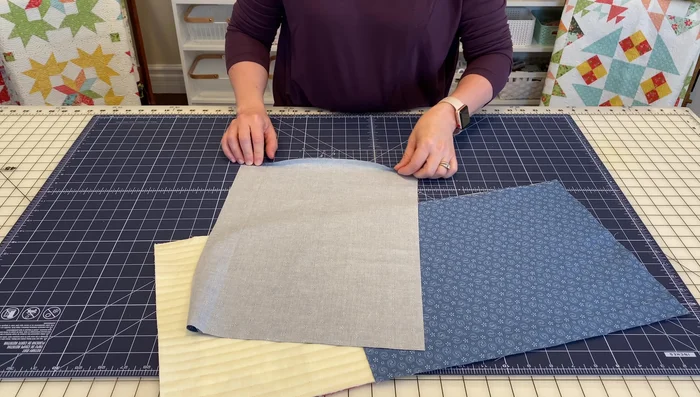
- Cut two backing fabric pieces. Each piece should be the same width as your pillow front (12 inches in this case) and 16 inches long, creating a generous overlap.

Measure and Cut Hem Backing Pieces
- Hem one short edge of each backing piece by pressing under ¼ inch, folding again, pressing, and sewing a seam.
Hem Backing Pieces Assemble Pillow Layers
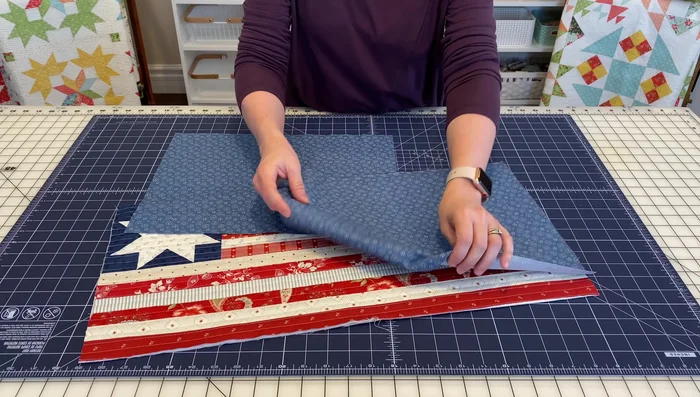
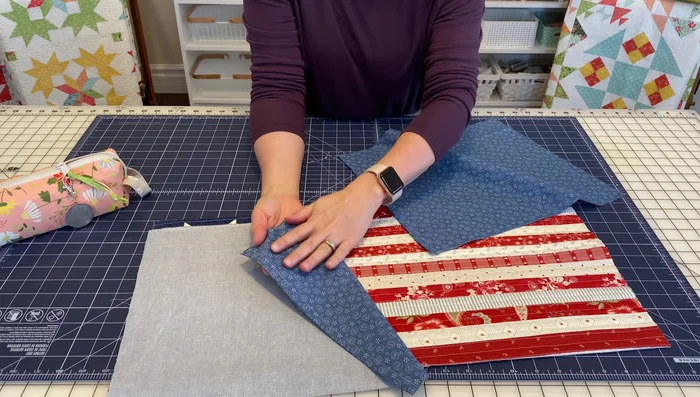
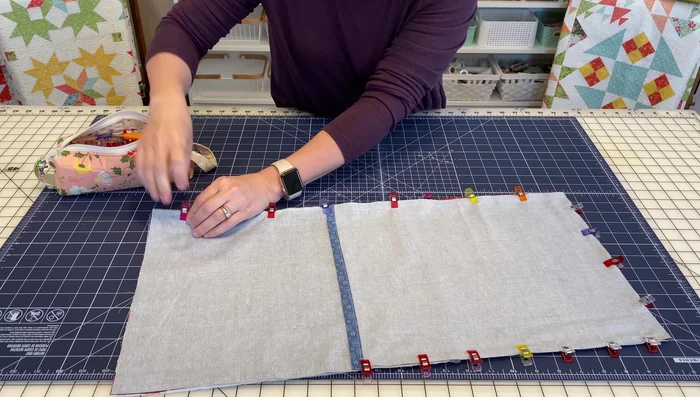
- Place the pillow front right side up. Position the two backing pieces right sides together, aligning the hemmed edges with the pillow front edges and ensuring even overlaps. Secure with Clover Wonder Clips.
Assemble Pillow Layers Sew Pillow Layers
- A slightly larger seam allowance (½ inch) is recommended for some pillows for extra stability but not needed in this case. Sew with the pillow front on top to help guide the fabric and ensure all edges are within the seam allowance.
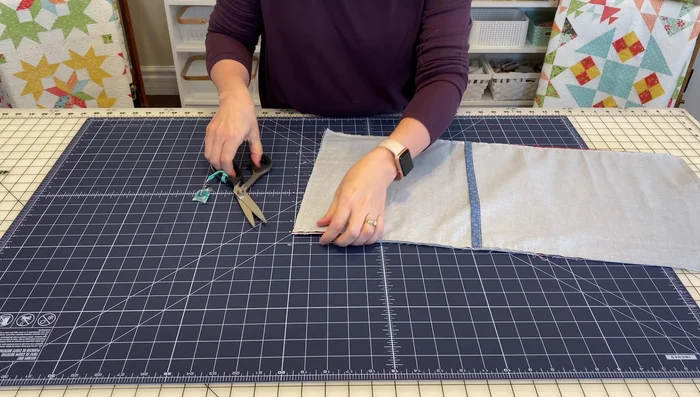
Sew Pillow Layers Clip Corners
- Clip the corners to reduce bulk. Be careful not to cut the seam.
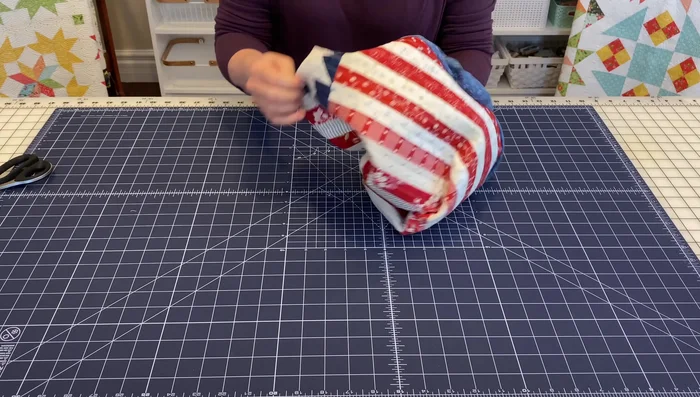
Clip Corners Turn and Shape
- Turn the pillow right side out. Use fingers or a corner tool to push out the corners neatly.
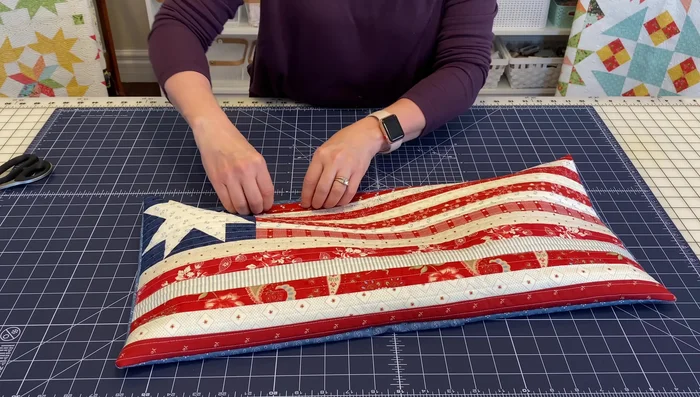
Turn and Shape Press Pillow
- Press the pillow from the front to create a crisp finish and prevent the pillow back from showing through.
Press Pillow Insert Pillow Insert
- Insert the pillow insert through the opening.
Read more: King Size Quilt Tutorial: Efficient Chain Piecing Method
Tips
- A generous overlap (about 4 inches in this example) on the back pieces prevents the pillow from poking through the seam.
- If quilting the pillow back, consider binding the edges instead of hemming for a cleaner finish.
- Use a corner tool to help create sharp corners. It can help to insert the corner tool inside to push them out.
- For a perfectly neat finish, you can add small pieces of batting to the corners if needed after pressing.