Baby quilts are cherished heirlooms, often passed down through generations, holding within their soft fabric the warmth of love and countless memories. Adding personalized embroidery elevates these treasured blankets from simple comfort items to truly unique works of art, imbued with even deeper sentiment. Imagine stitching your baby's name, a special date, or a charming little animal directly onto the quilt, creating a one-of-a-kind keepsake that will be treasured for years to come. The delicate artistry of embroidery adds a touch of elegance and personality that perfectly complements the softness and practicality of a baby quilt.
This guide provides a comprehensive, step-by-step approach to embroidering on your baby's quilt, regardless of your skill level. From choosing the right embroidery design and thread to transferring the pattern and completing the stitching, we will cover everything you need to know to successfully personalize your next baby quilt project, transforming it into a beautiful and meaningful heirloom.
Preparation and Safety Guidelines
- Fabric
- Embroidery hoop
- Needle
- DMC floss (or similar)
- Water-soluble pen
- Scissors
- Light box (or sunny window)
- Always use embroidery floss and needles appropriate for a baby's delicate skin. Avoid sharp edges or loose threads that could pose a choking hazard.
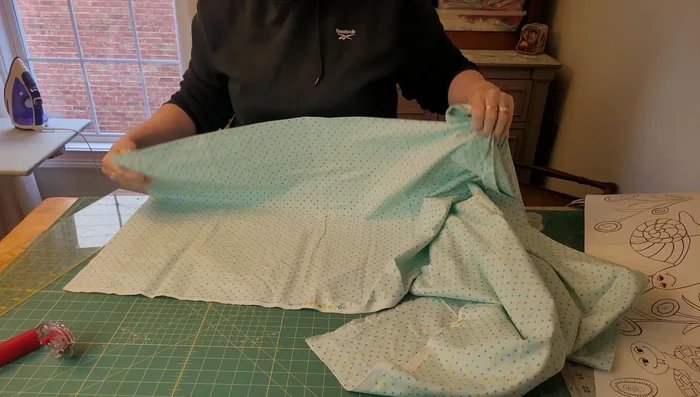
- Thoroughly wash and dry the quilt *before* embroidering to prevent shrinkage and ensure the embroidery remains secure after washing.
- Avoid using any potentially toxic dyes or finishes on the embroidery floss or quilt fabric. Opt for baby-safe, non-toxic materials only.
Step-by-Step Instructions
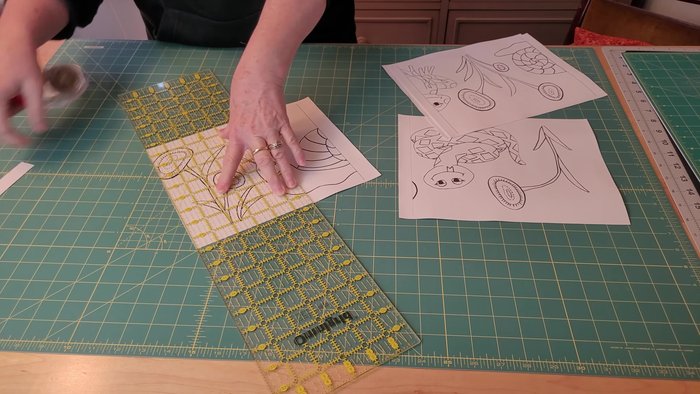
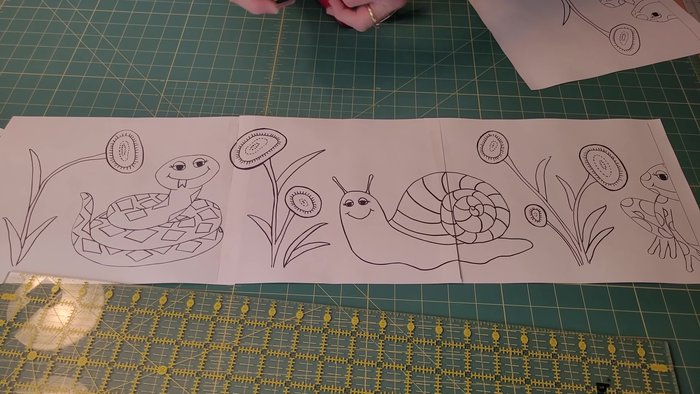
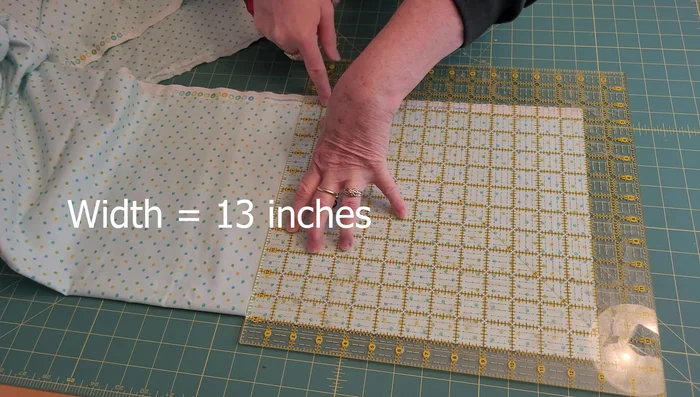
Prepare Pattern and Fabric
- Print the pattern from the website and prepare your fabric.
- Cut 13 inches of fabric for the hoop.

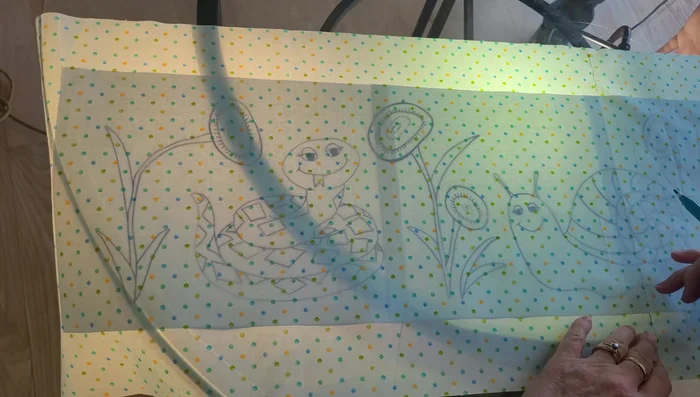
Prepare Pattern and Fabric Trace and Hoop
- Use a light box (or a window) to trace the pattern onto the fabric with a water-soluble pen.
- Place the fabric in the embroidery hoop.
Trace and Hoop Embroider Outline
- Separate two strands of floss and begin embroidering, using a running stitch to outline the design.
Embroider Outline Embroider Details
- Embroider the details using satin stitch for areas like the eyes.
Embroider Details Finish and Remove Excess
- Once finished, remove the excess fabric from the hoop.
Finish and Remove Excess


Read more: King Size Quilt Tutorial: Efficient Chain Piecing Method
Tips
- Don't worry about making perfect stitches; focus on creating a visible outline of the design.
- Use a busy yet light-colored fabric to allow the embroidery to stand out.
- Embroidery is a relaxing activity that can be done while watching movies or socializing.
- It's a great activity for children; it's simple and visually appealing.