Embroidery, a timeless craft, offers a beautiful way to personalize your home decor. But transforming your intricate needlework into something functional and cozy can sometimes feel daunting. What if we told you there’s a remarkably simple method to elevate your embroidered creations? Enter the envelope back cushion – a clever and easy technique that allows you to showcase your handiwork while adding a touch of handcrafted charm to any room. This surprisingly straightforward project requires minimal sewing skills and utilizes readily available materials, making it perfect for beginners and experienced embroiderers alike.
Forget complex patterns and hours of meticulous stitching for the cushion itself; the focus here is entirely on your beautiful embroidery. This method lets you transform even small embroidery pieces into charming cushions. Ready to effortlessly turn your embroidered masterpiece into a comfortable and stylish addition to your home? Let's dive into the step-by-step instructions to create your own envelope back cushion.
Preparation and Safety Guidelines
- Pillow form
- Embroidery
- Cushion back kit (optional)
- Sewing machine (or needle and thread)
- Iron
- Chopsticks or bamboo turner
- Pins
- Always use a fabric suitable for both embroidery and cushion use. Consider durability and potential for shrinking or fading.
- Ensure all raw edges are properly finished (serged, zig-zag stitched, or bound) to prevent fraying and maintain the cushion's structural integrity.
- When using filling material, avoid overstuffing the cushion. This can cause stress on the seams and lead to bursting or an uncomfortably firm cushion.
Step-by-Step Instructions
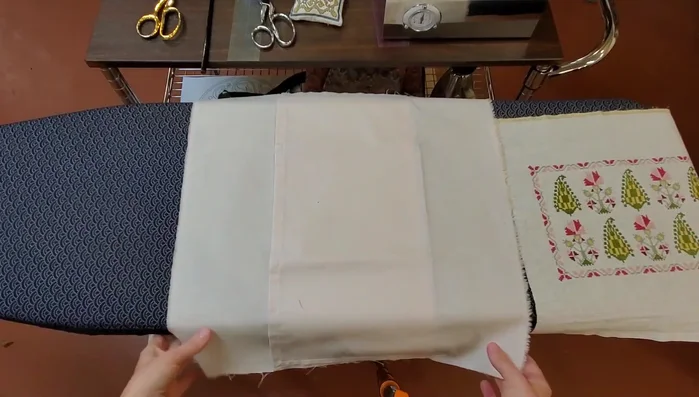
Prepare Materials
- Measure your pillow form and determine the size of your cushion cover (add extra for seam allowance).
- Prepare your cushion backing. If using a pre-made kit, it will already be partially assembled.

Prepare Materials Prepare Embroidery
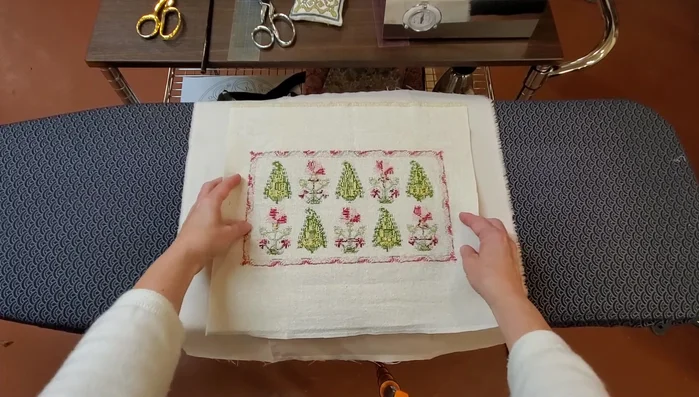
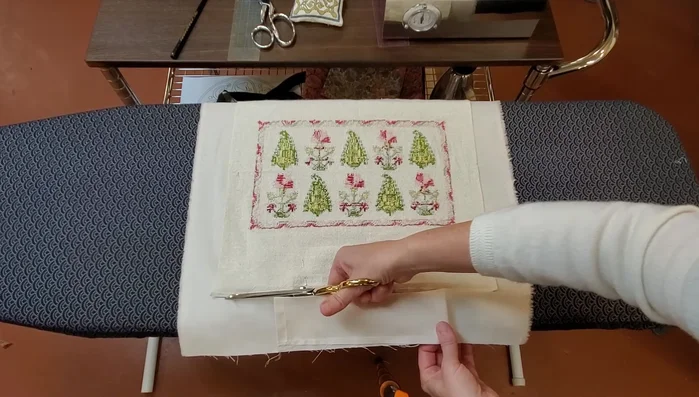
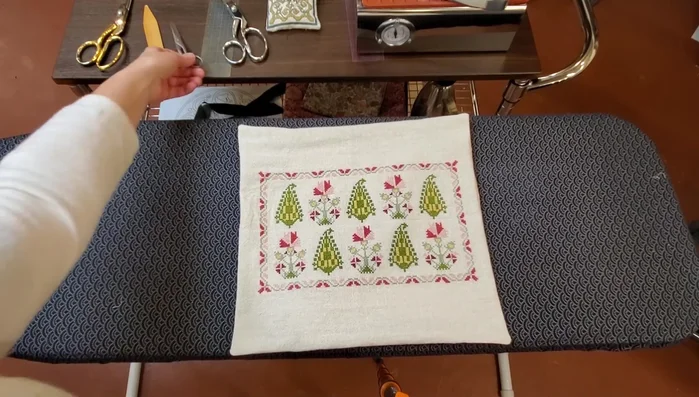
- Trim your embroidery to match the dimensions of your cushion cover.
Prepare Embroidery Assemble Cushion Cover
- Lay your embroidery face down, center it on the cushion backing, and secure with pins.
- Trim the cushion backing to match the embroidery dimensions.
Assemble Cushion Cover Sew Cushion Cover
- Sew the embroidery and cushion backing together using a sewing machine (or by hand) with a ½ inch seam allowance.
Finish Corners
- Trim excess fabric at the corners to reduce bulk, being careful not to cut too close to the stitching.
Finish Corners Turn and Shape
- Turn the cushion cover inside out, using chopsticks or a bamboo turner to push out the corners and create a crisp finish.
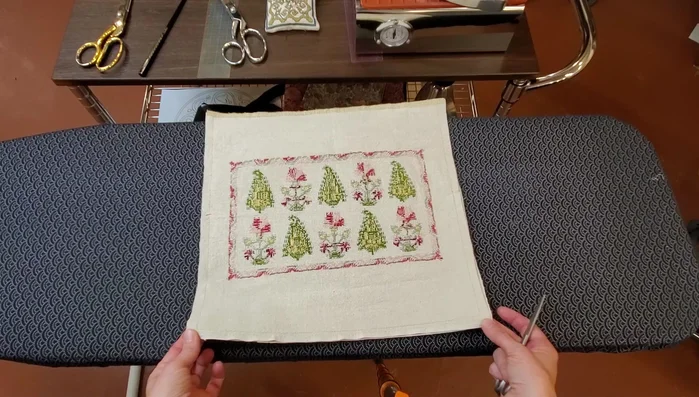
Press and Finish
- Press the finished cushion cover to ensure the backing is smooth and flat.
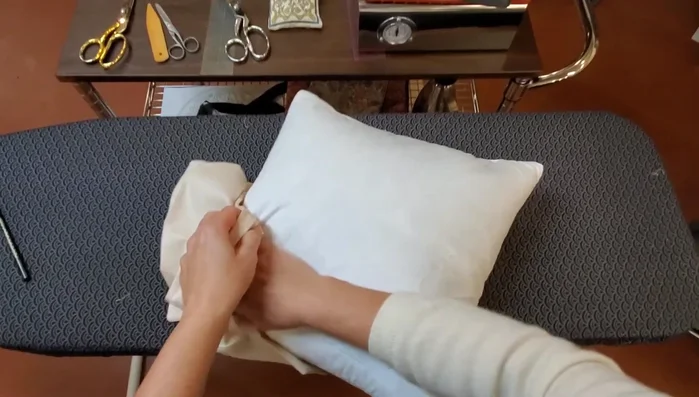
Press and Finish Insert Pillow Form
- Insert the pillow form into the cushion cover.
Insert Pillow Form


Read more: King Size Quilt Tutorial: Efficient Chain Piecing Method
Tips
- Pull a thread on your embroidery before trimming for a clean, even cut.
- Use pins to secure the embroidery to the backing before sewing.
- Use the flywheel on your sewing machine to keep corners crisp.
- Reduce bulk at the corners carefully to avoid fraying delicate fabrics.
- Gently push and manipulate the corners to ensure a neat finish.