Are you ready to craft a truly adorable and functional accessory? This tutorial will guide you through the simple yet satisfying process of making a charming box bottom drawstring bag. Perfect for carrying small essentials, gifting goodies, or adding a touch of handmade whimsy to your life, these little bags are surprisingly easy to create, even for beginners. Their unique box bottom gives them a sturdy shape and prevents them from slumping, making them ideal for carrying everything from trinkets to small gifts. Imagine the possibilities: vibrant fabrics for a summer picnic, cozy flannels for a winter market, or even sophisticated silks for a special occasion.
This project requires minimal sewing skills and readily available materials, making it a perfect weekend craft. The best part? This adorable bag is highly customizable; let your creativity run wild with fabric choices, embellishments, and drawstring styles. Let's dive into the step-by-step instructions to create your own personalized box bottom drawstring bag!
Preparation and Safety Guidelines
- Fabric (main and lining)
- Scissors
- Ruler
- Friction pen
- Pins
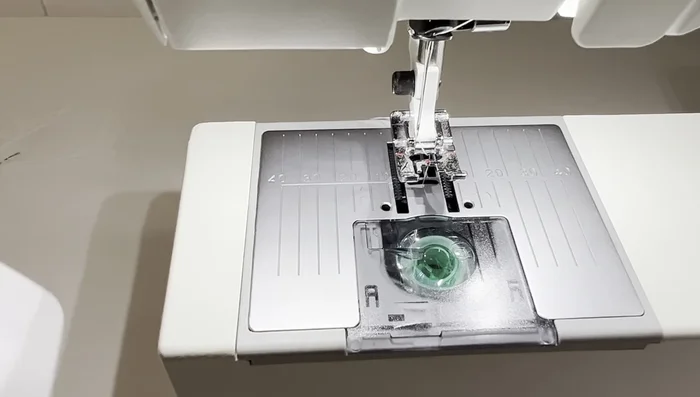
- Sewing machine
- Thread
- Shoelace or ribbon
- Lighter
- Threading tool (optional)
- Always supervise young children when using scissors or needles to prevent accidental injury.
- Ensure the drawstring is securely tied to prevent it from becoming a strangulation hazard, especially for young children. Consider using a safety knot.
- Use fabric appropriate for the intended use. Avoid fabrics that are easily flammable or unsuitable for carrying intended contents.
Step-by-Step Instructions
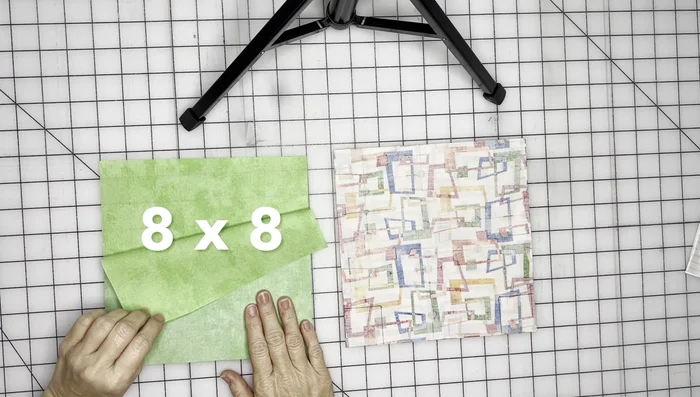
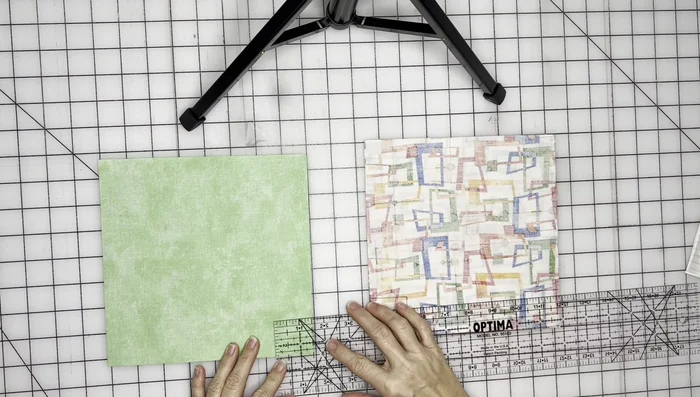
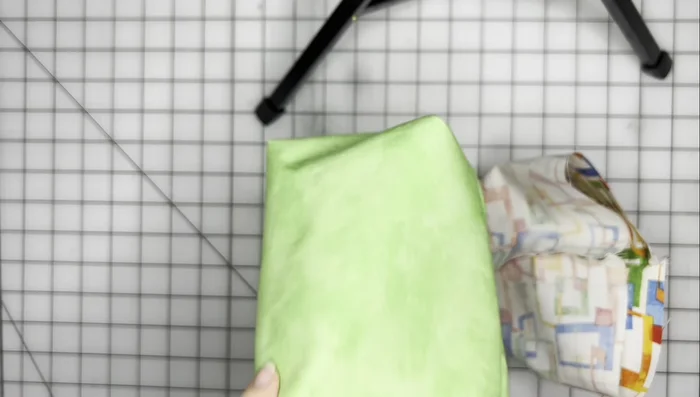
Prepare Fabric
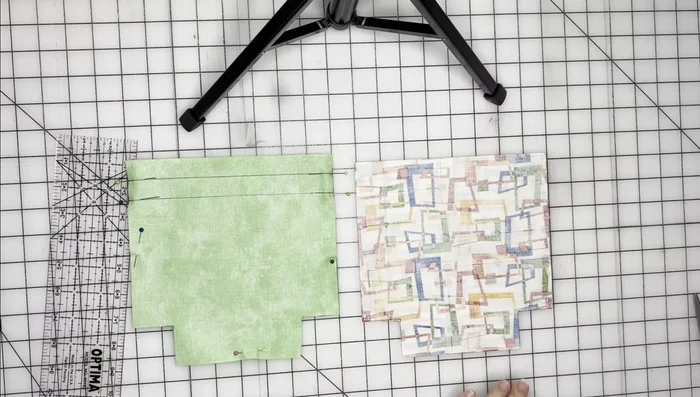
- Cut two 8x8 inch pieces of main fabric and two 8x8 inch pieces of lining fabric.
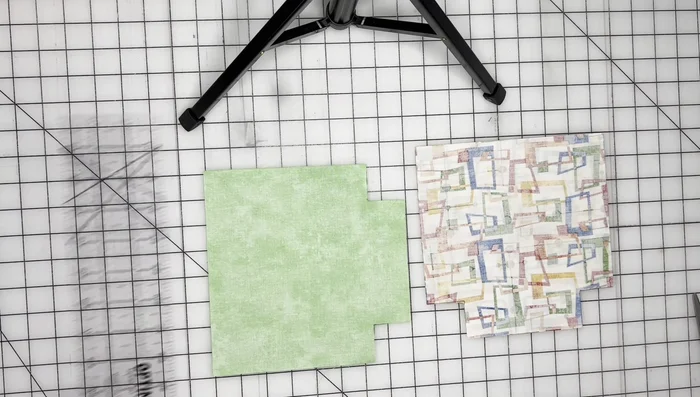
- Cut out 1.5x1.5 inch squares from each corner of both main fabric and lining pieces to create the box bottom.

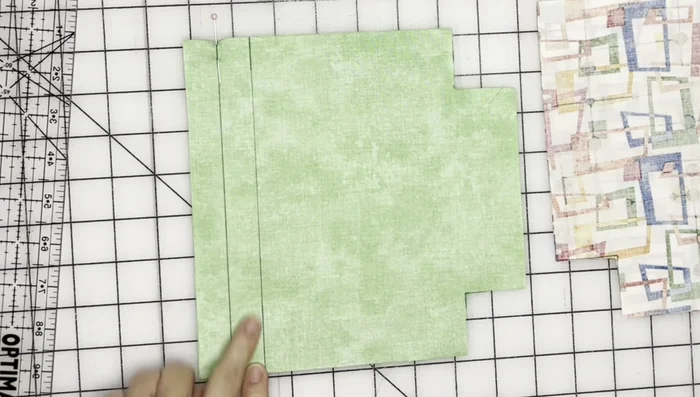
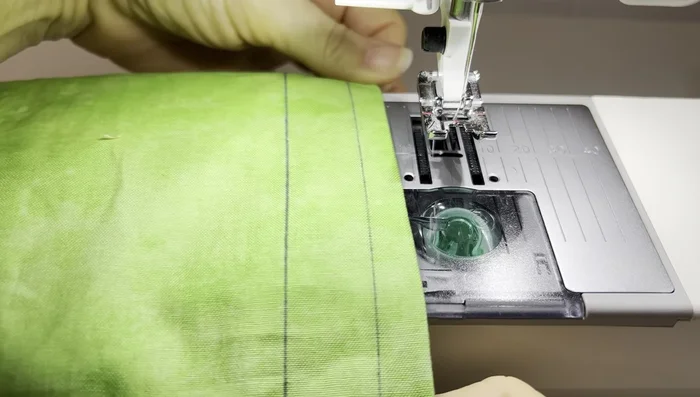
Prepare Fabric Create Main Fabric Casing
- On the main fabric pieces (right sides together), mark lines 0.75 inches down from the top edge on all four sides. Leave 0.75 inch gaps between the lines.
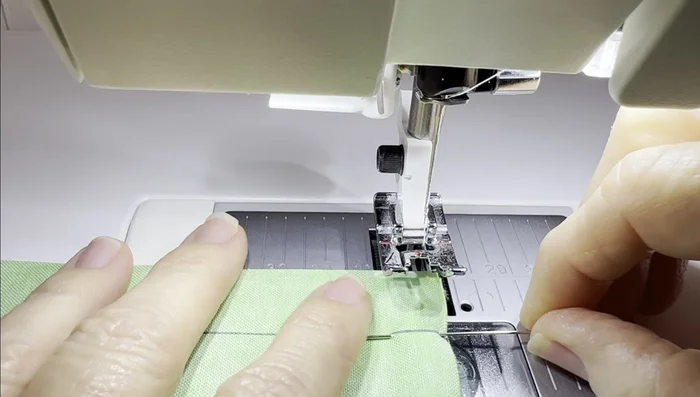
- Pin the main fabric, leaving the 0.75-inch gaps unpinned. Sew along the marked lines, creating a casing for the drawstring.
- Sew the main fabric pieces together, using a 0.25-inch seam allowance. Remember to leave the openings for the drawstring gaps unsewn.
Create Main Fabric Casing Create Lining
- Pin the lining pieces (right sides together), leaving an opening at the bottom. Sew along the edges, leaving the opening unsewn.
- Sew the lining pieces together, using a 0.25-inch seam allowance. Leave the opening unsewn.
Create Lining Sew Box Corners (Main Fabric)
- Match up the seams of the main fabric and sew the box bottom corners, using a 0.5-inch seam allowance.
Sew Box Corners (Main Fabric) Sew Box Corners (Lining)
- Repeat step 8 for the lining.
Sew Box Corners (Lining) Prepare for Turning
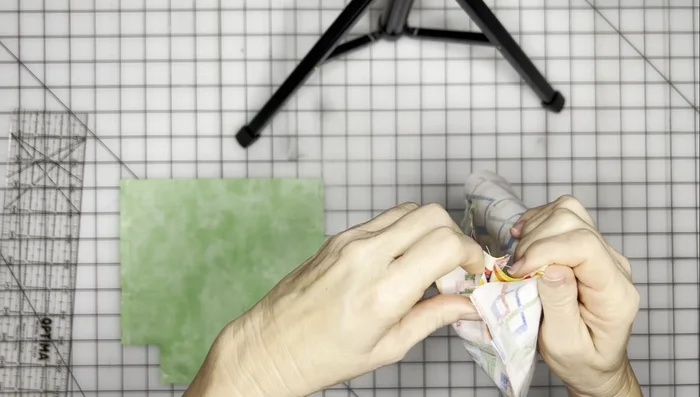
- Turn the main fabric right side out. Finger press the seams of the drawstring casing to create a clear opening.
Prepare for Turning Attach Lining to Main Fabric
- Insert the main fabric into the lining, matching up side seams. Pin the top edge of the lining to the top edge of the main fabric, leaving an opening for turning.
Attach Lining to Main Fabric Sew Top Edge
- Sew along the top edge of the bag, using a 0.25-inch seam allowance.
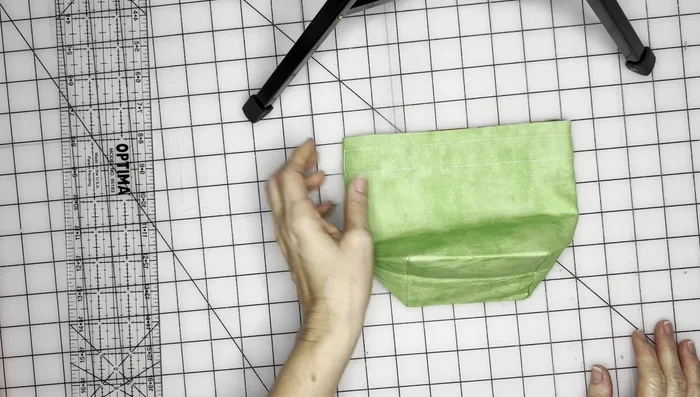
Sew Top Edge Turn and Close Lining
- Turn the bag right side out through the opening in the lining. Close the opening in the lining with a small stitch.
Turn and Close Lining Create Drawstring Casings
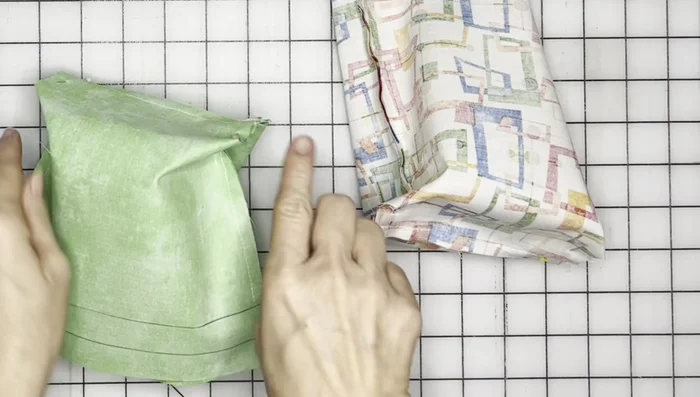
- Sew two additional lines along the top edge of the bag to create the casings for the drawstrings, using 0.25-inch seam allowance.
Create Drawstring Casings Insert and Tie Drawstrings
- Insert drawstrings (shoelaces, ribbon, etc.) through the casings using a threading tool. Tie off the ends of the drawstrings.
Insert and Tie Drawstrings


Read more: DIY Quilted Makeup Pouch Tutorial: The Easiest and Fastest Method
Tips
- Use a friction pen for marking lines as they erase with heat from an iron.
- Use a back stitch or a fixed stitch at the beginning and end of each seam for added durability.
- Finger pressing seams helps maintain the shape and makes sewing easier.
- To prevent the drawstring from slipping, use a lighter to slightly melt the edges of the drawstring. Alternatively, clip a small piece of fabric to hold it in place.