The draped skirt, with its inherent fluidity and effortless elegance, remains a timeless wardrobe staple. Its versatility allows it to transition seamlessly from casual daytime wear to sophisticated evening attire, depending on the fabric and styling. Adding a daring side slit elevates this classic design, injecting a modern edge and showcasing a glimpse of leg for a touch of alluring drama. This unique combination of drape and slit creates a captivating silhouette that’s both comfortable and incredibly stylish.
This tutorial provides a comprehensive guide to drafting a professional-quality pattern for your own draped skirt with a side slit. We'll walk you through each step of the process, from taking accurate body measurements to creating the final, beautifully flowing garment. Let’s delve into the detailed, step-by-step instructions that will empower you to create this stunning piece.
Preparation and Safety Guidelines
- Pattern paper
- Pencil
- Ruler
- Scissors
- Fabric
- Lining (optional)
- Pins
- Chalk
- Sewing machine (or needle and thread)
- Iron
- Always add seam allowance (at least 1/2 inch or 1.5cm) to all pattern pieces before cutting fabric. Failure to do so will result in a finished garment that is too small.
- Accurately measure your waist and hip circumference. Use these measurements to create a well-fitting base pattern. Inaccurate measurements will lead to ill-fitting garment.
- Test your pattern on a cheap fabric before cutting into your final fabric. This allows for adjustments and minimizes potential waste of expensive materials.
Step-by-Step Instructions
Initial Measurements and Front Pattern Drafting
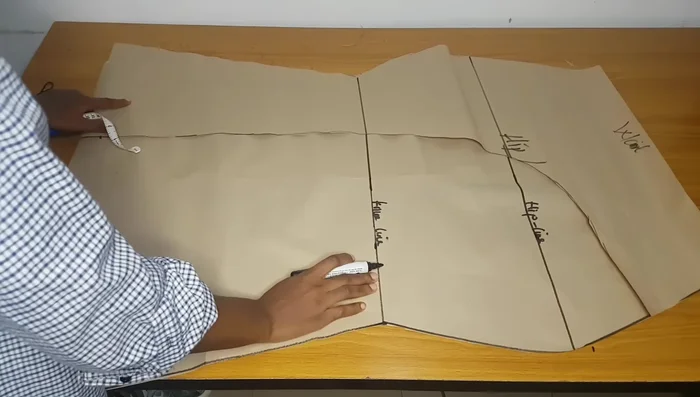
- Measure waist and hip circumference, divide by four to get the front pattern piece measurements.
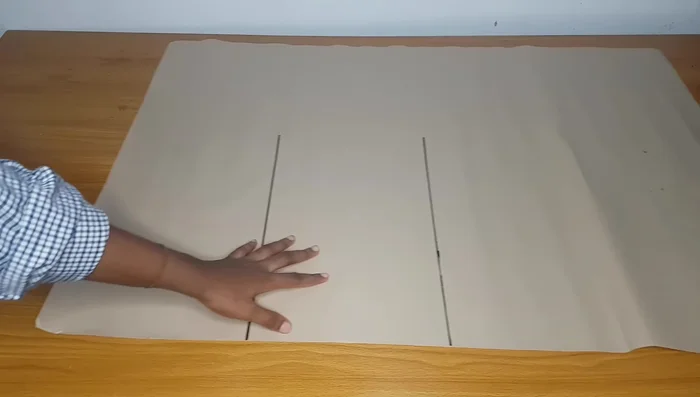
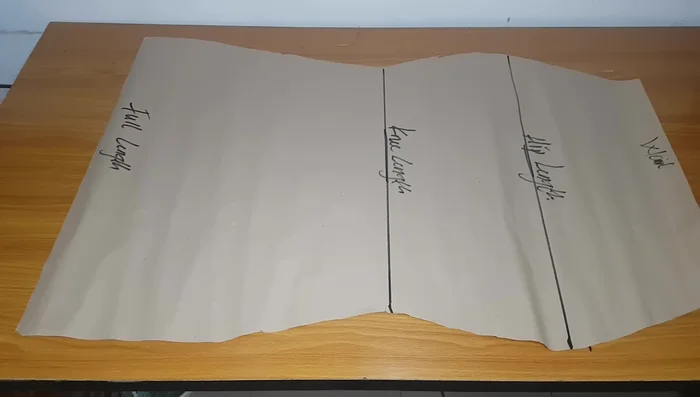
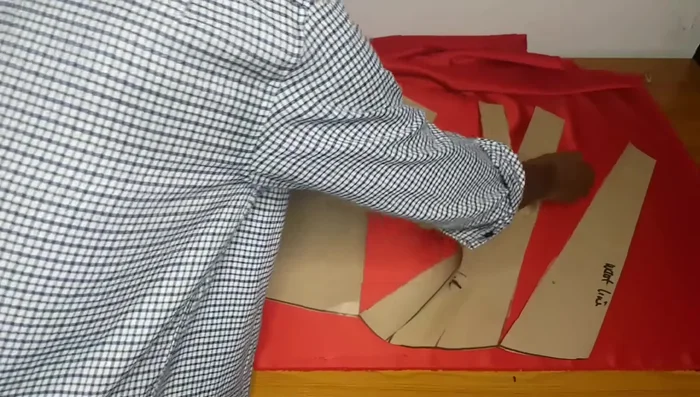
- Draft the front pattern piece on pattern paper, including waistline, hipline, knee line, and full length. Add seam allowance.

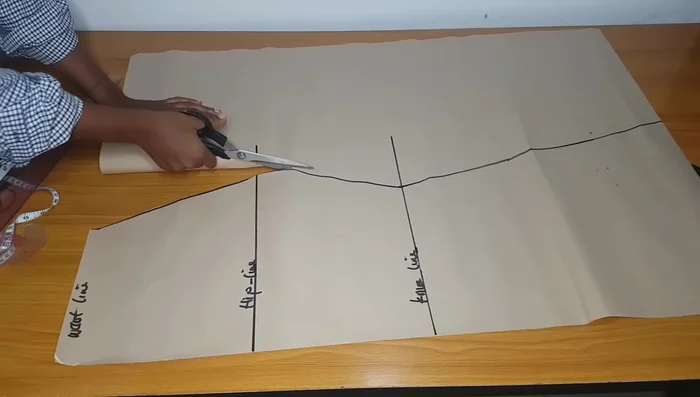
Initial Measurements and Front Pattern Drafting Cut and Prepare Front Pattern Pieces
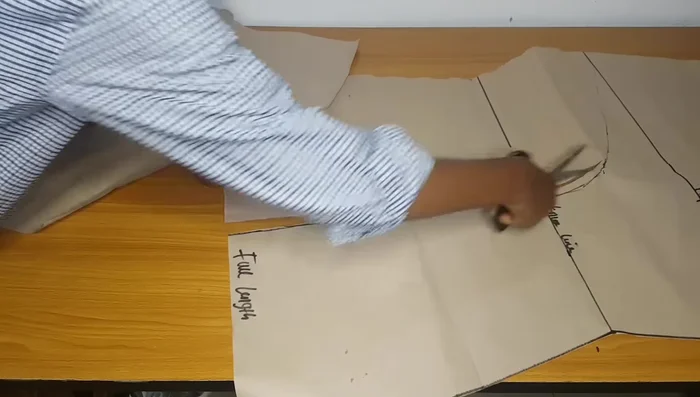
- Cut out two identical front pattern pieces.
- Mark the hip and knee lines on the front pattern pieces for layering. Extend these lines for alignment.
Cut and Prepare Front Pattern Pieces Drafting the Inner Layer
- Decide on the slit placement (left or right). Mark 7 inches down from the waistline on one side for the inner layer.
- Create a curved line from the 7-inch mark to the center line, creating the shape of the inner layer.
- Cut out the inner layer.
Drafting the Inner Layer Drafting the Outer Layer
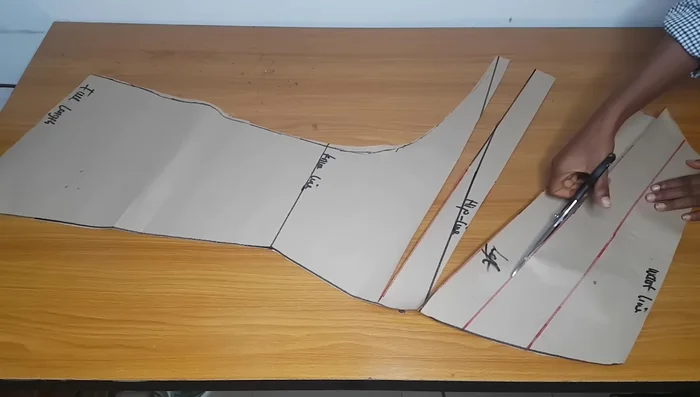
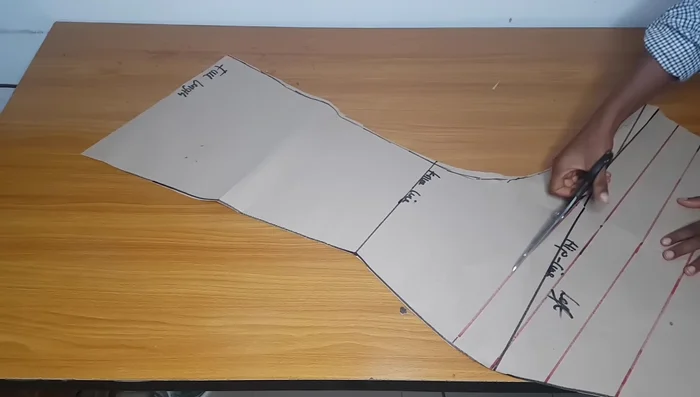
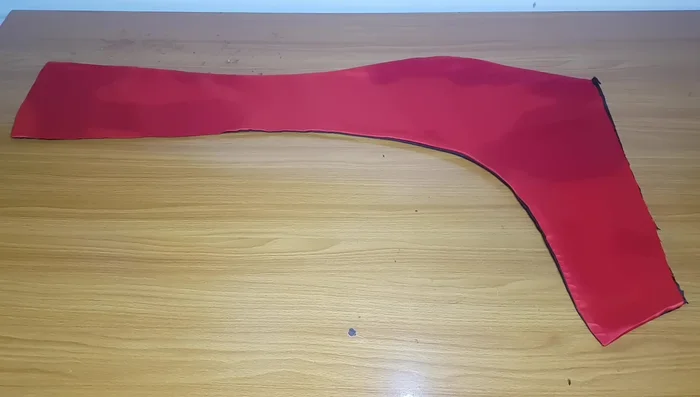
- For the outer layer, start the curve at the hipline. Determine the slit width and curve to the hipline.
- Cut out the outer layer.
Drafting the Outer Layer Cut Lining Pieces (Optional)
- Cut out lining pieces (optional) using the inner and outer pattern pieces without slashing.
Cut Lining Pieces (Optional) Cut Main Fabric Pieces
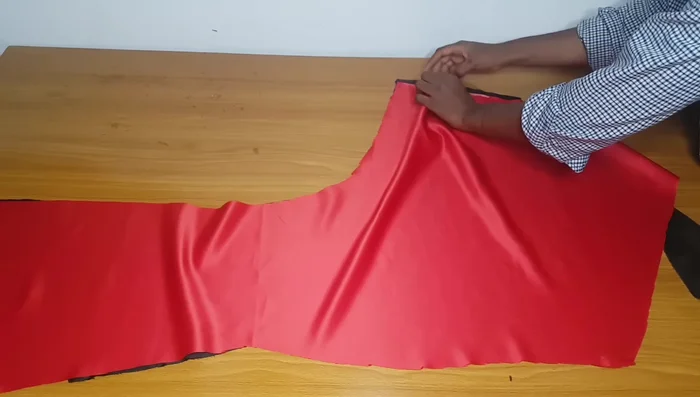
- Slash and spread the outer layer of the main fabric along marked lines to create the draped effect. Use the lining as a guide.
- Cut out the main fabric pieces.
Cut Main Fabric Pieces Pleating and Assembling the Draped Front
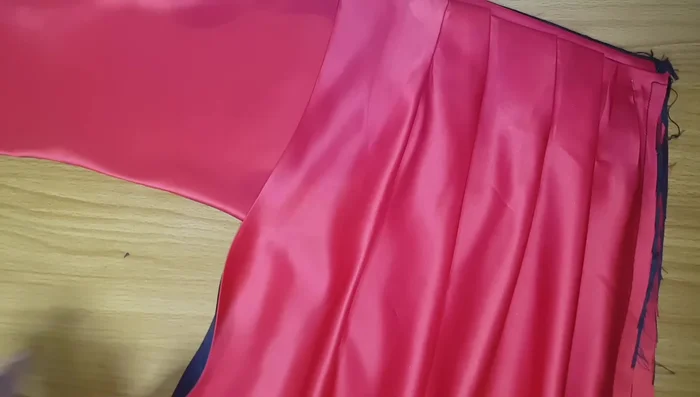
- Pin and pleat the slashed fabric to create the drape. Do not pin the lining to the main fabric; the lining is a guide.
Pleating and Assembling the Draped Front Finishing and Pressing
- Turn and press the seams. Notch the curved slit area to allow for proper pressing.
Final Assembly
- Assemble the skirt pieces, joining the draped front, the inner layer, and the back pieces. Stitch along the waistline and hipline.
- Finish the hem and any remaining details.
Final Assembly


Read more: Raglan Sleeve Sewing Tutorial: A Step-by-Step Guide
Tips
- Use a pattern to ensure accurate measurements and fit.
- Add seam allowance to your pattern pieces for ease of sewing.
- Cutting on the fold will save time and ensure symmetry.
- Clearly label all pattern pieces to avoid confusion during construction.
- Experiment with different slit widths and curves to achieve your desired drape.