Sleeves, seemingly simple additions to a garment, can drastically alter its style and fit. From the breezy elegance of a short sleeve to the sophisticated warmth of a long sleeve, mastering sleeve construction is a crucial skill for any aspiring sewist. Whether you're crafting a flowing summer dress or a cozy winter sweater, understanding how to draft basic sleeve patterns is essential for achieving professional-looking results and ensuring a perfect fit. This is particularly important as even small variations in the pattern can dramatically impact the final garment's appearance and comfort.
This guide will walk you through the fundamental steps of drafting both short and long sleeve patterns, regardless of your experience level. We’ll cover everything from initial measurements and calculations to the final shaping and adjustments, providing clear illustrations and helpful tips along the way. Ready to master the art of sleeve construction? Let's begin with a step-by-step process to creating your perfect sleeve patterns.
Preparation and Safety Guidelines
- Pattern paper
- Pencil
- Ruler
- French curve (optional)
- Always pre-wash your fabric before cutting to avoid shrinkage after garment completion. This is crucial for a well-fitting garment.
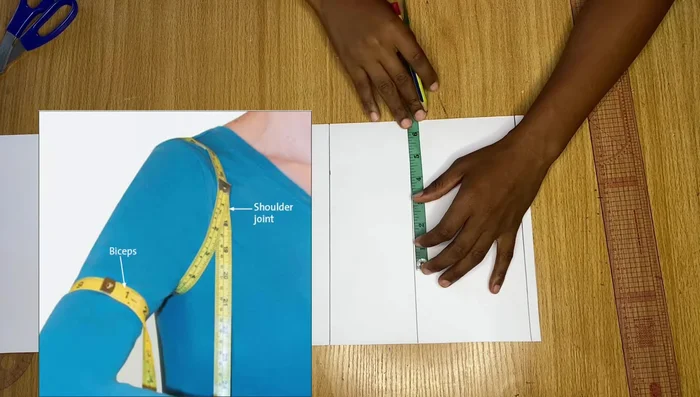
- Accurately measure your arm circumference and sleeve length. Use a flexible measuring tape and take measurements loosely to allow for comfortable movement.
- Check your pattern pieces carefully before cutting. Ensure all markings are clearly visible and that you have chosen the correct size.
Step-by-Step Instructions
Prepare and Draw Basic Lines
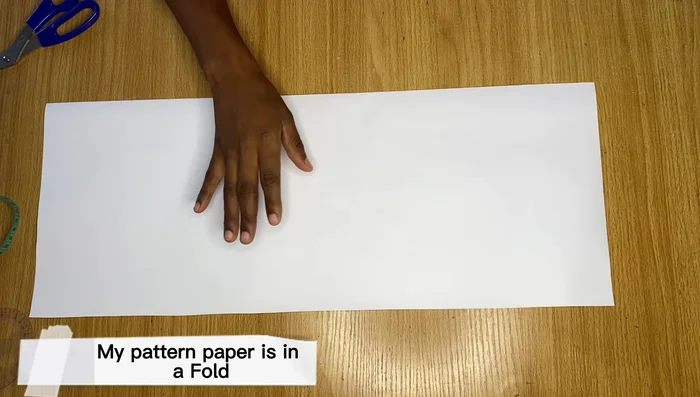
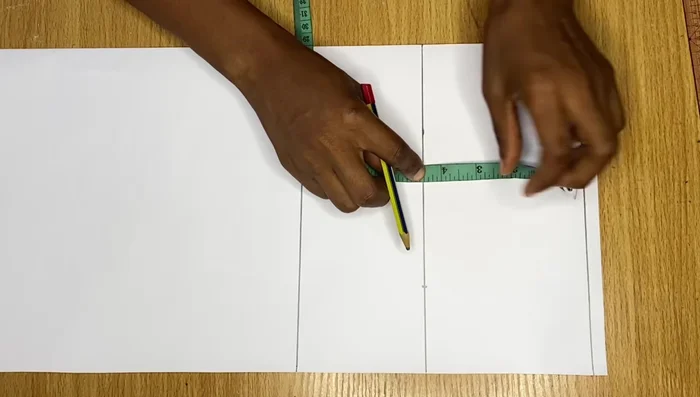
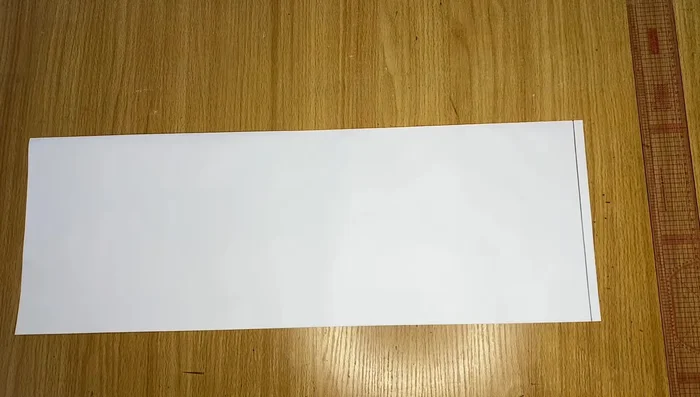
- Start by drafting the short sleeve pattern. Draw a straight line across the folded pattern paper. This serves as the starting line.
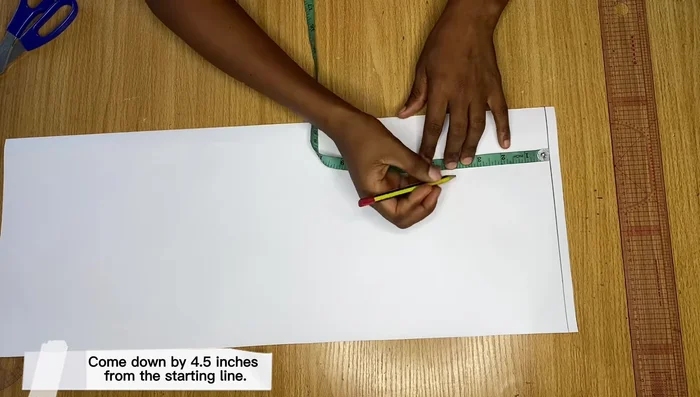
- Measure down 4.5 inches (or 5 inches) from the starting line to mark the bicep line.
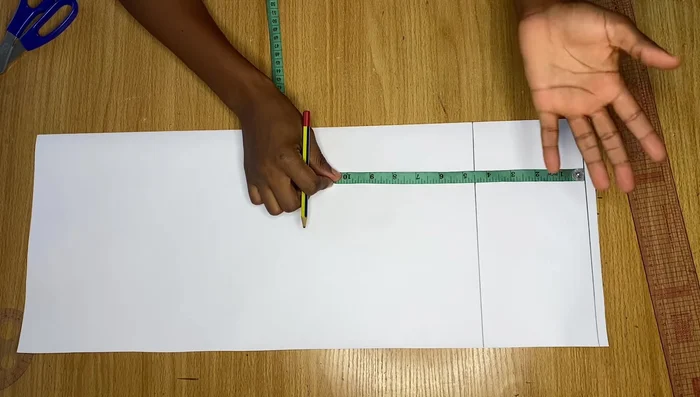
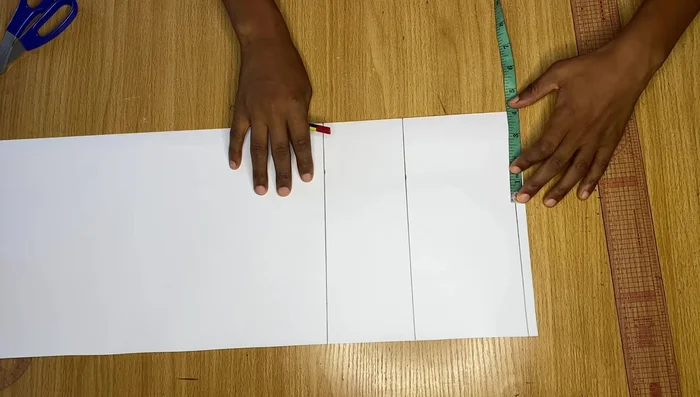
- Measure down to the desired sleeve length (e.g., 8 inches for short sleeve). Draw a line across.

Prepare and Draw Basic Lines Define Sleeve Cap
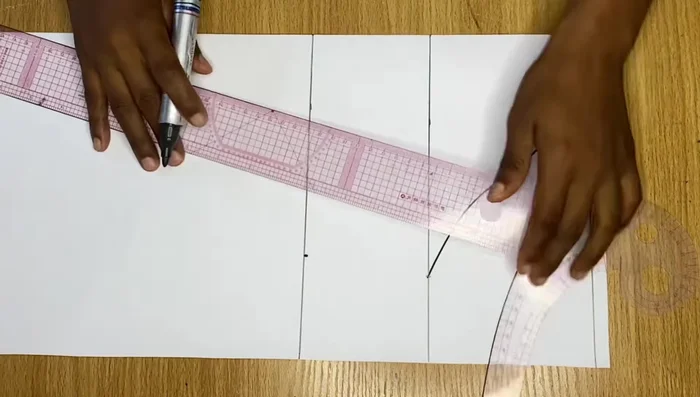
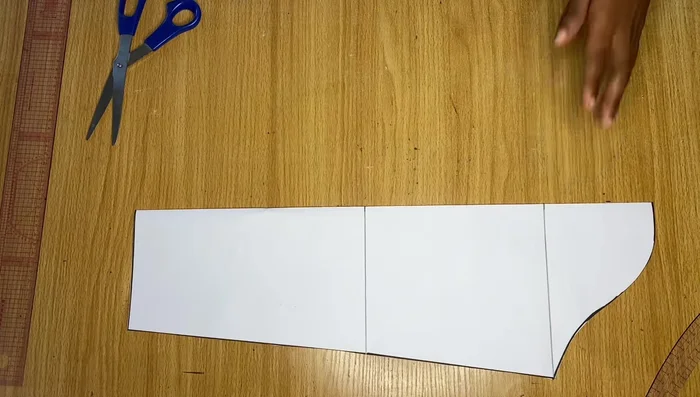
- From the top starting line, measure in 4 inches towards the center and mark a point. This will be a point on the sleeve cap.
- Measure around your bicep, divide by two, and add 1.5 inches for seam allowance. Mark this point on the bicep line.
- Measure straight from the top point (4 inches in) to the bicep line, divide by two, and mark the midpoint. Connect the top point, midpoint, and bicep point with smooth curves using a French curve or freehand.
Define Sleeve Cap Shape the Sleeve Curve (Short Sleeve)
- For the round sleeve, measure your round arm measurement, divide by two, and add 1.5 inches for seam allowance. Connect this point to the bicep point.
Shape the Sleeve Curve (Short Sleeve) Cut Short Sleeve Pattern
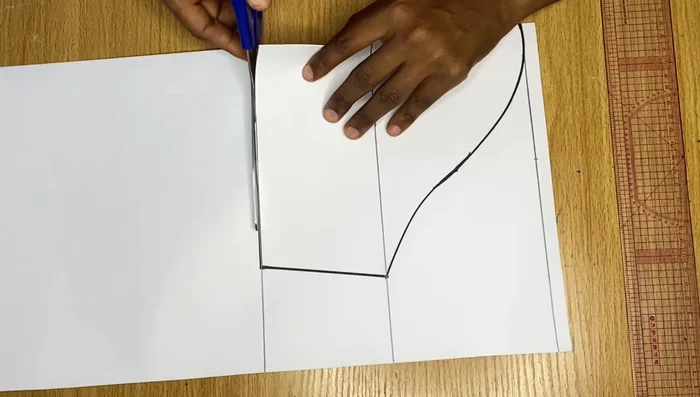
- Cut out the short sleeve pattern (remember it’s folded).
Cut Short Sleeve Pattern Draft Long Sleeve Pattern
- Repeat steps 1-8 for the long sleeve pattern, but adjust the sleeve length to your desired measurement (e.g., 22 inches). Also adjust the elbow measurement.
Draft Long Sleeve Pattern Cut Long Sleeve Pattern
- Cut out the long sleeve pattern.
Cut Long Sleeve Pattern
Read more: Raglan Sleeve Sewing Tutorial: A Step-by-Step Guide
Tips
- You can draft directly onto fabric instead of pattern paper.
- The bicep and sleeve length measurements are customizable to your needs.
- Use a French curve for smoother curves, but freehand is also acceptable.
- Always add seam allowance (1.5 inches is suggested in the video).