The double circle skirt, with its graceful, swirling silhouette, remains a timeless classic. Its seemingly complex design belies a surprisingly straightforward construction, making it a perfect project for both seasoned sewists looking for a quick and satisfying make, and beginners ready to tackle a more ambitious undertaking. This iconic style offers endless possibilities for customization, from vibrant prints to luxurious fabrics, allowing you to create a truly unique piece that reflects your personal style.
Imagine twirling in a skirt that flows effortlessly around you, catching the light with every movement. This guide will walk you through each step of creating your own stunning double circle skirt, from choosing the perfect fabric and measuring your waist to expertly finishing the hem. Let's begin!
Preparation and Safety Guidelines
- Three yards of non-stretch fabric (five to seven yards for longer skirts)
- Matching thread
- Pellon interfacing
- Tape measure
- Hand sewing needle
- Fabric scissors
- Sewing machine
- Serger (optional)
- Circle skirt pattern
- Hook and eye closure
- Iron
- Pins
- Electric cutting machine (optional)
- Use sharp sewing shears and needles to prevent fabric from fraying and ensure clean cuts and stitches. Dull tools increase the risk of injury.
- Always unplug your sewing machine before making any adjustments or cleaning. This prevents electric shock.
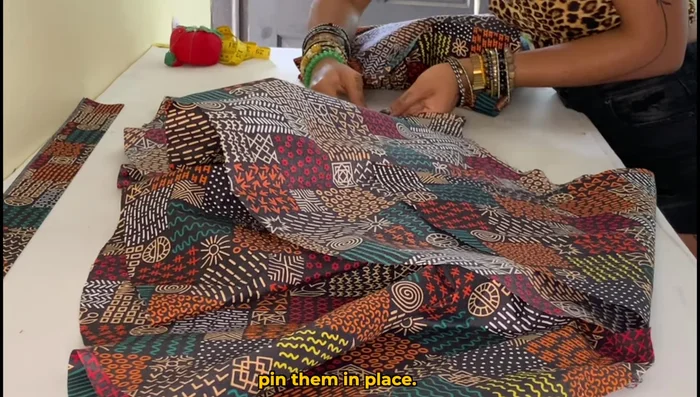
- Pin fabric carefully to prevent accidental needle pricks. Keep your workspace tidy to avoid tripping hazards.
Step-by-Step Instructions
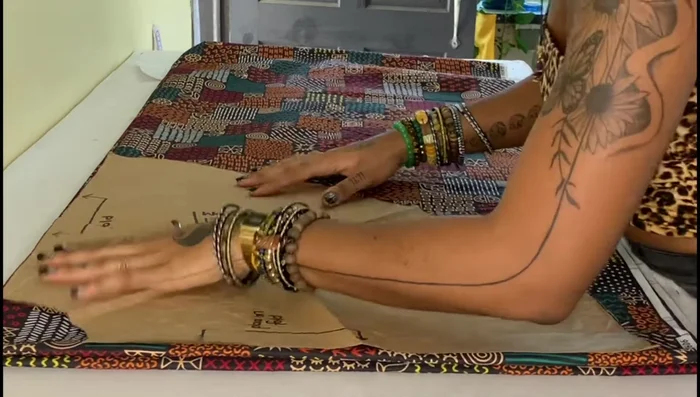
Prepare the Fabric
- Fold fabric eight times to create layers.
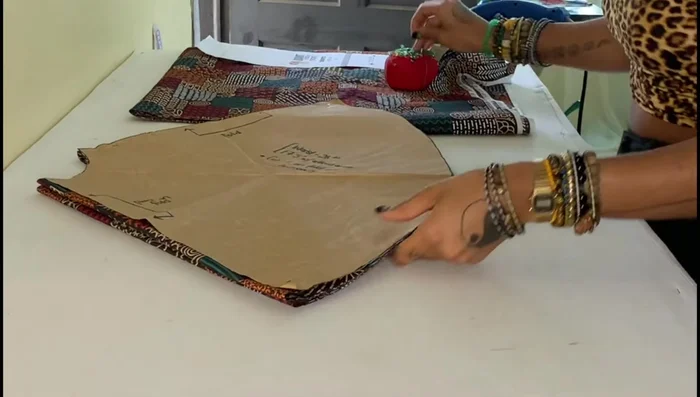
- Place circle skirt pattern on folded corner and cut.
- Cut two small circles (waistband) and two large circles (skirt body).
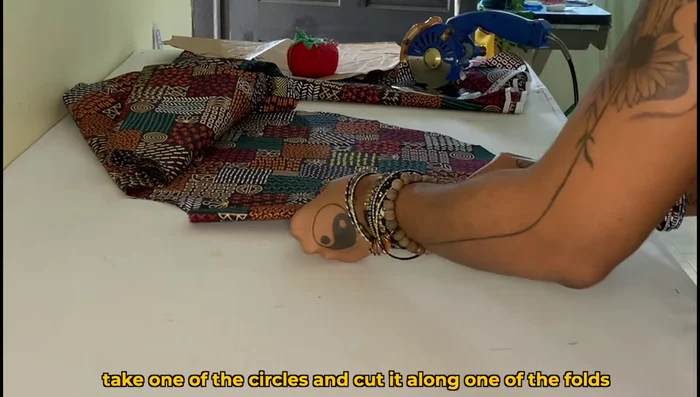
- Cut one large circle down one fold to create the front piece.

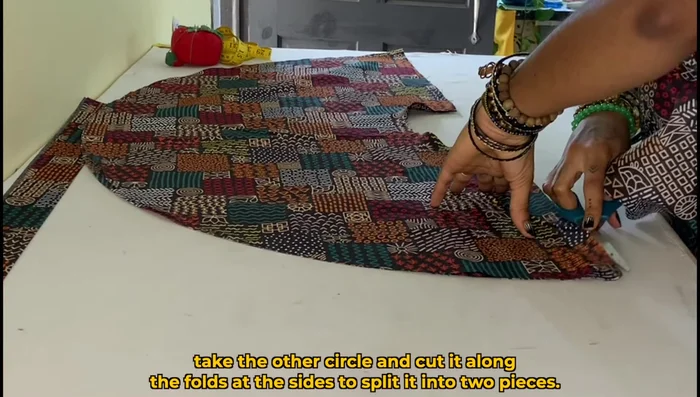
Prepare the Fabric - Cut the other large circle into two pieces to create the back pieces.
Prepare the Fabric Sew the Skirt Body
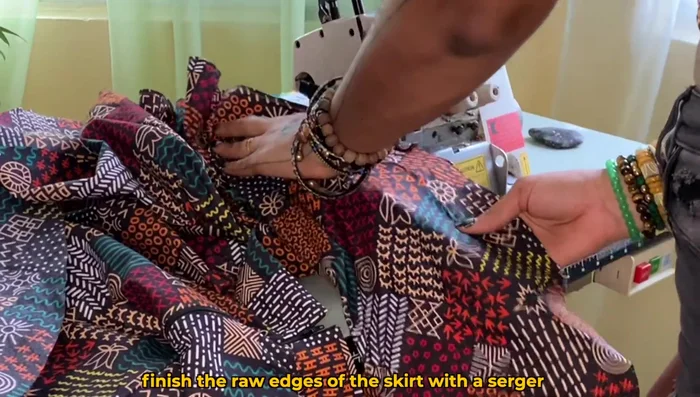
- Pin and sew the front and back pieces together, using a 1/2 inch seam allowance and serger to finish edges.
Sew the Skirt Body Gather and Prepare Waistline
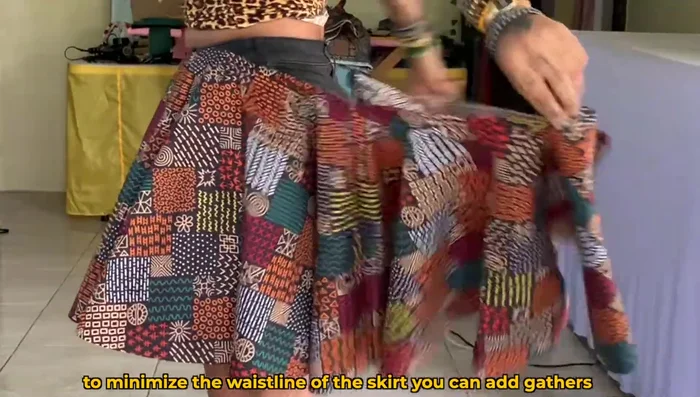
- Gather the waistline by sewing two parallel lines (1/4 inch apart) with a stitch length of 5. Evenly distribute gathers to match your waist circumference + 1 inch.
Gather and Prepare Waistline Prepare the Waistband
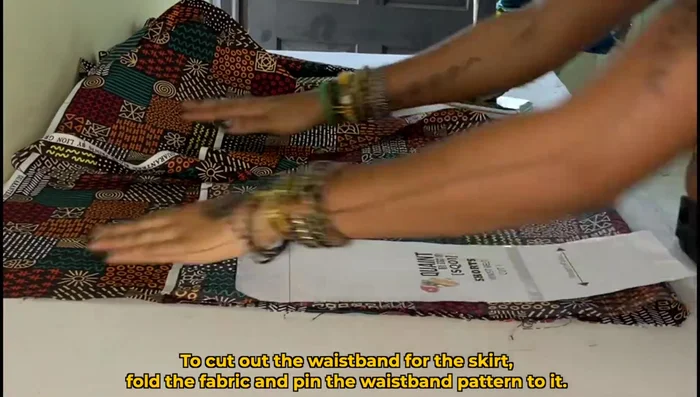
- Cut and prepare the waistband (with Pellon interfacing).
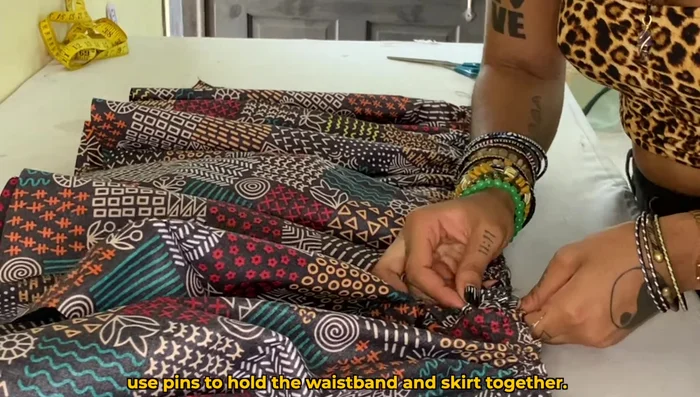
Prepare the Waistband Attach the Waistband
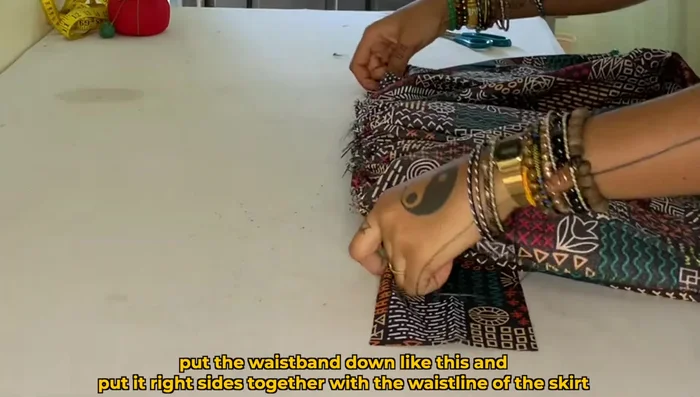
- Attach the waistband to the skirt, right sides together, distributing gathers evenly.
- Sew the waistband and skirt together with a 1/2 inch seam allowance.
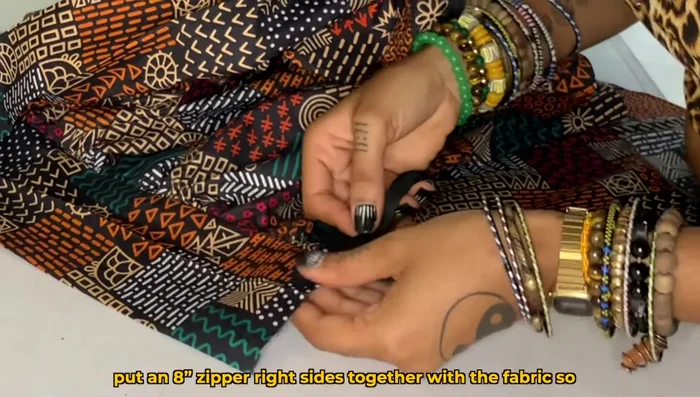
Attach the Waistband Add the Zipper
- Add an 8-inch zipper to the center back, securing with pins and stitching along the zipper teeth.
- Finish the zipper by stitching the fabric below the zipper with a 1/2 inch seam allowance.
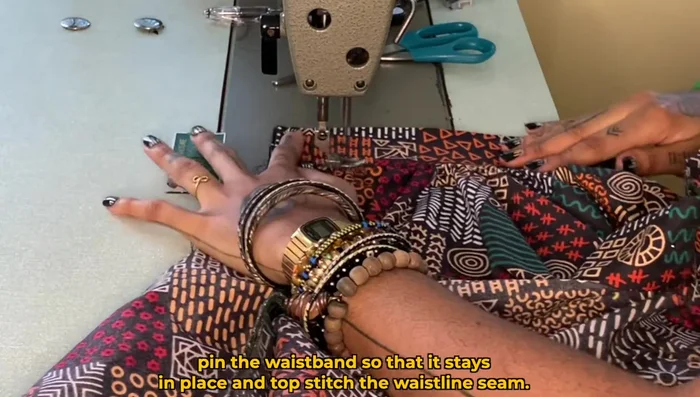
Add the Zipper Finish the Waistband
- Top stitch the waistline seam for added stability.
Finish the Waistband Hem the Skirt
- Finish the hem of the skirt by serging the raw edges, folding by 1/4 inch, and stitching.
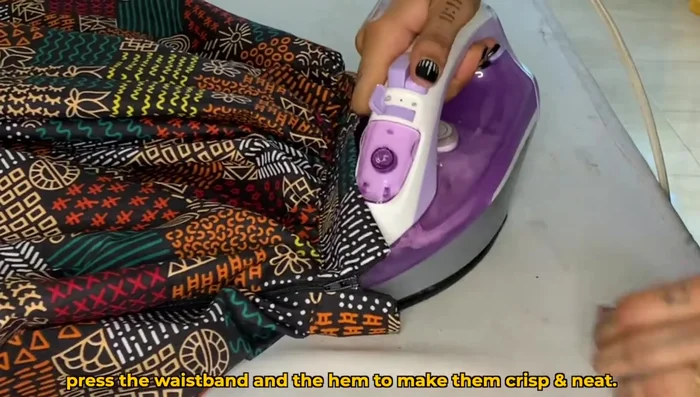
- Press the waistband and hem.
Hem the Skirt Add Closure
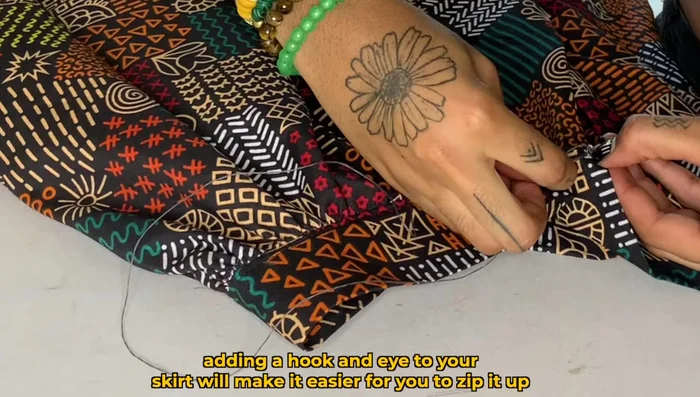
- Add a hook and eye closure for extra security.
Add Closure

Read more: Raglan Sleeve Sewing Tutorial: A Step-by-Step Guide
Tips
- Use an electric cutting machine for faster, straighter cuts.
- Press Pellon interfacing onto the waistband for five seconds per spot.
- Ensure waistband height is consistent across the top.
- Cut off 1/4 inch from the un-folded side of the waistband.
- Pin the waistband to skirt before stitching to distribute gathers evenly.