The double-breasted coat, a timeless symbol of sophistication and enduring style, presents a rewarding yet challenging tailoring project. Its iconic silhouette, with its structured shoulders, overlapping front panels, and often opulent detailing, demands precision and patience from the tailor. This garment, a testament to sartorial excellence, is far more intricate than its single-breasted counterpart, requiring a deeper understanding of pattern making, cutting, and construction techniques. From choosing the perfect fabric to the final buttonhole stitch, each stage demands meticulous attention.
This guide will equip you with the knowledge and step-by-step instructions needed to successfully tailor your own double-breasted coat, transforming a roll of fabric into a truly bespoke masterpiece. Let's delve into the process, beginning with a detailed examination of the essential pattern pieces and material selection.
Preparation and Safety Guidelines
- Measuring tape
- Fabric (2.2 meters)
- Scissors
- Chalk
- Sharp objects: Handle needles, pins, and shears with extreme caution to avoid injury. Always point shears away from yourself and others.
- Fabric Handling: Pre-wash your fabric to avoid shrinkage after completion. Handle delicate fabrics gently to prevent snags or tears.
- Accurate Measurements: Double-breasted coats require precise measurements. Take your time and double-check all measurements before cutting your fabric. Inaccurate measurements will lead to a poorly fitting garment.
Step-by-Step Instructions
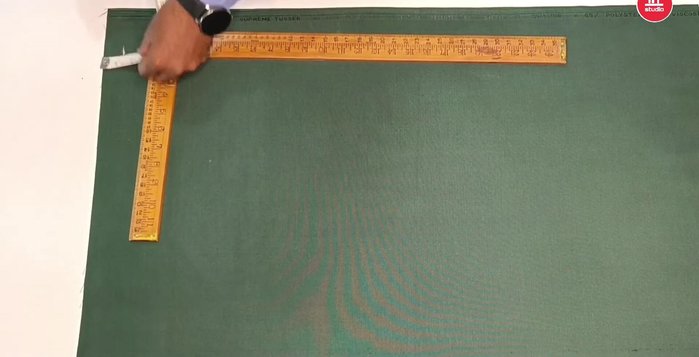
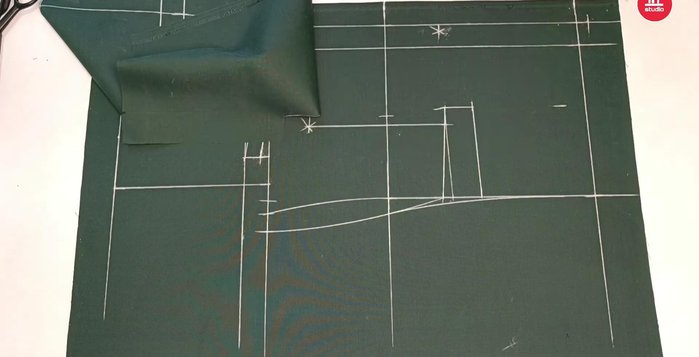
Preparing the Fabric and Initial Measurements
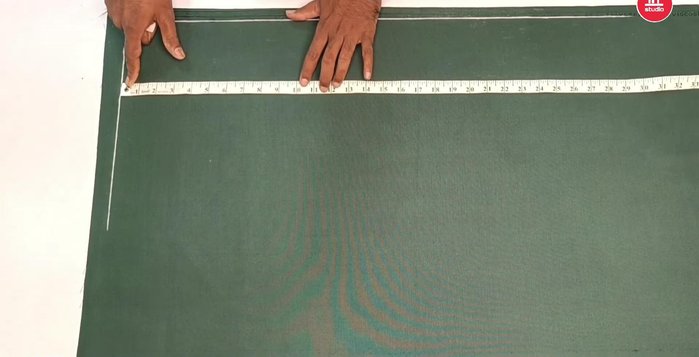
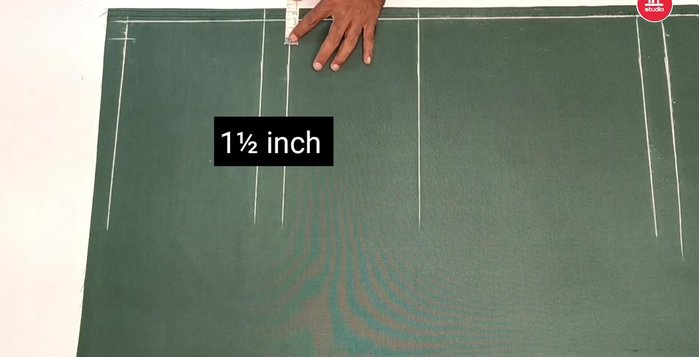
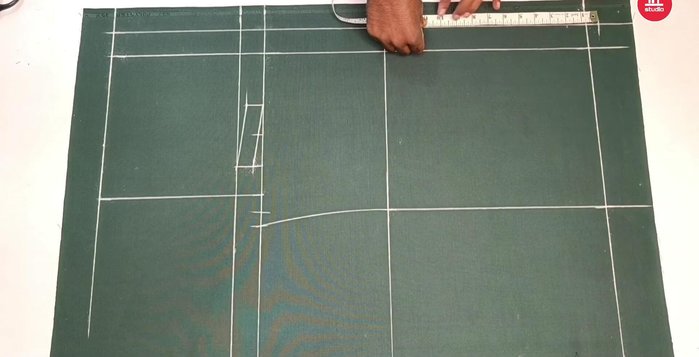
- Straighten the fabric, leaving a 1-inch margin at the top.
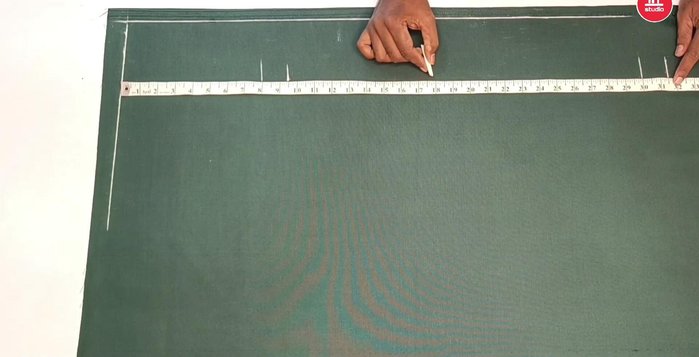
- Mark the chest measurement (39 inches) and the length (30 inches), adding a 1-inch margin at the bottom.
- Calculate half the length (15 inches) and add 2-3 inches.
- Mark the collar measurement (16.5 inches). Divide the neck measurement by 5 and add 1.25 inches.

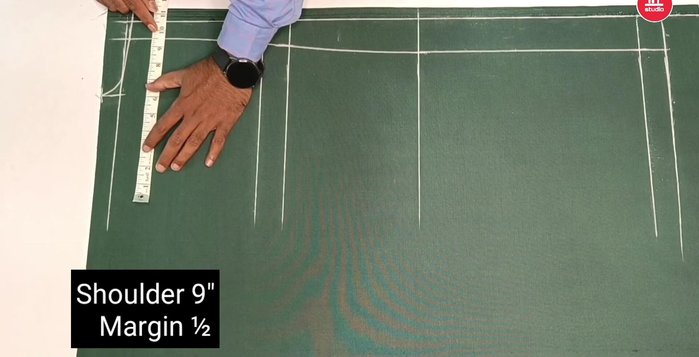
Preparing the Fabric and Initial Measurements - Half the shoulder measurement (9 inches) plus a 0.5-inch seam allowance.
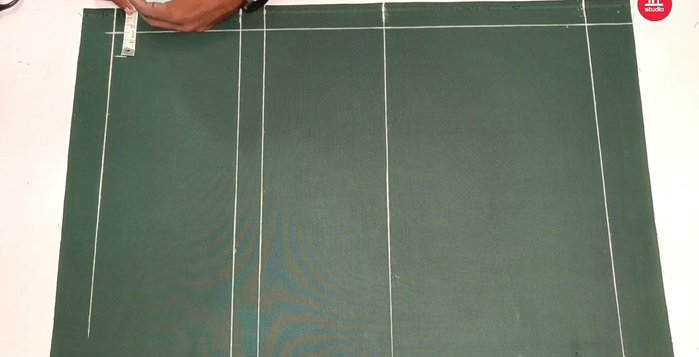
- Mark the back side seams, adding seam allowances.
- Divide by 6 and add 0.5-inch seam allowance.
- 1.5 inches, 7.5 inches, and a 1-inch margin.
Preparing the Fabric and Initial Measurements - Mark the hip measurement (40 inches) and the stomach measurement (36 inches).
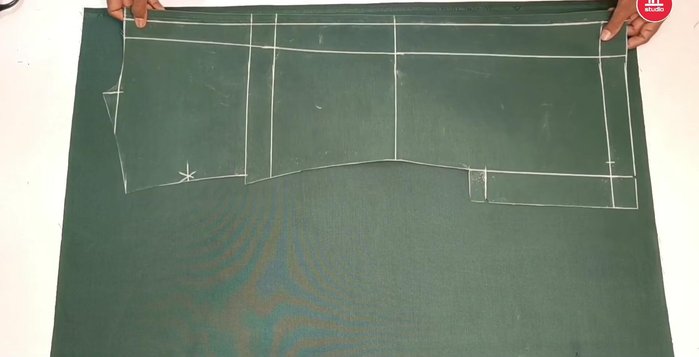
Preparing the Fabric and Initial Measurements Marking the Front Panel
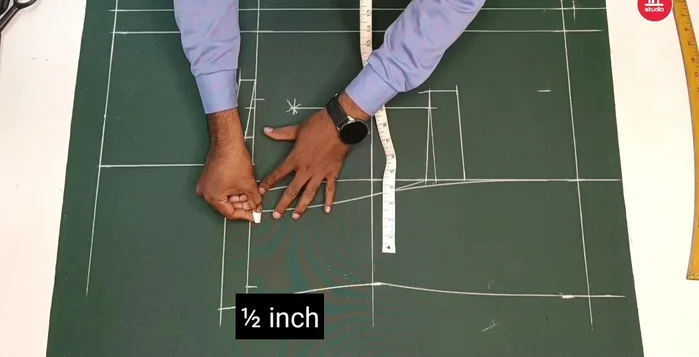
- Mark 1 inch, 1.5 inches, and 2 inches at specific points along the side seams, then connect these marks to create a straight line.
- Two methods are described. The video doesn't explicitly state which is better, but the second method (using the back piece as a guide) might be easier for beginners.
- Mark for the double breast at 1 inch (adjust based on chest size).
- Divide the chest measurement by four and mark accordingly. Subtract 1 inch for the plank.
Marking the Front Panel - Mark the welt pocket placement (0.75-1.5 inches from the edge).
Marking and Shaping the Back Panel
- Shape the back and front pieces.
Marking and Shaping the Back Panel Sleeve and Lapel Details
- Mark the sleeve placement and shape.
- Mark and cut the lapel.
Sleeve and Lapel Details Button Placement and Final Cut
- Mark the button placement for the double breast.
- Cut out the front and back pieces, leaving seam allowances.

Read more: Raglan Sleeve Sewing Tutorial: A Step-by-Step Guide
Tips
- Always add seam allowances when marking measurements.
- Adjust measurements based on the desired fit and chest size.
- Use a shaping scale to create smooth curves.