Dot-to-dot quilting, a deceptively simple technique, offers a surprisingly versatile approach to creating intricate and captivating quilt borders. Forget the frustration of free-motion quilting or the limitations of pre-made designs; this method empowers you to achieve stunning, personalized borders with remarkable ease. Imagine transforming plain fabric into a breathtaking masterpiece, effortlessly adding visual interest and depth to your quilt projects. Whether you're a seasoned quilter looking to refine your skills or a beginner eager to tackle ambitious designs, dot-to-dot quilting provides a rewarding and accessible path to quilting artistry.
This guide will walk you through a comprehensive, step-by-step process, taking you from initial design to a beautifully finished border. We'll cover everything from transferring your pattern to the fabric, selecting the right thread and needle, to mastering the essential stitching techniques that will ensure your design is perfectly executed. Prepare to unlock the secrets of dot-to-dot quilting and elevate your quilting game to the next level!
Safety Guidelines
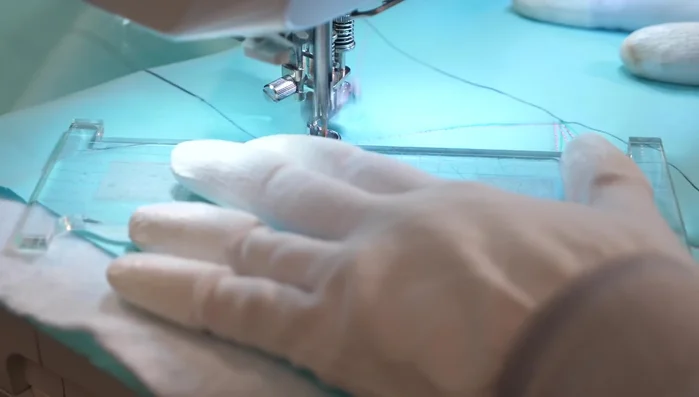
- Use a walking foot or even feed foot on your sewing machine to prevent fabric layers from shifting and creating uneven stitching. This is especially crucial for maintaining consistent dot spacing in intricate designs.
- Always use a sharp quilting needle appropriate for your fabric weight. A dull needle can cause skipped stitches, fabric damage, and frustration. Change your needle frequently to maintain optimal performance.
- Practice your dot-to-dot design on a scrap fabric piece first to get a feel for the rhythm and spacing before working on your actual quilt. This helps you adjust your machine tension and stitch length accordingly, saving time and fabric.
Methods: Efficient Dot-to-Dot Border Quilting
Tools Needed
- Sewing machine
- Long-arm quilting machine (optional)
- Line stencil (optional)
Step-by-Step Instructions
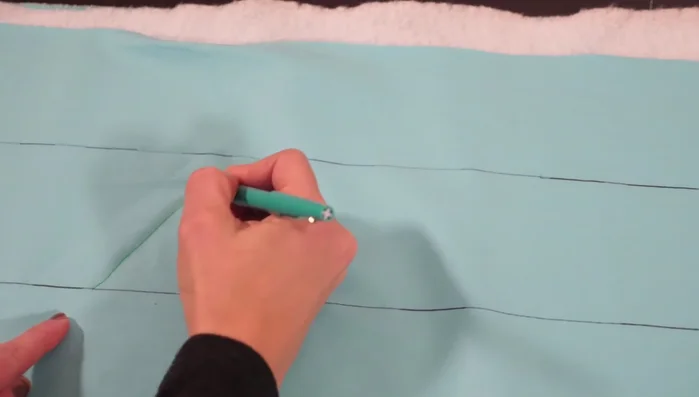
Creating the Basic Triangle Unit
- Create a triangle by quilting a diagonal line to the opposite side of your border, then return to the starting point. This forms your first section.
- Continue by quilting another diagonal line across to the other side, creating an inverted triangle next to the first one.

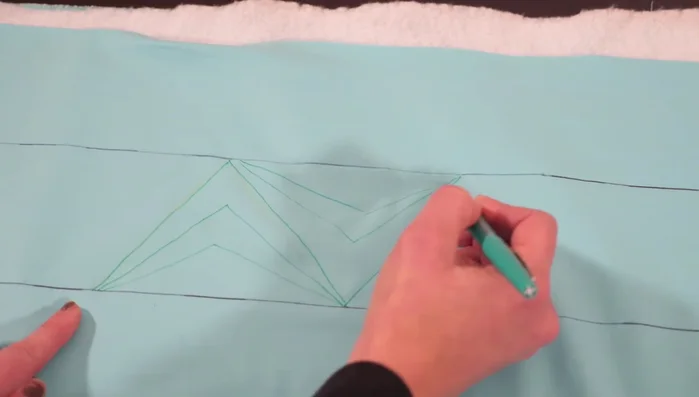
Creating the Basic Triangle Unit Filling the Triangle Unit
- Fill in each triangle with your chosen quilting design (diamond, wedges, curved lines, etc.) ensuring you end at the starting point of the next triangle.
Filling the Triangle Unit Repeating the Pattern
- Repeat steps 1-3 to continue the border design, working in manageable sections if needed (especially for large quilts or long-arm quilting).
Repeating the Pattern Managing Corner Transitions
- When approaching a corner, stop and plan the next few lines to ensure a smooth transition. Adjust the size of the last triangles if needed to maintain consistency.
Managing Corner Transitions Continuing or Changing Design at Corners
- At the corner, choose to either continue the same design to the next border side or begin a new design element for variation.

Tips
- For outer borders, leave about 1/4 inch or more between the triangle's point and the quilt edge to account for binding.
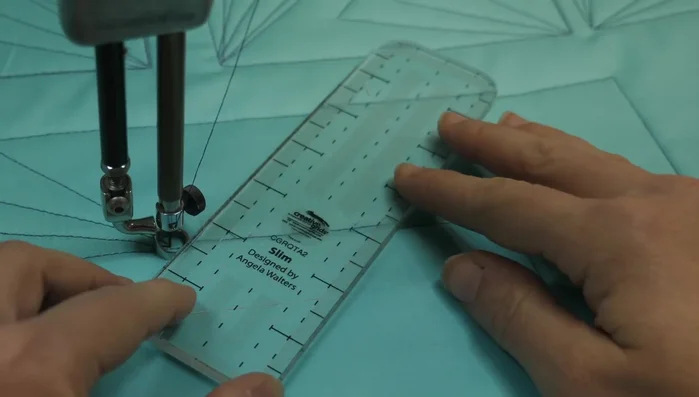
- Use a line stencil or your quilt top's grid as a guide to create accurately sized triangles if needed.
- Consider using a walking foot if you find free-motion quilting challenging.
Read more: 3 Easy Pieced Heart Tutorials for Quilting Projects