Are you tired of rummaging through messy bags for your essentials? Do you dream of perfectly organized toiletries, craft supplies, or even everyday carry items? Then this DIY zippy bag with inside pockets is the perfect project for you! This easy-to-follow tutorial will guide you through creating a customized, highly functional bag that's both stylish and incredibly practical. Imagine the satisfaction of whipping up a personalized solution to your organizational woes, all while honing your sewing skills. The possibilities are endless – from travel kits to makeup bags, the applications are as diverse as your imagination.
Forget expensive, pre-made organizers; this tutorial empowers you to create exactly what you need. With just a few simple materials and straightforward steps, you'll be amazed at how quickly you can sew your own personalized zippy bag. Ready to get started and transform your organizational chaos into stylish, streamlined efficiency? Let's dive into the step-by-step instructions below!
Preparation and Safety Guidelines
- Fabric (outer and lining)
- Zipper
- Sewing machine
- Pins
- Scissors
- Disappearing ink marker
- Chopstick
- Iron
- Always use sharp scissors or rotary cutter to prevent fabric from fraying and ensure clean cuts. Dull blades can cause injury.
- When using a sewing machine, keep your fingers away from the needle at all times. Use a fingertip guard if needed.
- If working with small children, supervise them closely and keep pins, needles, and scissors out of reach.
Step-by-Step Instructions
Prepare the Inner Pocket
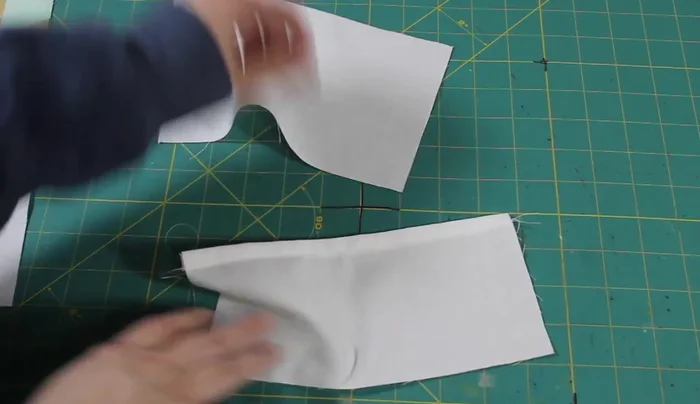
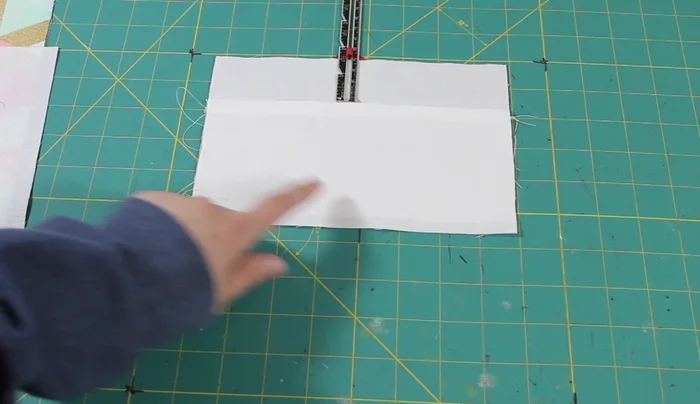
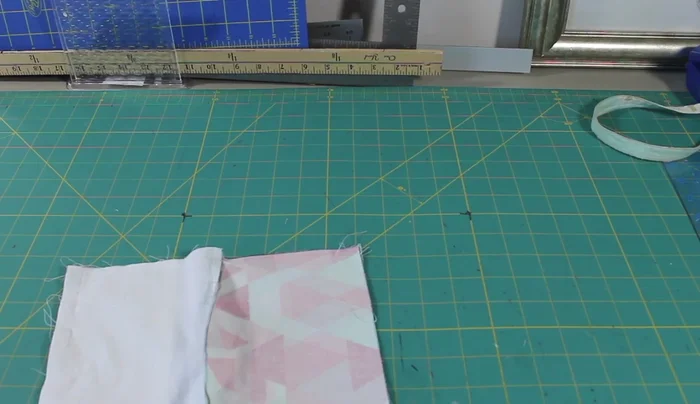
- Cut a smaller rectangle for the inner pocket, hem the top edge, and sew a line down the middle to create two pockets.

Prepare the Inner Pocket Attach Pocket to Lining
- Position the pocket piece on one lining piece, 1.5 inches from the top. Pin and sew in place. Trim any excess fabric.
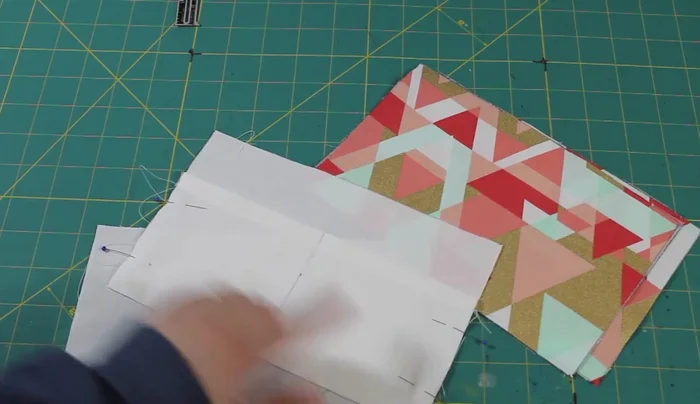
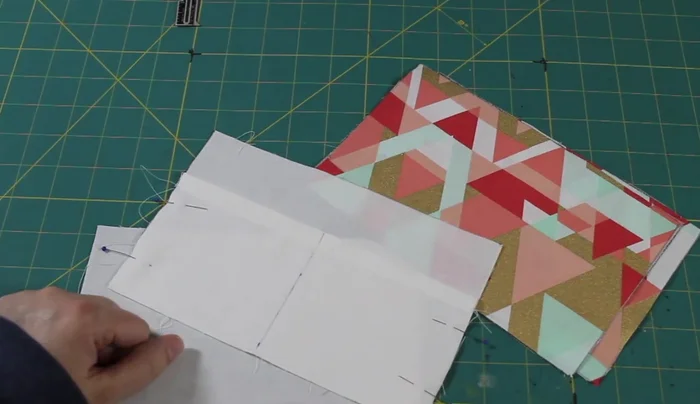
Attach Pocket to Lining Assemble the Bag
- Sew the outer fabric pieces together (right sides facing), and do the same with the lining pieces, leaving a gap for turning.
- Attach the zipper to the outer fabric pieces, then attach the lining pieces to the outer pieces, leaving a gap on one side of the lining.
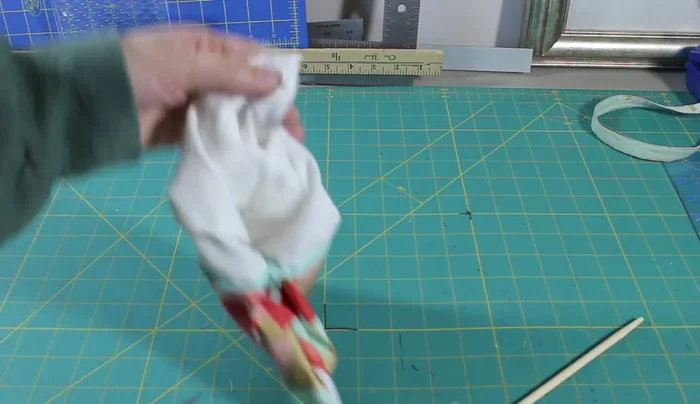
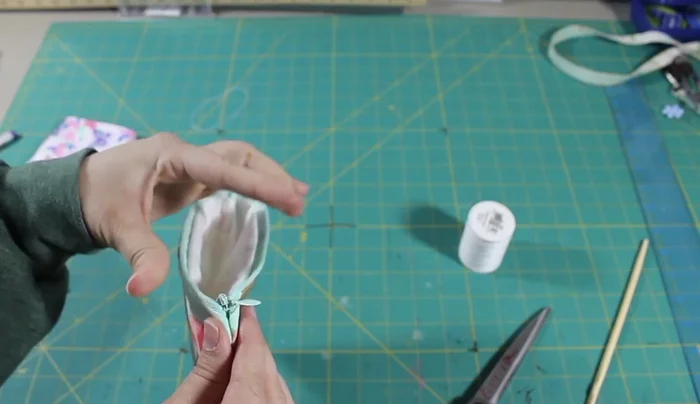
Assemble the Bag Turn Right Side Out
- Use a chopstick to help push out the corners.
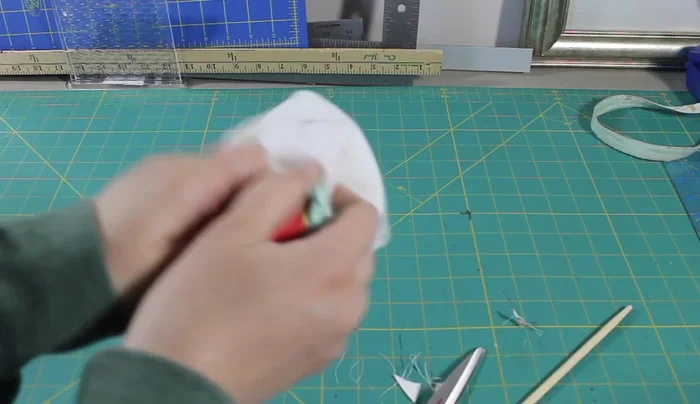
Turn Right Side Out Trim Corners
- Snip the corners of the seam allowance to reduce bulk.
Trim Corners Close Lining Gap
- Sew the remaining gap in the lining closed.
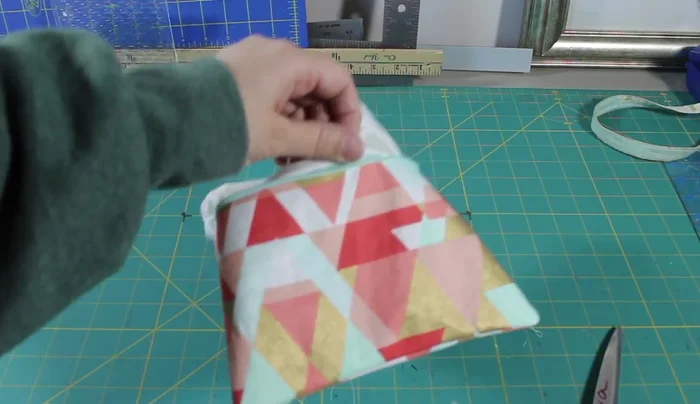
Close Lining Gap Iron and Finish
- Iron the bag flat to remove wrinkles.
- Zip the bag closed.
Iron and Finish
Read more: DIY Quilted Makeup Pouch Tutorial: The Easiest and Fastest Method
Tips
- Use disappearing ink to mark your fabric. It will disappear with air or water.
- Use a chopstick to easily turn the corners of the bag right side out.
- Trim the corners of the seam allowance to prevent bulkiness.
- Iron your bag before closing the lining gap for a neat finish.
- For stubborn zippers, slightly compress the zipper teeth at the end to help them catch and zip smoothly.