Tired of lugging your yoga mat around in a bulky, impersonal bag? Ready to embrace a sustainable and stylish alternative? This DIY tutorial shows you how to transform an old pillowcase into a unique and practical yoga bag, perfect for carrying your mat and accessories to and from your practice. Upcycling is not only a fantastic way to reduce textile waste, but it also allows for a personalized touch – choose a pillowcase with a pattern or colour that reflects your personality and style. This project is surprisingly simple, requiring minimal sewing skills and readily available materials.
Forget expensive yoga bags and embrace the satisfying experience of creating something beautiful and useful from something you already own. This upcycled pillowcase method is both budget-friendly and eco-conscious, making it a perfect choice for the environmentally mindful yogi. Let's get started with the step-by-step instructions to create your own custom yoga bag!
Preparation and Safety Guidelines
- Pillowcase
- Fabric Scraps
- Sewing Machine
- Scissors
- Measuring Tape
- Chalk or Fabric Marker
- Iron
- Ensure all seams are securely stitched to prevent the bag from tearing during use, especially when carrying heavy items like yoga blocks or water bottles.
- Choose a sturdy pillowcase material; avoid flimsy fabrics that might rip easily. Consider the weight and thickness of the fabric in relation to the intended use.
- Always check for loose threads or damaged areas on the upcycled pillowcase before starting the project and reinforce any weak spots to prevent accidents.
Step-by-Step Instructions
Prepare the Pillowcase and Measurements
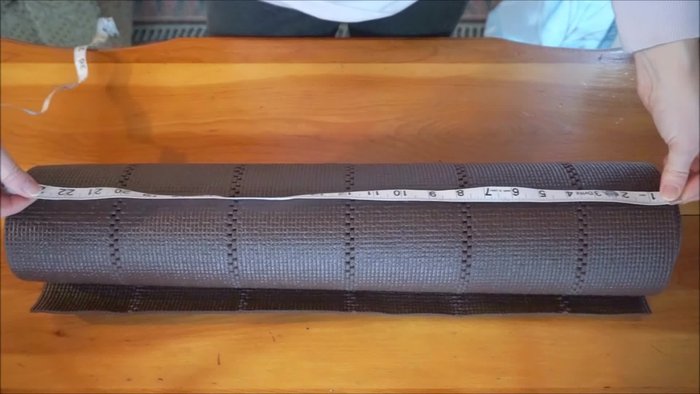
- Measure your yoga mat and add extra inches for room. Mine is roughly 25 inches by 32 inches.
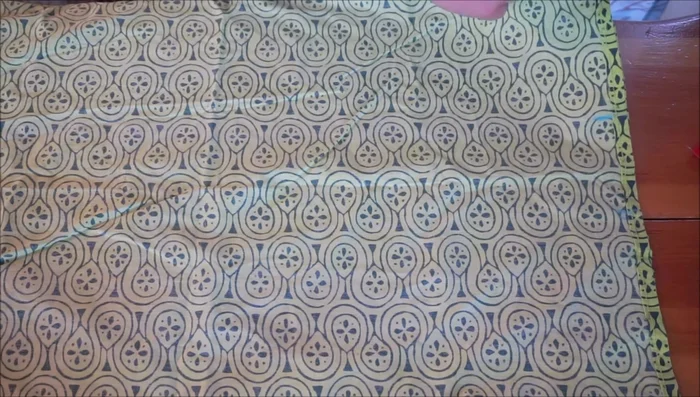
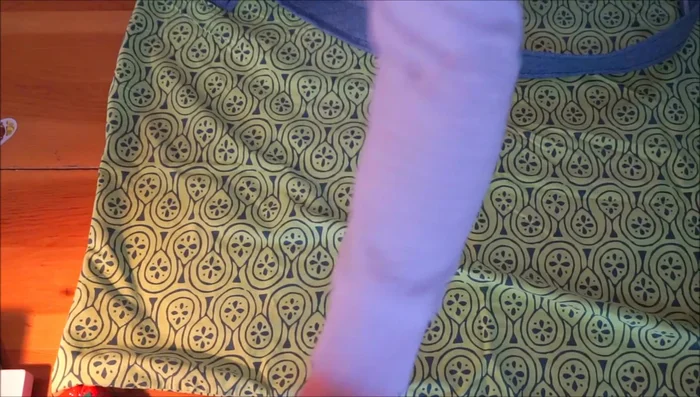
- Fold the pillowcase fabric in half. Position your yoga mat inside to determine the fabric needed at the top.
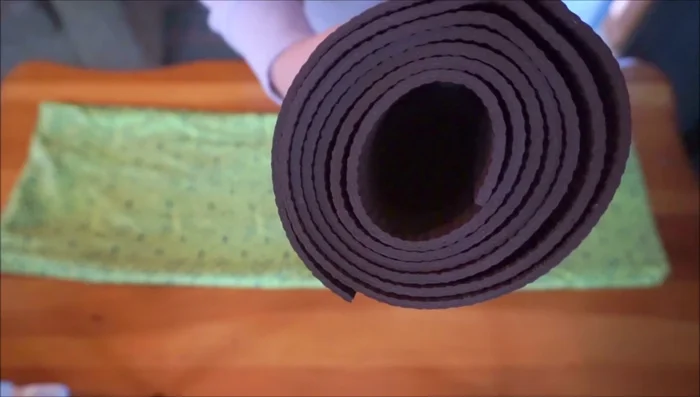
- Measure the diameter of your yoga mat's base, add 1.5 inches, and draw a circle on your base fabric using a plate or compass.
- 6 inches wide and 30 inches long (adjust for desired length and width). Fold it twice to make a 2-inch wide strap.

Prepare the Pillowcase and Measurements Cut and Prepare Fabric Pieces
- Cut out the base circle and the strap.
Cut and Prepare Fabric Pieces Sew the Pillowcase Top
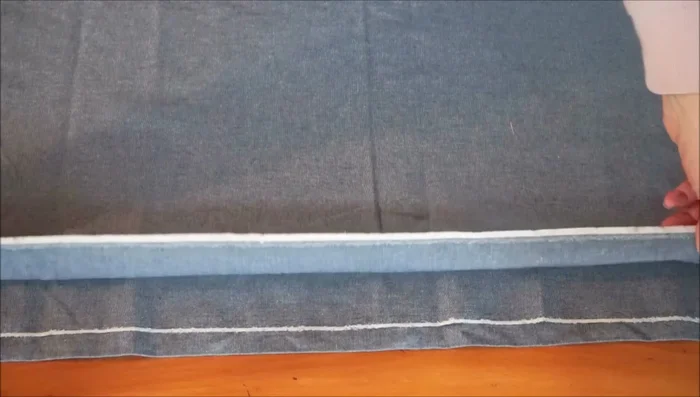
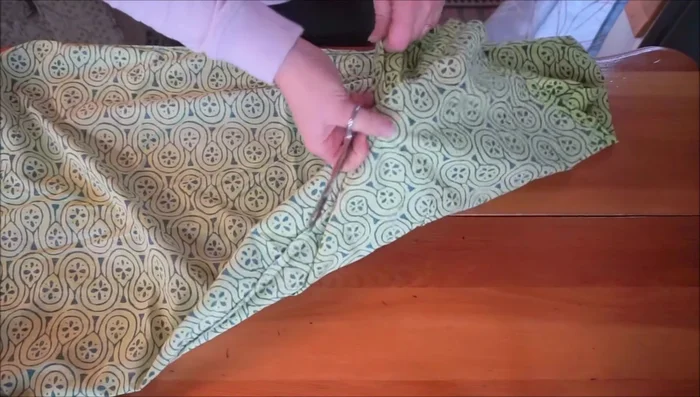
- Flip the pillowcase inside out and trim any excess fabric.
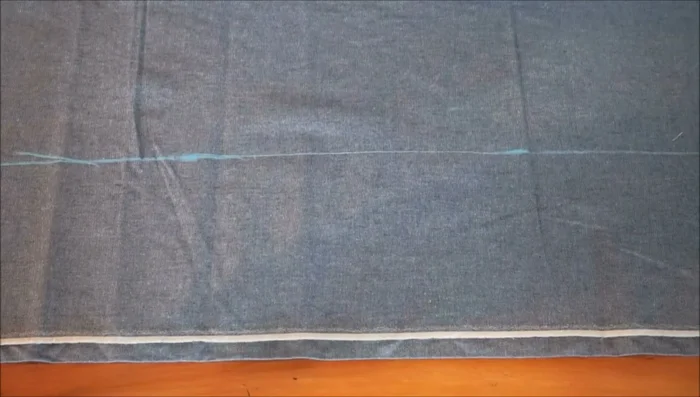
- Mark the seam allowance (1/2 inch) and sew around the top of the pillowcase, leaving a gap for turning.
- Turn the pillowcase right side out, poke out the corners, and iron the edges.
Sew the Pillowcase Top Prepare and Attach the Strap
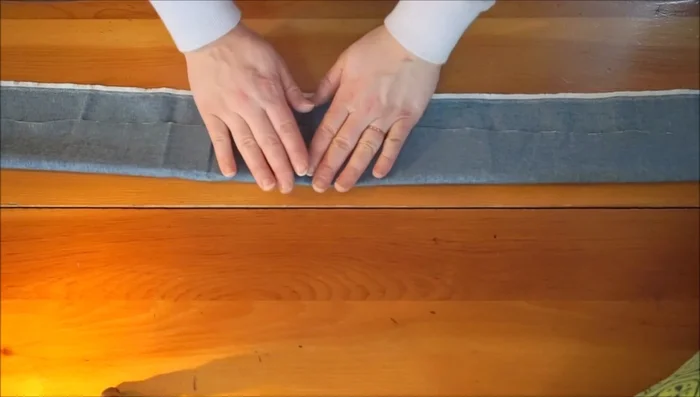
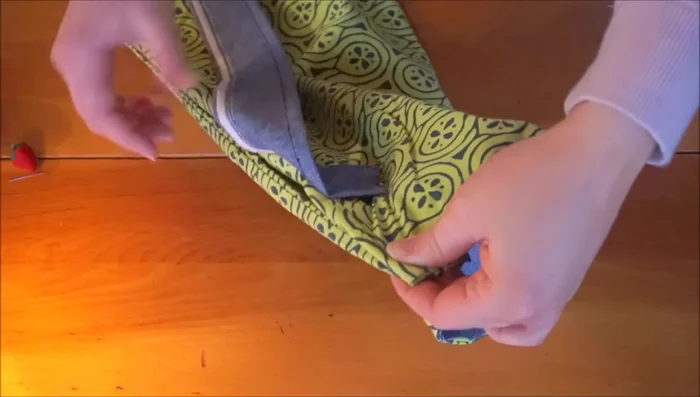
- Fold the strap in half lengthwise and sew along the edge for durability. Iron flat.
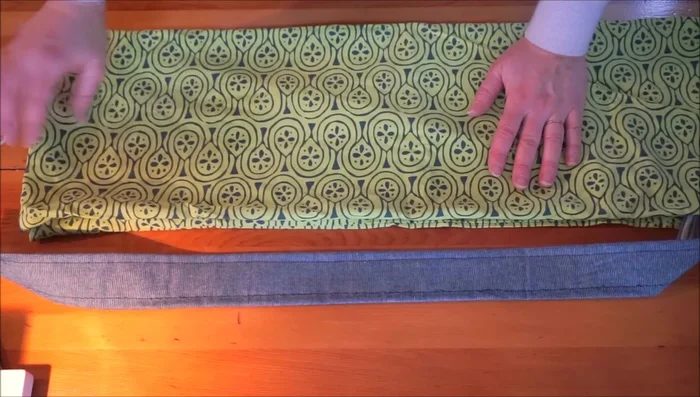
- Position the strap and pin it to one side of the bag opening, ensuring it's not twisted.
Prepare and Attach the Strap Attach the Base and Sew the Bag
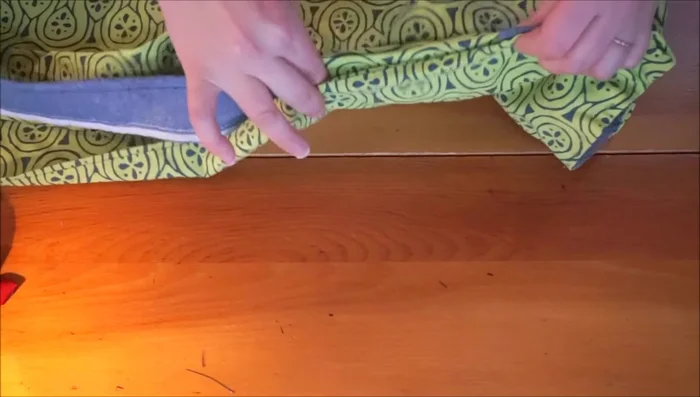
- Pin the base circle to the open edge of the pillowcase, right sides facing out.
- Continue pinning around the perimeter, ensuring the strap is positioned correctly and on the outside.
- Sew around the perimeter of the bag, using a medium-heavy stitch setting for bulkier fabric.
Attach the Base and Sew the Bag Finishing Touches
- Turn the bag right side out. Reinforce the seams with a decorative stitch.

Read more: DIY Quilted Makeup Pouch Tutorial: The Easiest and Fastest Method
Tips
- Add extra fabric to account for seam allowances and desired bag size.
- Ironing the fabric makes sewing easier.
- Use a heavier stitch setting on your machine for better durability.
- Check that everything is in the correct place before sewing permanently.