Bananas, those cheerful yellow curves, are a staple of playful imagery. But what if you could create a truly unique, tactile banana toy for your little one, a toy that's both adorable and entirely handmade? This tutorial will guide you through the process of crafting a delightful woven fabric banana toy, a project perfect for seasoned crafters and enthusiastic beginners alike. Forget the plastic and embrace the satisfying texture of woven fabric, offering a safe and stimulating sensory experience for your child. You'll be surprised by how easily you can transform simple materials into a treasured keepsake.
This delightful DIY project is surprisingly simple, requiring minimal materials and easily manageable techniques. Using readily available fabrics and basic sewing skills, you'll learn to create a charming, textured banana toy that's both sturdy and cuddly. Ready to embark on this fun and rewarding crafting journey? Let's dive into the step-by-step instructions and bring your woven fabric banana to life.
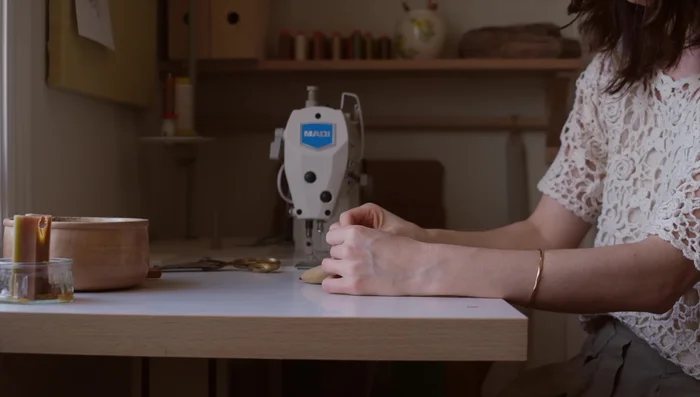
Preparation and Safety Guidelines
- Woven fabrics (cotton linen, natural blended fabric)
- Soft lightweight interfacing (cotton fusible interfacing)
- Organic cotton or wool stuffing
- Fabric scissors
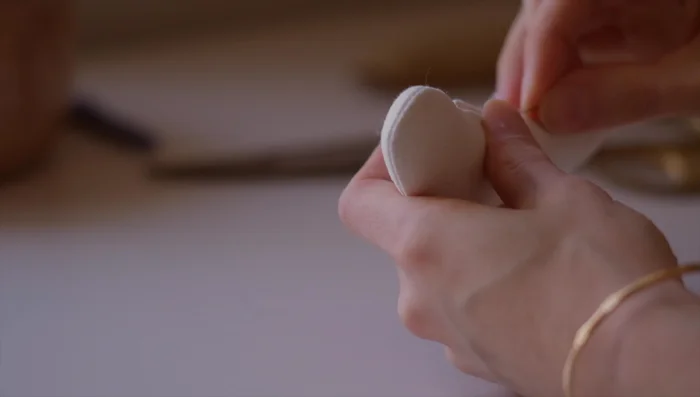
- Small scissors for clipping threads
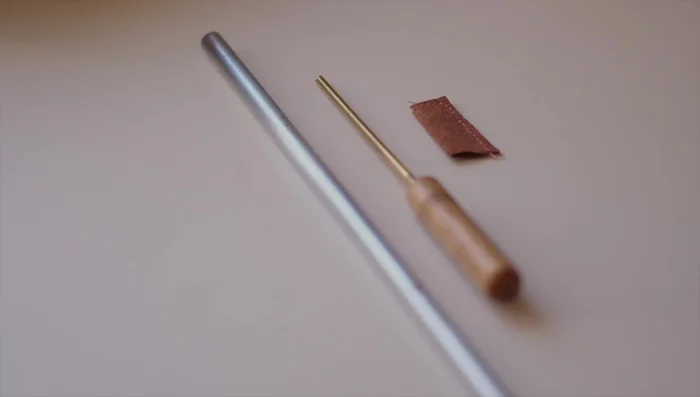
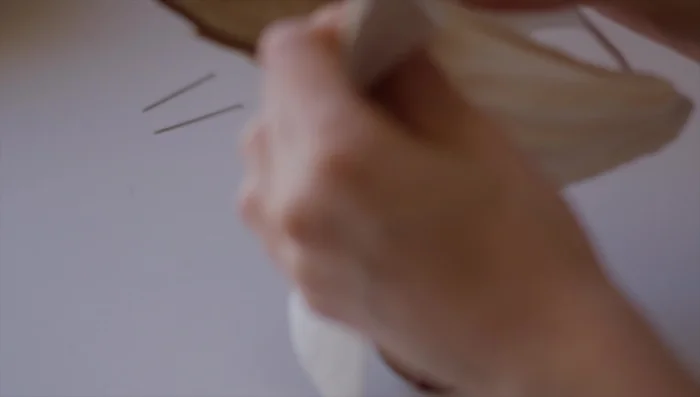
- Sewing needle
- Matching threads (light and dark)
- Seam ripper
- Pins
- Iron
- Taylor's chalk or chalk pencil
- Stuffing fork
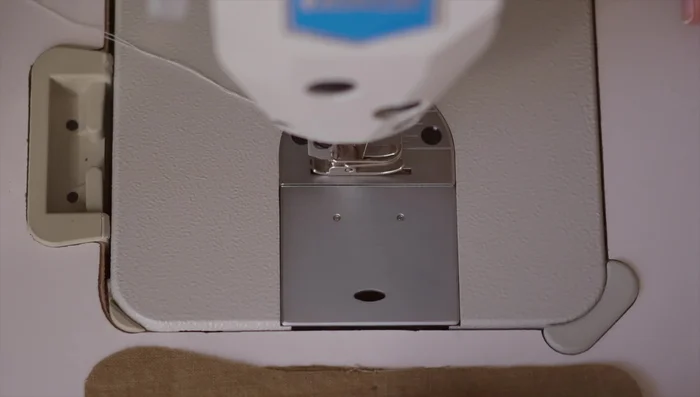
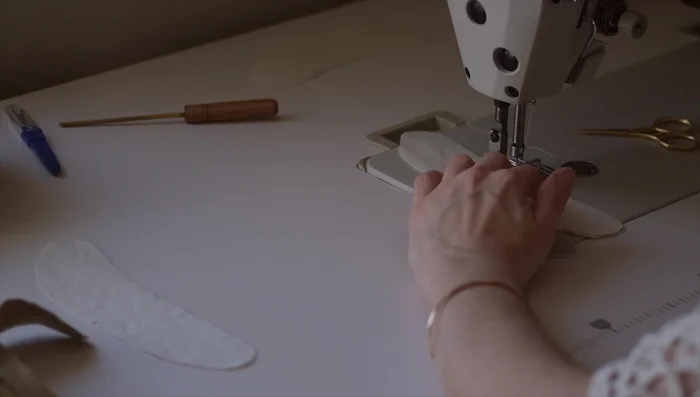
- Sewing machine
- Steel straw (optional, for turning small pieces)
- Always supervise young children while they play with the banana toy to prevent choking hazards. Small pieces can easily detach.
- Use fabric dyes and paints that are non-toxic and safe for children. Ensure they are completely dry before allowing interaction.
- Avoid using any stuffing materials that could present a choking hazard. Opt for tightly woven, securely stitched filling.
Step-by-Step Instructions
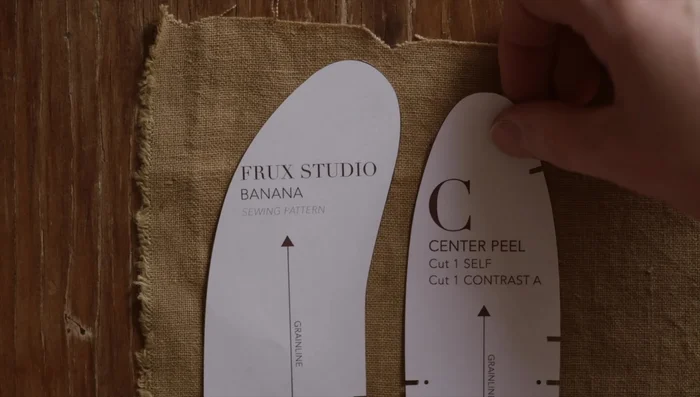
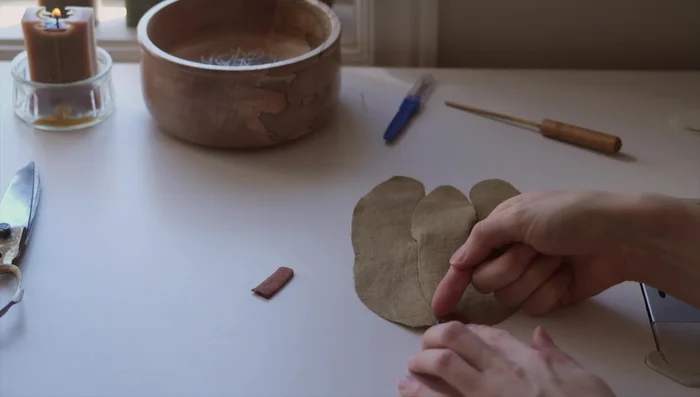
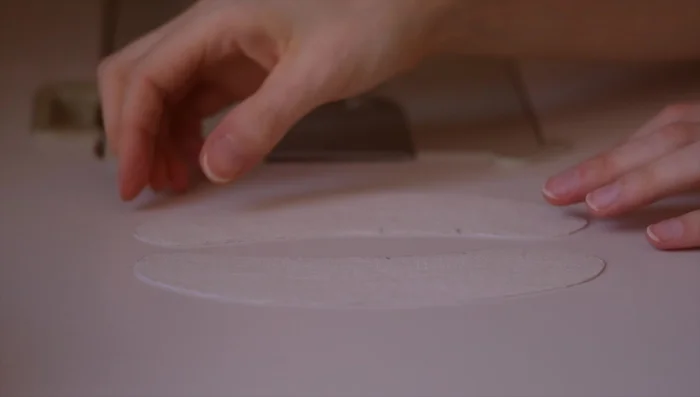
Prepare Materials
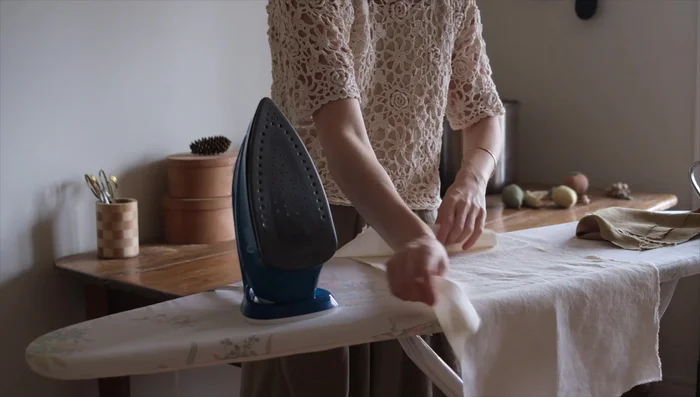
- Pre-shrink before tracing and cutting.

Prepare Materials Prepare Fabric
- Arrange pattern pieces with the grain line on the straight grain of the fabric, parallel to the selvage.
Prepare Fabric Fuse Interfacing (Optional)
- Fuse the banana form for added structure.
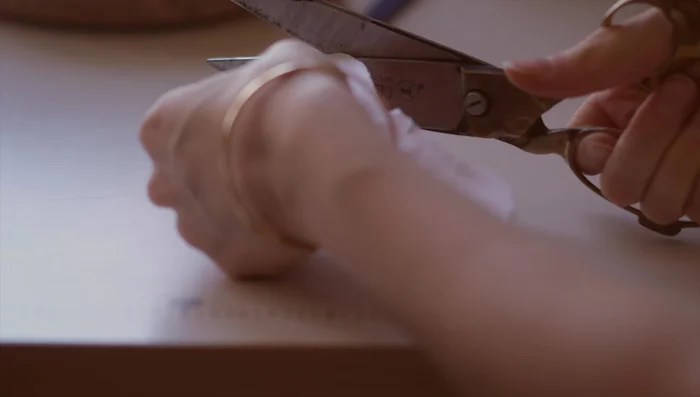
Fuse Interfacing (Optional) Cut Fabric Pieces
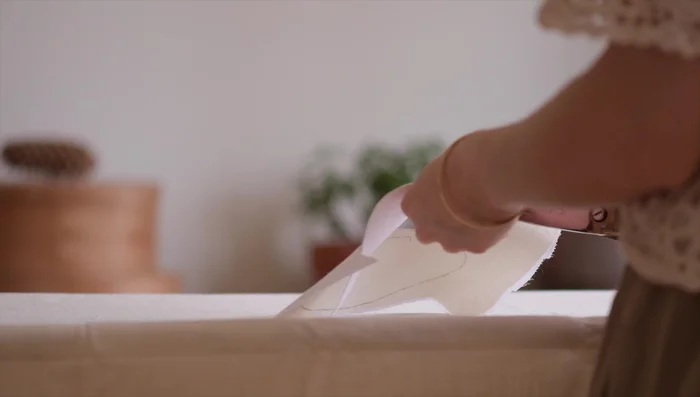
- Use traced lines as a guide; clip notches.
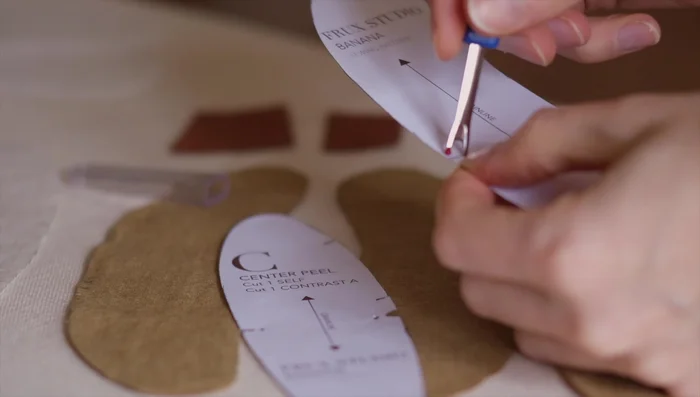
Cut Fabric Pieces Create Drill Marks
- Transfer drill marks from the pattern onto the fabric using a pin or seam ripper to create small holes.
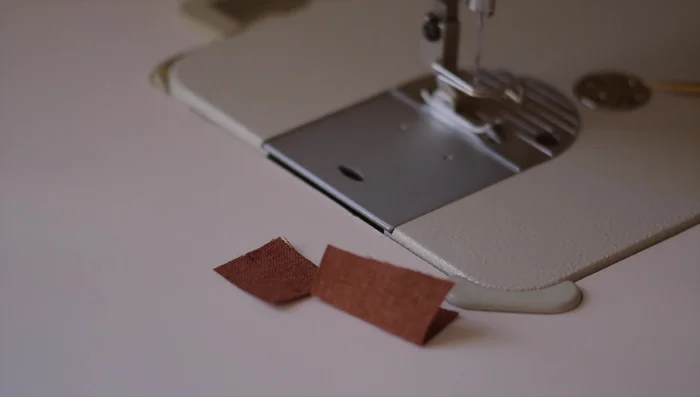
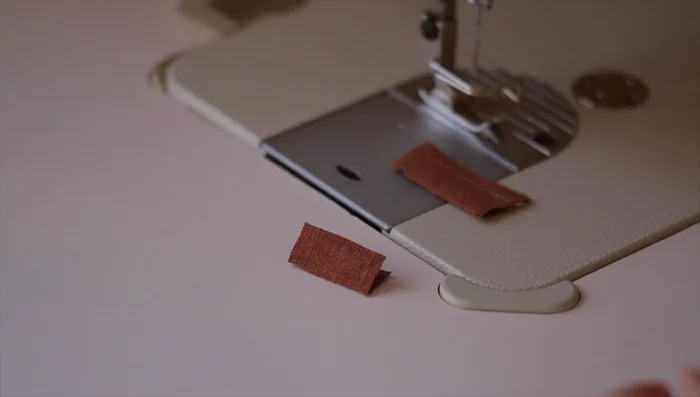
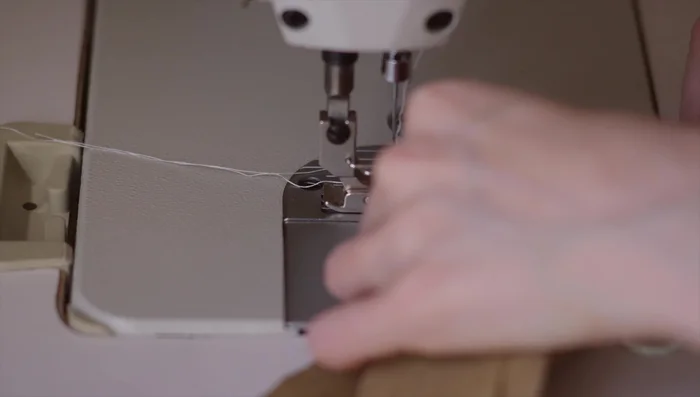
Create Drill Marks Sew Stems
- Fold in half, stitch along top and side edges.
- Fold in half, stitch side seams.
- Trim approximately 1/8 inch from each stem piece.
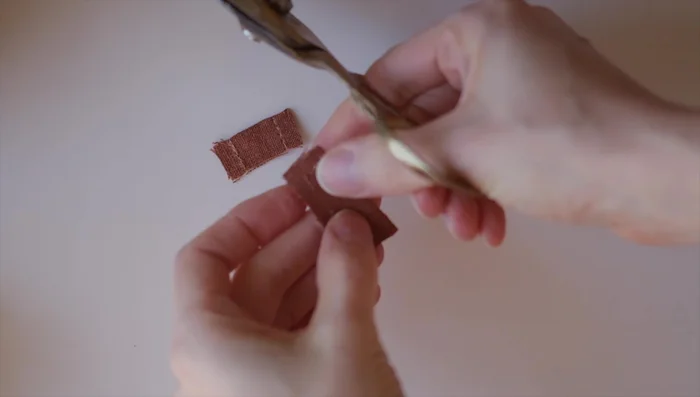
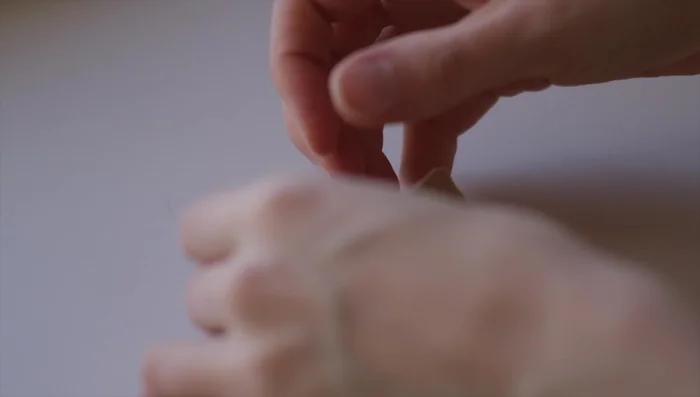
- Turn right side out using a stick and straw method (optional) or by hand; press.
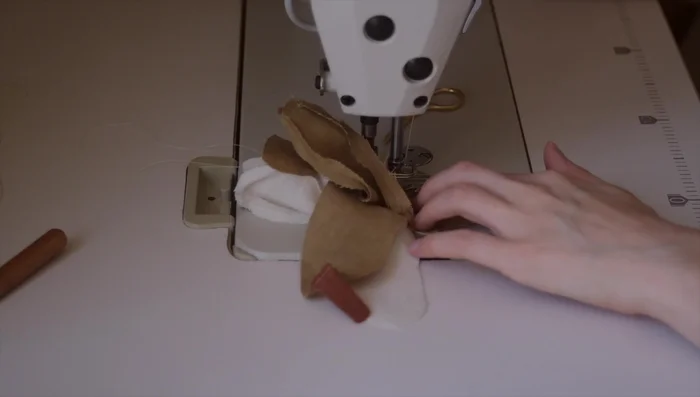
Sew Stems Assemble Peel (Part 1)
- Stitch from drill mark to the bottom.
- Stitch the inner edge of the second side peel to the other center peel edge.
- Press seams open and flat.
Assemble Peel (Part 1) Attach Bottom Stem
- Line up bottom stem with notch, stay stitch.
Attach Bottom Stem Assemble Peel (Part 2)
- Stitch outer edges of side peels together, sandwiching the bottom stem.
- Place top stem at center top, stay stitch.
Assemble Peel (Part 2) Sew Peel Lining
- Sew the two side peel pieces and center peel lining together, leaving out stem pieces.
Sew Peel Lining Attach Outer Peel to Lining
- Match outer and lining pieces at drill marks, pin and stitch leaving a gap for turning.
Attach Outer Peel to Lining Turn and Finish Peel
- Gently turn, use a stuffing fork to smooth edges; trim seam allowance if needed.
- Use a ladder stitch.
Turn and Finish Peel Sew Banana
- Place banana pieces together, aligning notches; stitch around the edge, leaving an opening.
Sew Banana Finish Banana
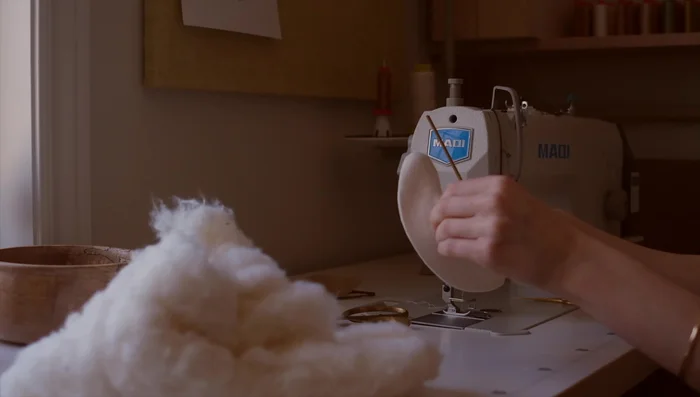
- Clip seams, turn right side out, and press.
- Fill with stuffing.
- Use a ladder stitch to close the opening.
Finish Banana


Read more: DIY Fluffy Duck Plushie Tutorial: A Step-by-Step Guide
Tips
- Use a soft lightweight interfacing for lightweight fabrics.
- Organic cotton or wool stuffing works best for a firm and safe toy.
- Labeling small pattern pieces is helpful when sewing multiple pieces.
- Chalk pencils or heat-dissolving gel pens are good for tracing patterns.
- All seam allowances are 1/4 inch unless otherwise stated.