Tired of your tools constantly getting lost or damaged in a jumbled mess? Wish you had a stylish and durable way to organize your favorite instruments? Then you've come to the right place! This ultimate guide will walk you through creating your very own DIY wax canvas tool roll, a project perfect for both seasoned crafters and enthusiastic beginners. Imagine the satisfaction of crafting a personalized, rugged storage solution that protects your treasured tools while adding a touch of rustic charm to your workspace. We'll explore the benefits of using wax canvas, discuss essential materials, and delve into practical tips for achieving a professional finish.
This comprehensive tutorial will equip you with all the knowledge and confidence needed to tackle this satisfying project. From choosing the right canvas to mastering the stitching techniques, we'll cover every step in detail. Ready to transform your chaotic tool collection into an organized masterpiece? Let's dive into the step-by-step process and begin crafting your own customized wax canvas tool roll.
Preparation and Safety Guidelines
- Wax canvas
- Muslin
- Canvas
- 5-inch metal zipper (plastic zipper is an alternative)
- Sewing machine
- Zipper foot (with notches on both left and right sides)
- Clear ruler
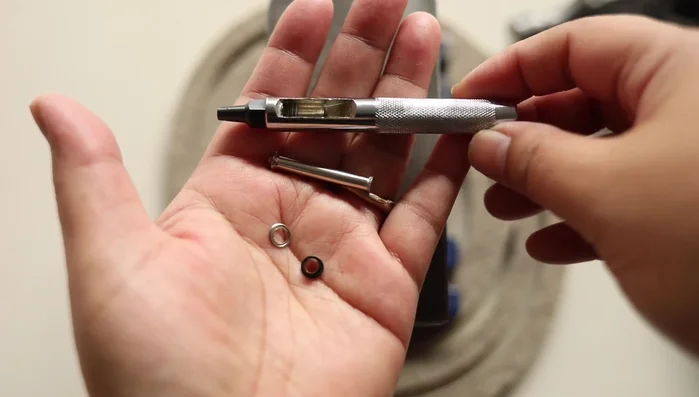
- Grommets
- Punch tool
- Hammer
- Anvil
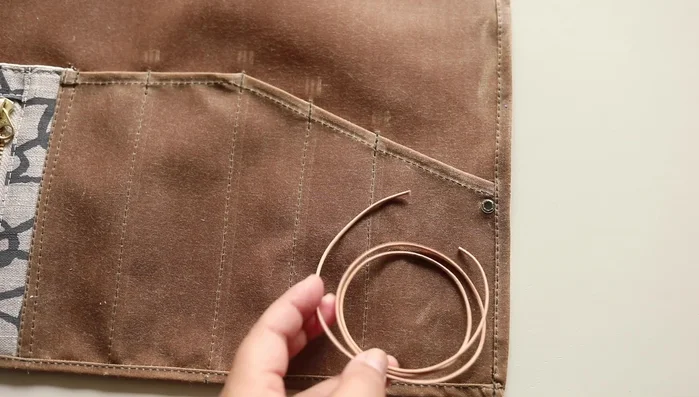
- 2mm leather cord (or string/ribbon/twill tape)
- Iron
- Always work in a well-ventilated area. Waxed canvas dust can be irritating to the lungs.
- Use caution when working with sharp tools like needles and scissors. Take your time and focus on your work to avoid injury.
- Avoid contact with open flames while working with the waxed canvas. The wax is flammable.
Step-by-Step Instructions
Prepare Pattern Pieces
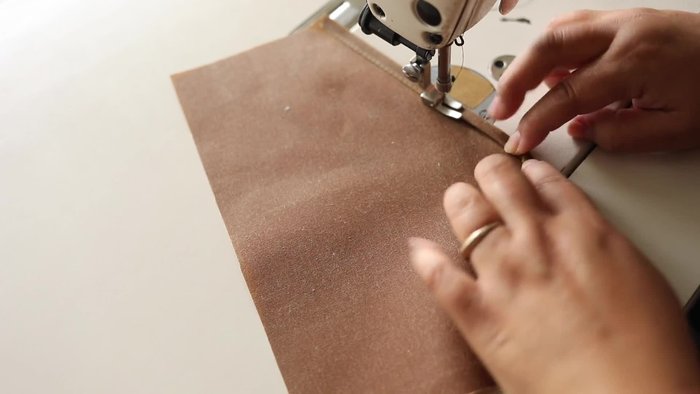
- Cut the body, slots, zipper pouch, patch piece for the bottom of the zipper pouch, muslin lining, fabric for the top of the pouch, and two small pieces for zipper ends.

Prepare Pattern Pieces Create Zipper Pouch
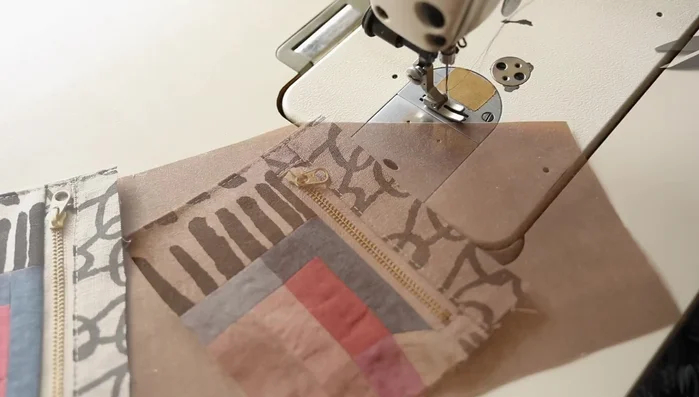
- Fold small fabric pieces over, place them on zipper ends, and sew them on both sides.
- Attach the bottom portion of the pouch to the zipper, using the zipper foot with the notch on the left side. Leave a little extra length for trimming later. Center the zipper on the left side, with the zipper head at the top.
- Attach the top portion of the pouch to the zipper, starting with the top of the zipper. Top stitch this section.
- Sew the heavier muslin lining to the back of the pouch.
- Sew a rolled hem along the top edge of the pouch, then attach it to the back part of the tool roll.
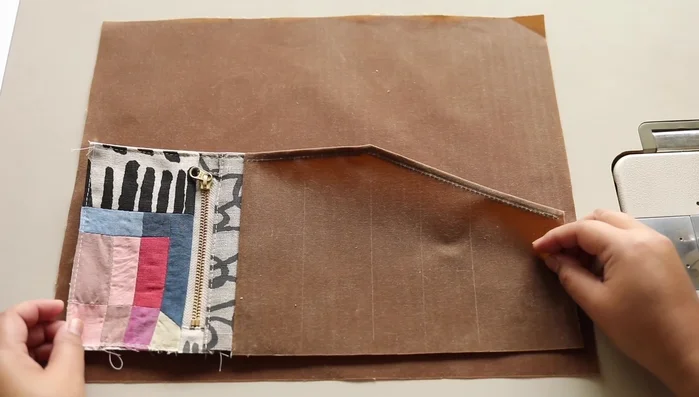
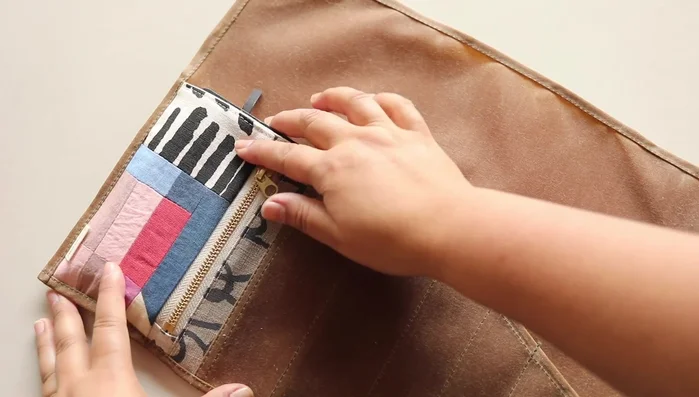
Create Zipper Pouch Attach Zipper Pouch to Tool Roll Body
- Attach the completed zipper pouch to the tool roll body, leaving space for a rolled hem.
Attach Zipper Pouch to Tool Roll Body Mark and Sew Tool Roll Hem
- Mark the slots for the tool roll using a clear ruler. Ensure one mark secures the bottom corner to prevent folding.
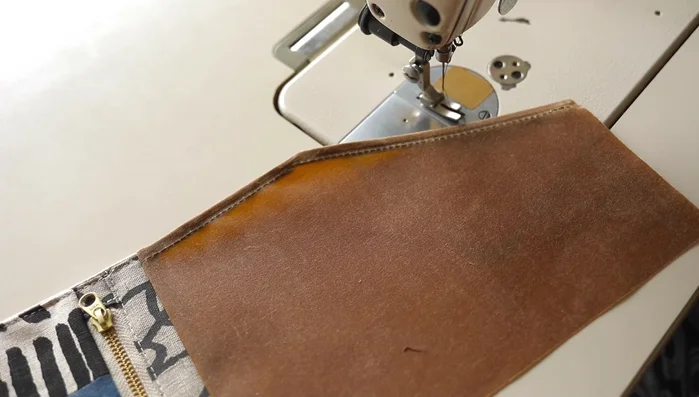
- Sew a rolled hem around the edge of the attached zipper pouch and tool roll body. Start at the bottom corner.
Mark and Sew Tool Roll Hem Add Closure
- Create holes and attach grommets using a punch tool, a hammer, and an anvil.
- Thread a leather cord through the grommets and tie a knot.
- Load tools and roll the tool roll. Wrap and secure the leather cord.
Add Closure
Read more: DIY Quilted Makeup Pouch Tutorial: The Easiest and Fastest Method
Tips
- Use a fabric with body, like canvas or wax canvas.
- Use two different zipper feet for easier sewing.
- Backtack at the beginning and end of each seam.
- Lift the presser foot when sewing over bulky areas.
- Don't pin wax canvas; it leaves marks.