Cloth diapering offers a sustainable and often more cost-effective alternative to disposables, but managing wet and soiled diapers efficiently is crucial. One essential tool for every cloth diapering parent is a waterproof wet bag – a reusable, washable bag designed to keep dampness contained and prevent odours. While readily available for purchase, creating your own DIY waterproof wet bag offers significant cost savings and allows for customization to perfectly match your needs and style. From choosing the right fabrics to mastering the sewing techniques, making your own wet bag is surprisingly straightforward.
This ultimate guide will walk you through each step of the process, empowering you to create durable, leak-proof wet bags that will stand up to the demands of daily cloth diapering. We'll cover fabric selection, pattern creation, sewing techniques, and finishing touches, ensuring you're equipped to confidently tackle this rewarding DIY project. Let's dive into the step-by-step instructions and start crafting your own personalized wet bag solution!
Preparation and Safety Guidelines
- 100% cotton fabric
- PUL fabric (waterproof)
- Zipper (at least 14 inches)
- Sewing machine
- Zipper foot
- Clips (instead of pins)
- Scissors
- Always use PUL (polyurethane laminate) fabric specifically designed for wet bags. Other waterproof fabrics may not be safe for prolonged contact with baby's skin or may leach harmful chemicals.
- Ensure all seams are properly sealed and there are no gaps to prevent leaks. Double-stitch seams for extra durability.
- Before first use, wash your DIY wet bag separately in cold water to remove any potential manufacturing residues or excess dye.
Step-by-Step Instructions
Prepare Materials
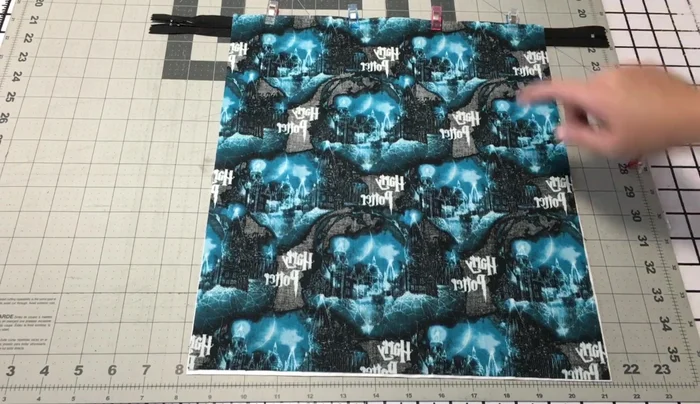
- Cut outer fabric (100% cotton, 13x15 inches), PUL fabric (13x13 inches), and zipper (at least 14 inches). Pay attention to directional prints on cotton fabric.
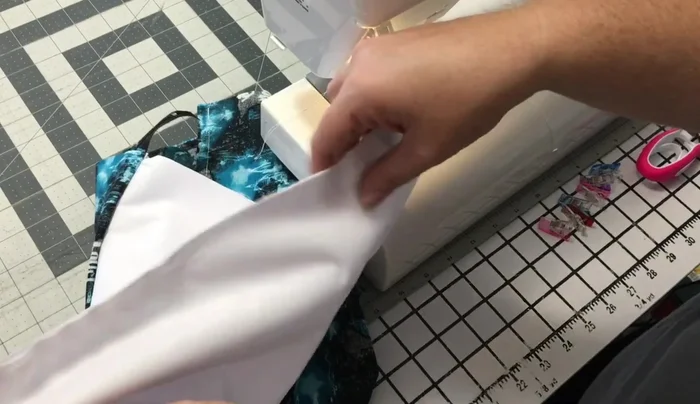
Create Front Panel
- Lay PUL (shiny side up), zipper (right side up), and outer fabric (print facing you, right side to right side of zipper) on top. Clip together instead of pinning.

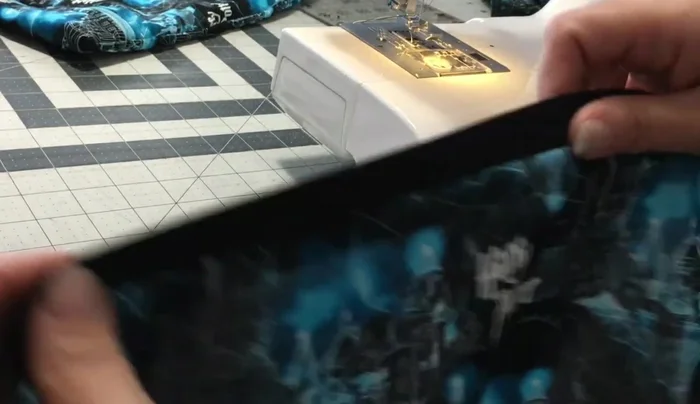
Create Front Panel Sew Front Zipper
- Use a zipper foot and sew down the right side of the zipper, backstitching at the beginning and end.
Sew Front Zipper Flip and Topstitch Front
- Flip the fabric inside out. Topstitch along the top edge of the zipper to secure the layers and prevent fabric from getting caught.
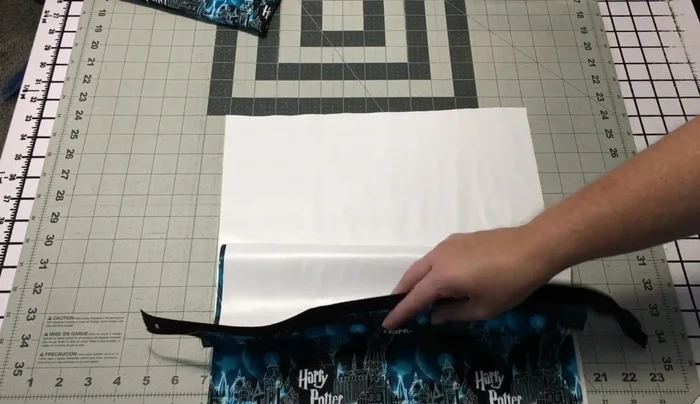
Flip and Topstitch Front Prepare Back Panel
- Lay PUL (shiny side up) and outer fabric (print facing you, right side to right side). Ensure the print matches the front panel; flipping the outer fabric upside down might be necessary to achieve this.
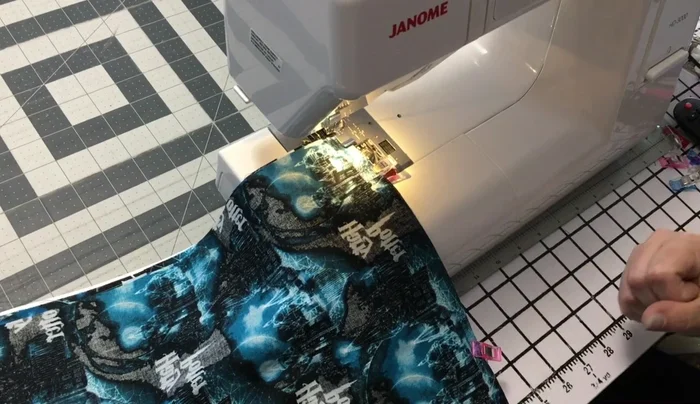
Prepare Back Panel Sew Back Zipper and Topstitch
- Using the zipper foot, sew the back panel to the zipper, matching the seams and backstitching at the beginning and end. Topstitch the back panel.
Sew Back Zipper and Topstitch Sew Side Seams
- Pin/clip the outer fabric pieces together, matching the seams. Sew along the sides, leaving a gap for turning. Use chain piecing to save thread. Remember to leave a hole in the PUL for turning.
Sew Side Seams Turn and Close Gap
- Turn the bag right side out through the gap left in the PUL. Close the gap with a seam.
Turn and Close Gap


Read more: DIY Quilted Makeup Pouch Tutorial: The Easiest and Fastest Method
Tips
- Use clips instead of pins to prevent holes in the PUL fabric.
- Backstitch at the beginning and end of all seams for durability.
- Pay attention to directional prints when cutting and assembling the fabric. Make sure that the print flows consistently in the finished product.
- Use a zipper foot to sew the zipper neatly.
- Topstitch to secure layers and create a professional finish.