Are you looking for a fun, affordable, and surprisingly easy crafting project? Then look no further! This tutorial will guide you through creating your very own stylish and practical vinyl zipper pouch. Perfect for organizing your makeup, carrying small essentials, or even as a unique gift, these pouches are both chic and functional. Vinyl is a wonderfully durable and easy-to-work-with material, making this project ideal for beginners and experienced crafters alike. You’ll be amazed at how quickly you can transform a simple piece of vinyl into a personalized accessory.
Forget expensive store-bought organizers; this DIY project lets you customize the size, color, and design to perfectly match your style and needs. With just a few basic supplies and a little bit of time, you'll be creating these pouches in no time. Ready to get started? Let's dive into the step-by-step instructions and learn how to make your own fabulous DIY vinyl zipper pouch!
Preparation and Safety Guidelines
- Vinyl (16 gauge recommended)
- 14-inch zipper
- Sewing machine
- Zipper foot
- Rotary cutter (optional, but recommended)
- Cutting mat (optional, but recommended)
- Ruler
- Pen
- Clips
- Gütermann thread (or similar)
- Lighter
- Always use a rotary cutter and self-healing mat when cutting vinyl to prevent injury and ensure clean cuts. Never use scissors on vinyl.
- Ensure your iron is set to the correct temperature for your vinyl type. Too much heat can damage the vinyl or your zipper, too little will not adhere properly.
- When working with the zipper, use caution to avoid pinching your fingers. The zipper teeth can be sharp.
Step-by-Step Instructions
Prepare the Vinyl
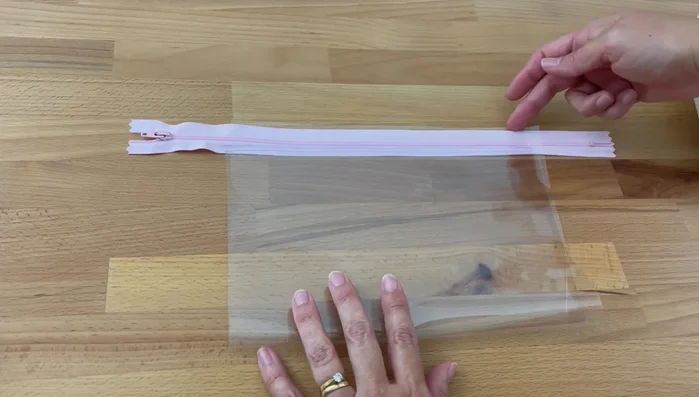
- Cut a 10-inch by 14-inch piece of vinyl.

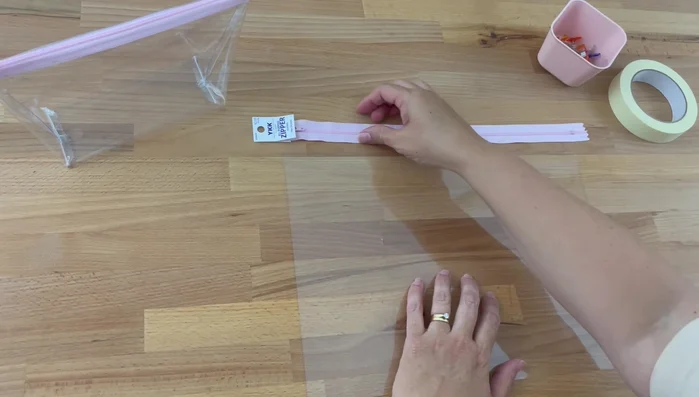
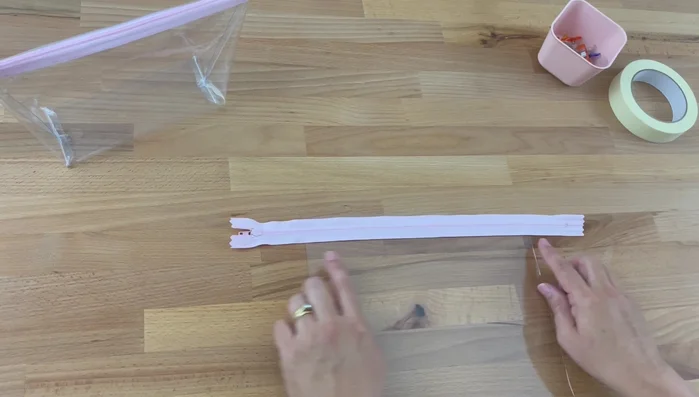
Prepare the Vinyl Attach the Zipper (Side 1)
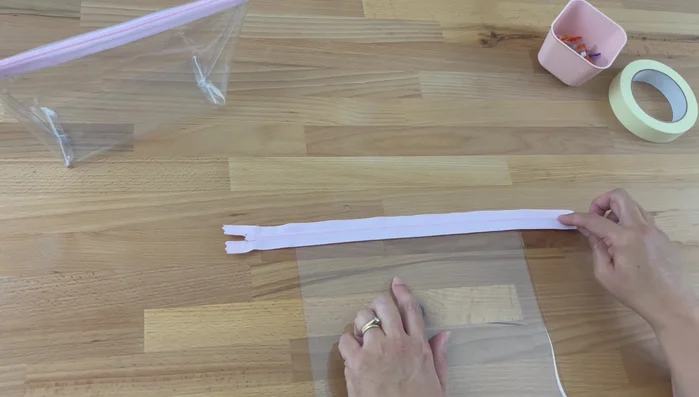
- Place the 14-inch zipper face down on the shorter (10-inch) side of the vinyl, leaving about equal space on either side of the zipper.
- Clip the zipper to the vinyl. Avoid pins as they will pierce the vinyl.
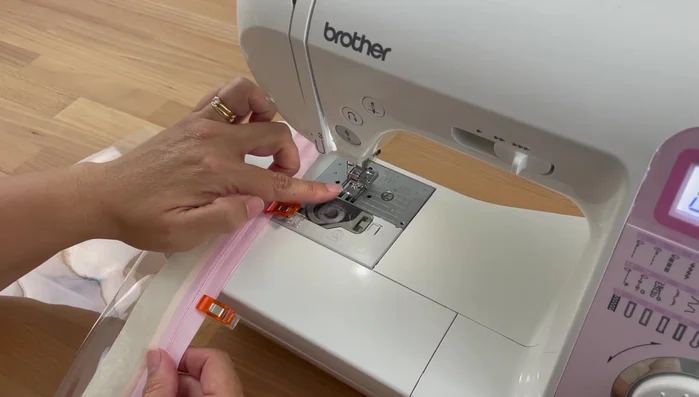
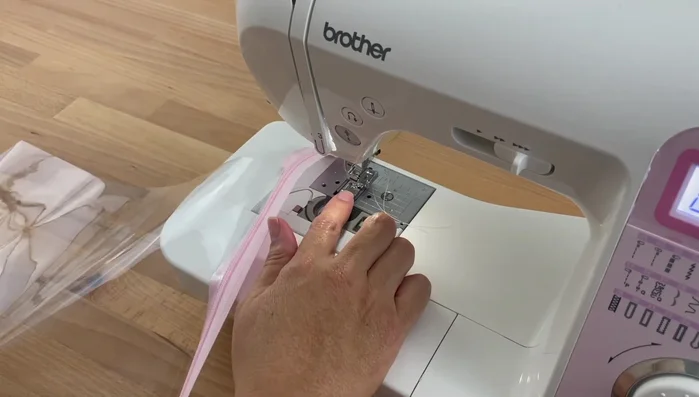
- Using a zipper foot, sew along the edge of the zipper, close to the teeth, on one side of the zipper. Backstitch at the beginning and end.
Attach the Zipper (Side 1) Attach the Zipper (Side 2)
- Repeat steps 3 and 4 on the other side of the zipper.
Attach the Zipper (Side 2) Finish Zipper and Top Stitch
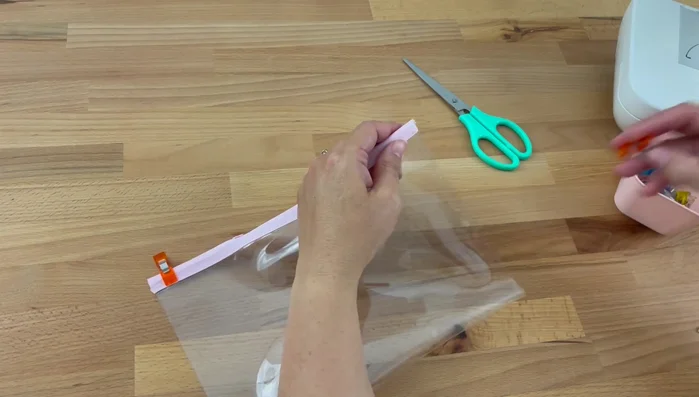
- Fold the vinyl over the zipper, and press it flat. Sew a decorative top stitch along the top edge of the zipper.
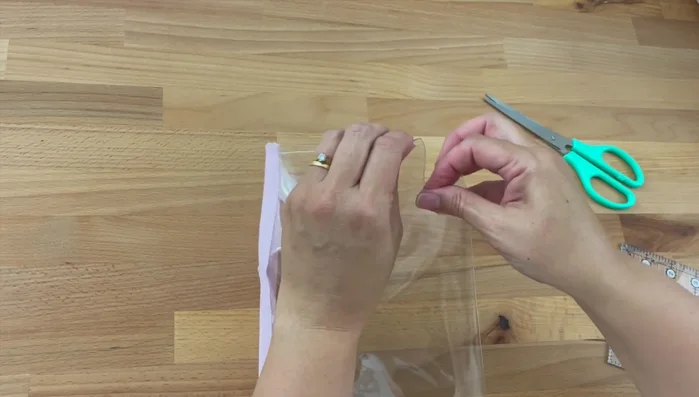
- Carefully trim the excess zipper, ensuring you do not cut the zipper itself.
Finish Zipper and Top Stitch Sew Side Seams
- Sew along both side edges of the pouch.
Sew Side Seams Reinforce Corners
- Cut a 1-inch square off each bottom corner of the pouch.
- Open up each corner, carefully folding the seam allowance to one side to prevent stitches from coming undone. Sew along the newly created seams.
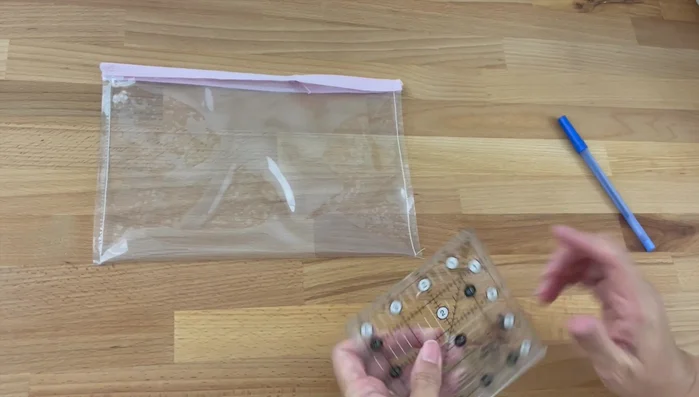
Reinforce Corners Finishing Touches
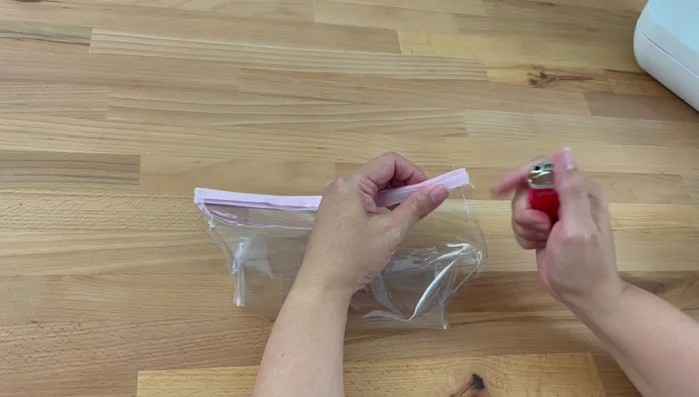
- Using a lighter, gently singe the frayed edges of the zipper to prevent further fraying.
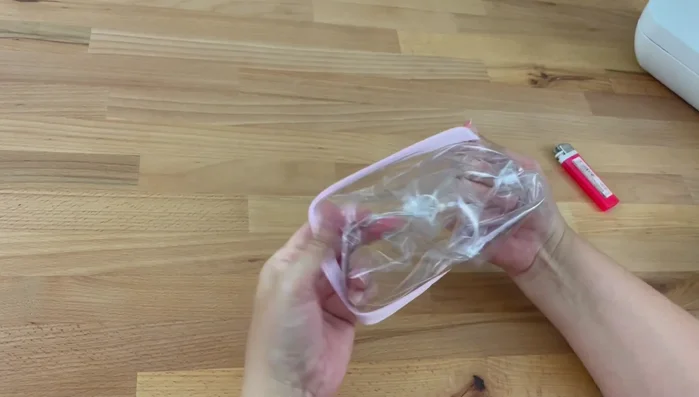
- Carefully turn the pouch right side out. Push out the corners to create sharp edges.
Finishing Touches

Read more: DIY Quilted Makeup Pouch Tutorial: The Easiest and Fastest Method
Tips
- Use 16-gauge vinyl for a sturdy pouch.
- Make sure your zipper is about three inches longer than the width of your vinyl for easier sewing.
- Use clips instead of pins to secure the vinyl and zipper.
- Optional: Use painter's tape to help hold the zipper in place while sewing.
- When sewing the corners, fold the seam allowance to the side to prevent unraveling.