Valentine's Day is just around the corner, and while chocolates and flowers are always appreciated, sometimes a truly thoughtful and personalized gift makes the biggest impact. This year, ditch the generic and impress your loved one with a charming, handmade wine bag – a delightful and surprisingly easy project that's perfect for showcasing your creativity. Forget expensive gift baskets and complicated crafts; this DIY project is all about speed and simplicity, allowing you to create a beautiful and functional present without spending hours in the craft room.
Forget struggling with intricate designs and complicated techniques; this adorable wine bag is a quick and easy project ideal for even the most novice crafter. With just a few simple supplies and a bit of time, you can whip up this charming gift in no time. Ready to get started on crafting the perfect Valentine’s Day surprise? Let's dive into the step-by-step instructions below!
Preparation and Safety Guidelines
- Fabric (two pieces: 12.5" x 14" and 12.5" x 8"), Sewing machine, Red thread, Iron, Ironing board, Pinking shears, Fabric pen, Ribbon
- Always supervise children when using scissors or other sharp crafting tools.
- Ensure the wine bottle is securely fastened within the bag to prevent breakage during transport or handling.
- Avoid using materials that are not food-safe if the bag will be in direct contact with the wine bottle.
Step-by-Step Instructions
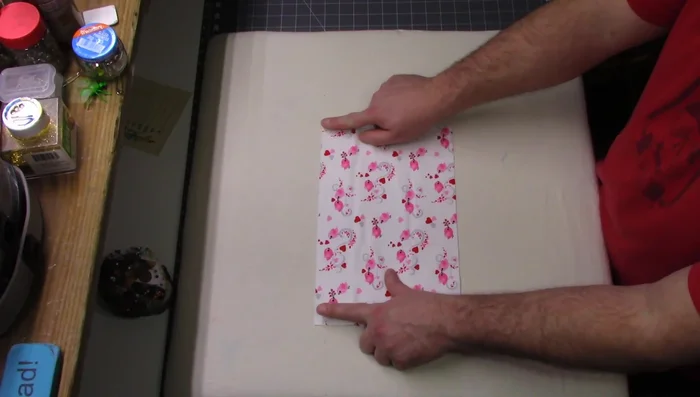
Prepare the Lining
- Fold over 1/2 inch of the 12.5" side of the smaller fabric piece (8" high), press, and sew a 1/4" seam allowance.

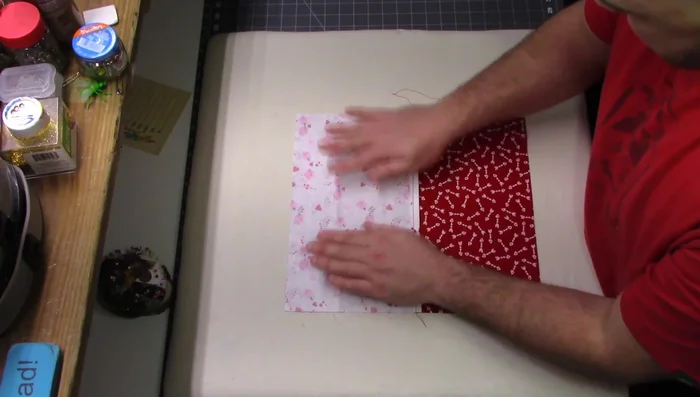
Prepare the Lining Attach Lining to Main Fabric
- Match the raw edges of the lining and the 12.5" side of the larger fabric (14" tall), and sew a 1/4" seam allowance.
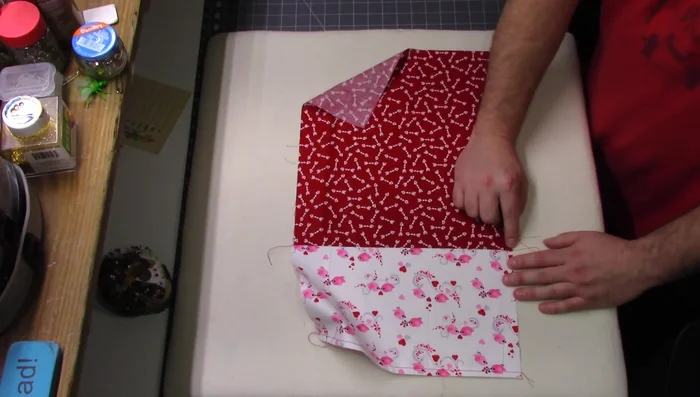
Attach Lining to Main Fabric Press and Secure Seam
- Press the seam towards the larger fabric piece and sew a 1/8" seam to secure it.
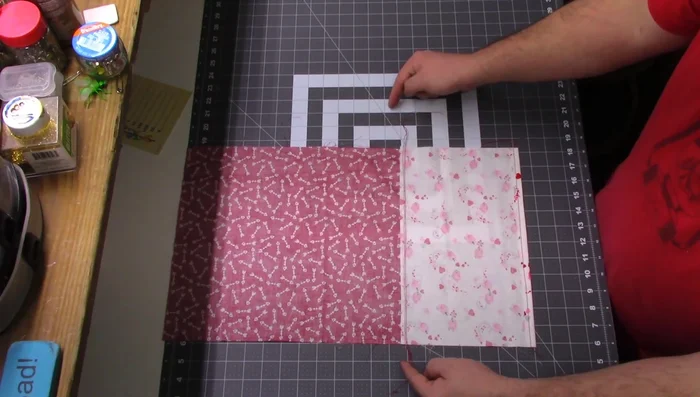
Press and Secure Seam Fold and Sew Top Edge
- Fold the fabric 1 inch down from the seam, press, and sew a 1/4" seam allowance.
Fold and Sew Top Edge Sew Sides and Bottom
- Fold the fabric right sides together, matching seams, and pin. Sew a 1/4" seam down the sides, pivoting at the corners to sew the bottom.
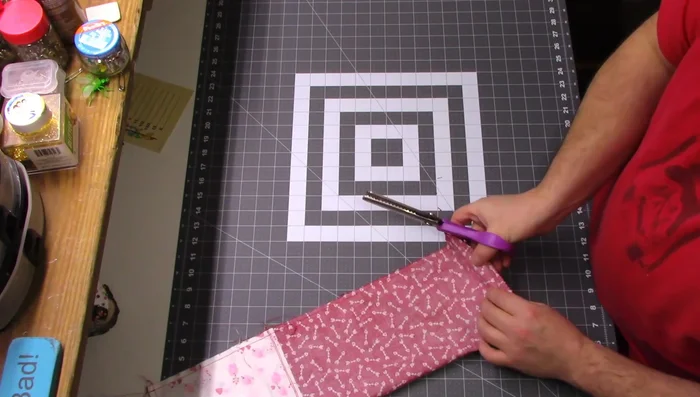
Sew Sides and Bottom Pink the Seams
- Use pinking shears to finish the raw edges.
Pink the Seams Box the Corners
- Fold the bottom seam to the side seam, measure and draw a 1" line from the corner, and sew along the line. Repeat on the opposite corner.
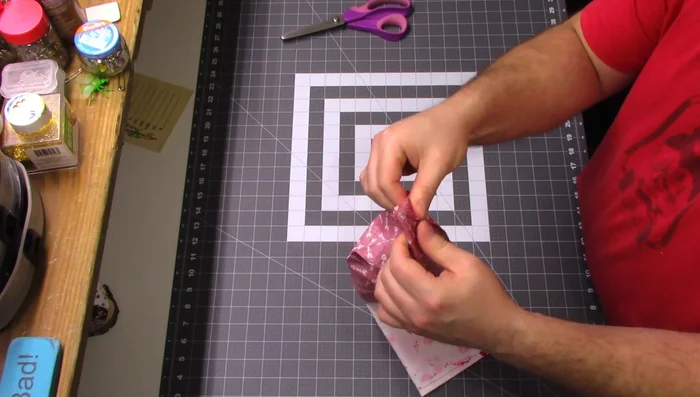
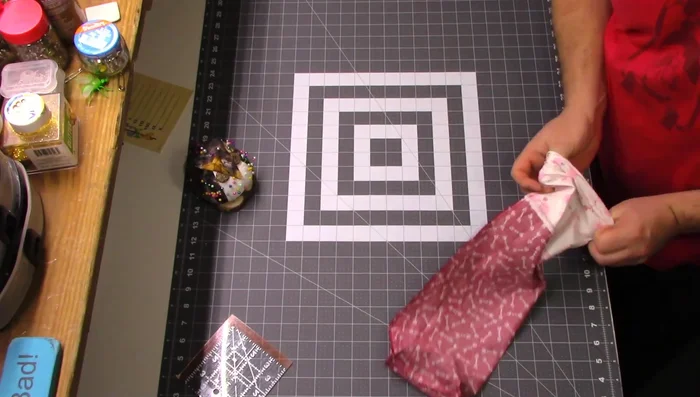
Box the Corners Finish Top Edge and Turn
- Fold the lining down, turn the bag right side out.
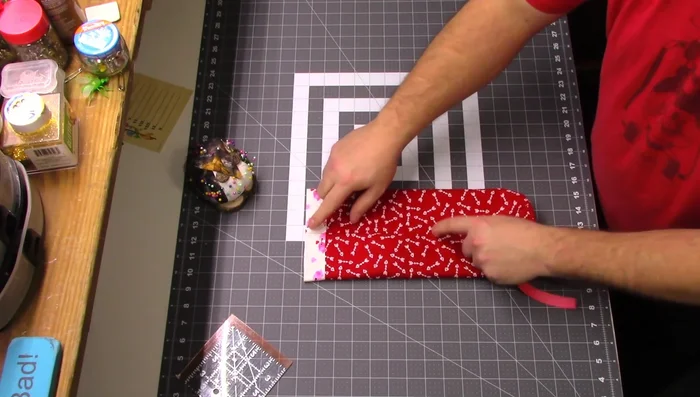
Finish Top Edge and Turn Attach Ribbon
- Measure 4 inches down from the top seam, pin the ribbon, and sew it down using several passes for added security.
Attach Ribbon

Read more: DIY Quilted Makeup Pouch Tutorial: The Easiest and Fastest Method
Tips
- Pay attention to directional prints on your fabric.
- Pinking or serging the raw edges of the lining isn't strictly necessary, as this part is hidden.
- Backstitching at the beginning and end of seams is optional in several steps, but recommended for durability.
- The amount you fold down for the top edge can be adjusted (1 inch is suggested but can be slightly more or less).
- Take your time when box cornering. Ensure accurate measurements and use pins to hold everything in place before sewing.