V-necklines, with their flattering and versatile nature, are a staple in many wardrobes. They can instantly elevate a simple garment, adding a touch of elegance or a hint of edgy sophistication, depending on the style. Whether you're looking to revamp an old favorite, create a unique design, or simply save money by avoiding expensive alterations, mastering the art of crafting a perfect DIY V-neckline is a valuable skill. A well-executed V-neck can transform a garment from drab to fab, offering a customized fit and a chance to express your individual style.
This guide provides a comprehensive, step-by-step approach to creating flawlessly tailored V-necklines on your own clothing. We'll cover everything from choosing the right tools and fabrics to perfecting those crucial finishing touches, ensuring a professional-looking result. Let's dive into the detailed instructions to achieve that perfect V-neckline you’ve always dreamed of.
Preparation and Safety Guidelines
- Fabric
- Sewing machine
- Pins
- Scissors
- Measuring tape
- Always use sharp, high-quality sewing shears to ensure clean cuts and prevent fabric from fraying. Dull shears can lead to uneven cuts and injury.
- Pin your neckline carefully before stitching to avoid shifting and ensure accurate placement. Take your time and double-check your measurements.
- Test your stitching on a scrap piece of fabric first to ensure your stitch length and tension are appropriate for your chosen fabric. This prevents ruining your garment.
Step-by-Step Instructions
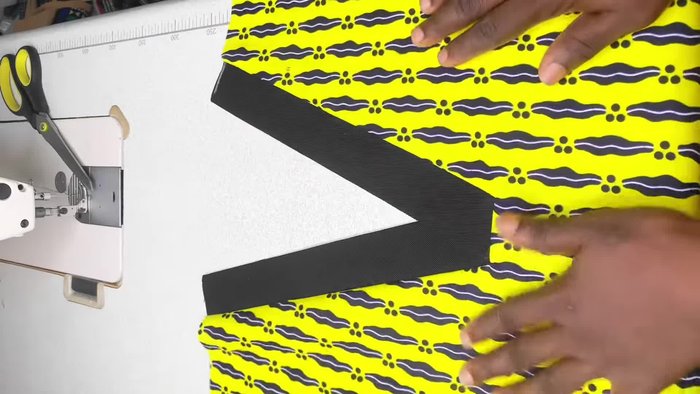
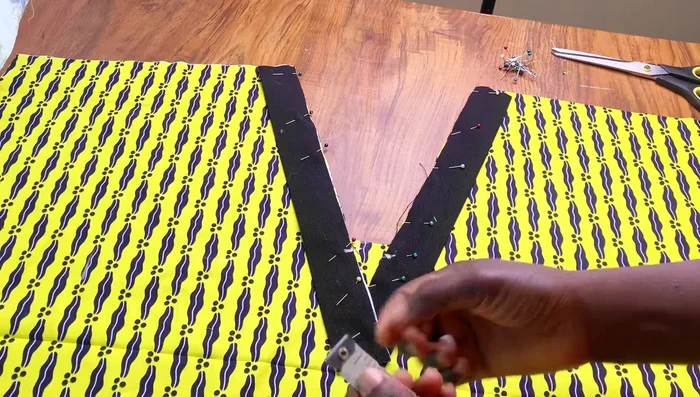
Create the V-Neck Pattern
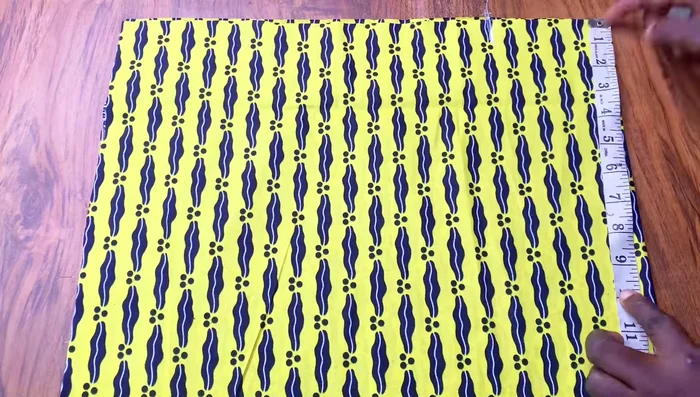
- Fold fabric in half. From the center front, measure 4 inches in and 9.5 inches down (adjust length for desired neckline width).
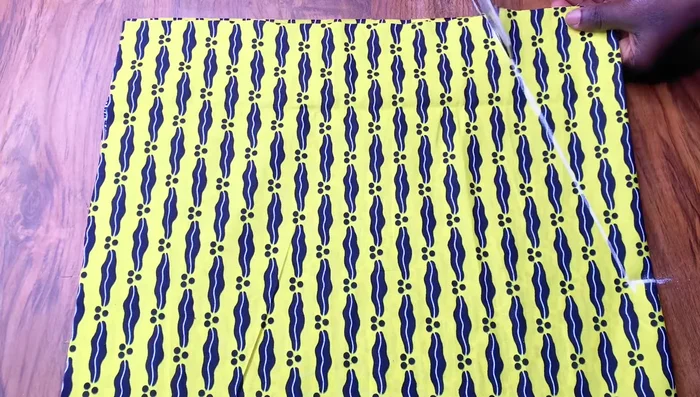
- From the bottom point, measure in 0.5 inches. Connect this point to the neckline point to create the V-shape.
- Cut out the neckline pattern. You should have a 1-inch opening at the center.

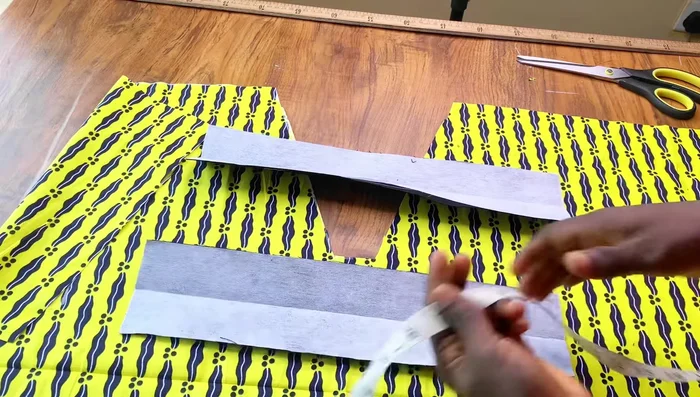
Create the V-Neck Pattern Prepare the Fabric Pieces
- Cut two pieces of fabric (approximately 15 inches long and 3.5 inches wide). Adjust width as needed.
Prepare the Fabric Pieces Attach Fabric to Neckline
- Pin the fabric pieces to the neckline, ensuring even placement.
- Mark a half-inch from the top of the neckline and stitch from this point down 1 inch.
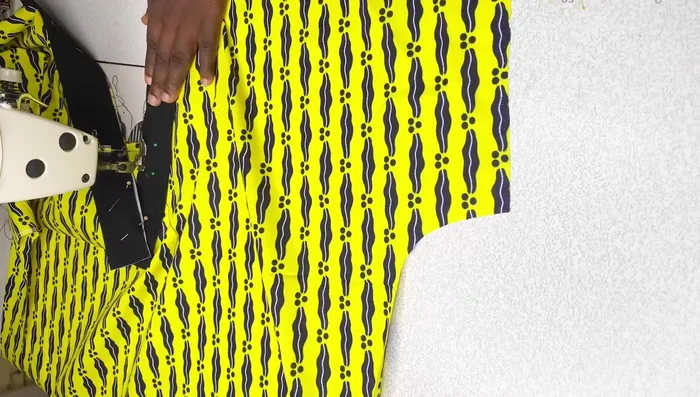
- Sew the black fabric pieces to the blouse.
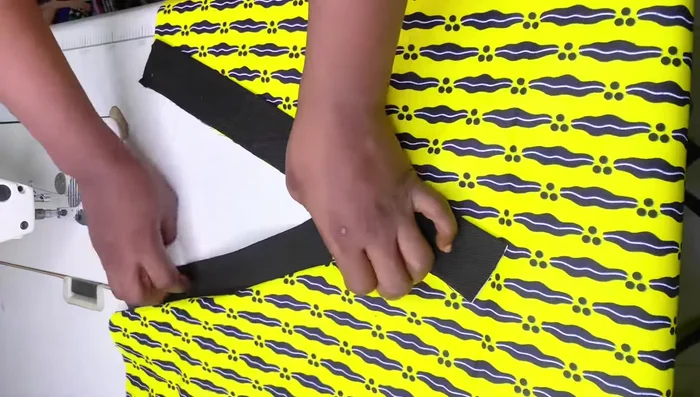
Attach Fabric to Neckline Secure and Finish the V-Neck
- Remove pins and make a notch at the half-inch mark to prevent stretching.
- Fold the fabric inwards at the notch.
- Turn the garment to the back, trim excess fabric if needed, and sew the yellow fabric (or your main fabric) to secure the V-neck.
Secure and Finish the V-Neck


Read more: Raglan Sleeve Sewing Tutorial: A Step-by-Step Guide
Tips
- Adjust the length of the neckline (9.5 inches) to your preference, between 7 and 10 inches.
- Pinning the fabric pieces securely prevents shifting during sewing.
- Creating the notch at the half-inch mark prevents stretching and ensures a clean finish.
- Take your time and ensure neat stitching for a professional look.