Transform your bedroom from drab to fab without breaking the bank! A statement headboard can instantly elevate the look of your bed, adding personality and sophistication. But designer headboards often come with designer price tags, leaving many of us to settle for less. This needn't be the case. With a little creativity and some readily available materials, you can craft a stunning, custom-upholstered headboard that perfectly complements your style and budget. Forget expensive commissions and mass-produced designs; this DIY project empowers you to create a truly unique piece.
This guide provides a step-by-step walkthrough, perfect for beginners and seasoned DIY enthusiasts alike. We'll guide you through choosing the right materials, constructing the frame, and achieving a professional-looking finish, all while keeping costs low. Ready to get started and create the headboard of your dreams? Let's dive into the detailed instructions below.
Preparation and Safety Guidelines
- Foam
- Fabric
- Welt Cord
- 1x4s
- Luan Plywood
- Sewing Machine
- Rotary Cutter
- Staple Gun
- Pocket Hole Jig
- Gorilla Adhesive
- Measuring Tape
- Scissors
- Always use appropriate safety glasses and a dust mask when cutting and working with fabrics. Upholstery staples and fabric dust can be harmful.
- If using power tools like a staple gun, ensure you understand how to use them safely and correctly. Never point the staple gun at yourself or others.
- When working with foam, be mindful of sharp edges and use gloves to protect your hands. Dispose of foam scraps responsibly.
Step-by-Step Instructions
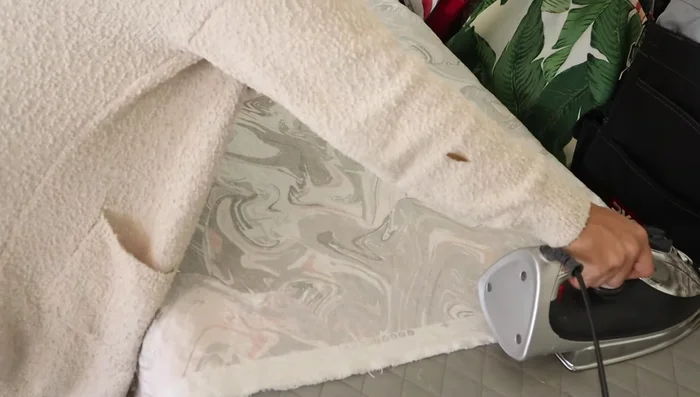
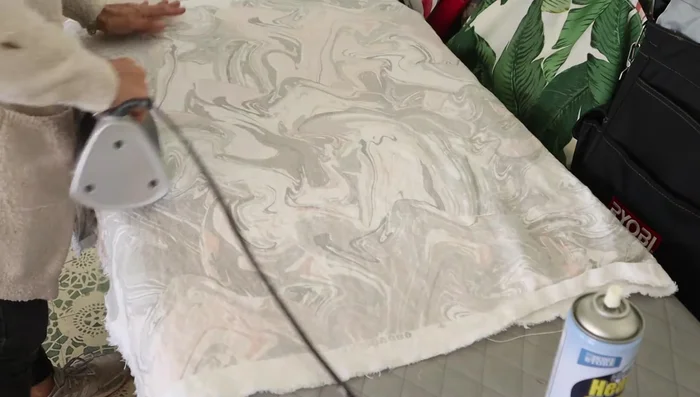
Prepare Materials
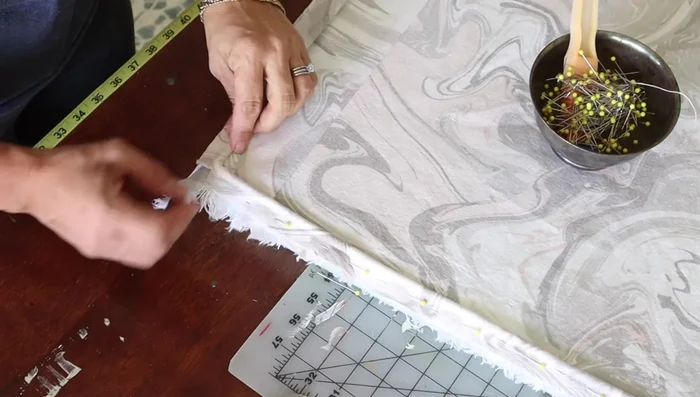
- Wash, dry, and press fabric.
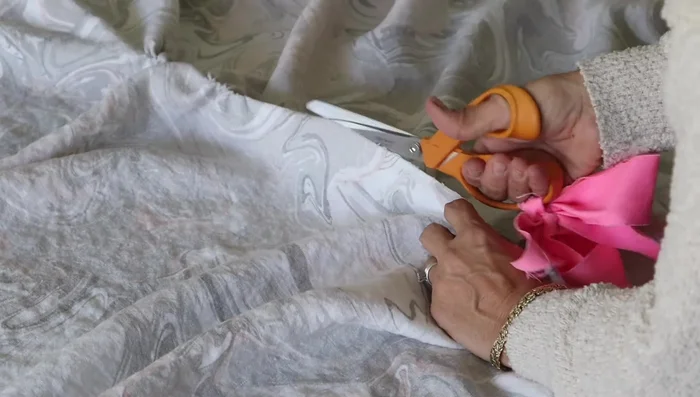
- Cut fabric straight and on grain.

Prepare Materials Create Welt Cording
- Make welt cording (bias cut).
- Sew welt pieces together.
Create Welt Cording Prepare Fabric
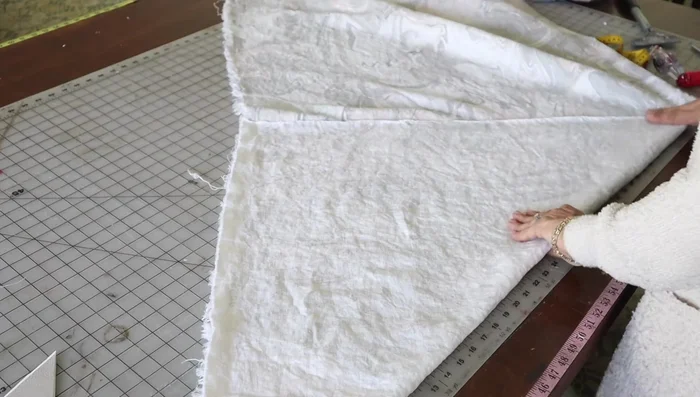
- Join fabric pieces (if necessary) to achieve desired width, avoiding center seam.
Attach Welt to Fabric
- Pin welt to the edge of the front fabric piece.
- Make relief snips in the welt at corners for easier bending.
- Pin and sew welt to the front fabric piece.
Attach Welt to Fabric Create and Attach Boxing
- Cut and sew the boxing piece (4-inch strip).
- Sew boxing piece to welt and front fabric. Sew second welt piece to the opposite side of the boxing piece.
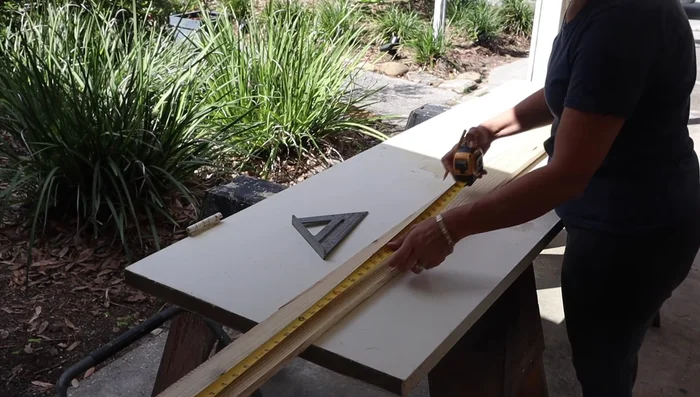
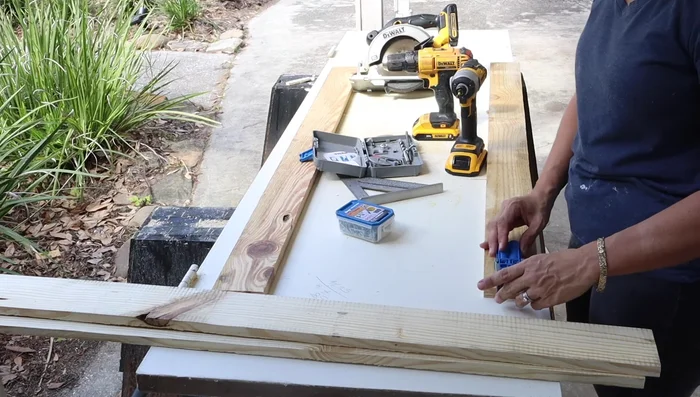
Construct the Frame
- Construct the wooden frame (using 1x4s). Make frame slightly smaller than foam.
- Attach luan plywood to frame, then glue foam to plywood.
Construct the Frame Upholster the Frame
- Attach the back fabric piece and staple the entire headboard to the frame.
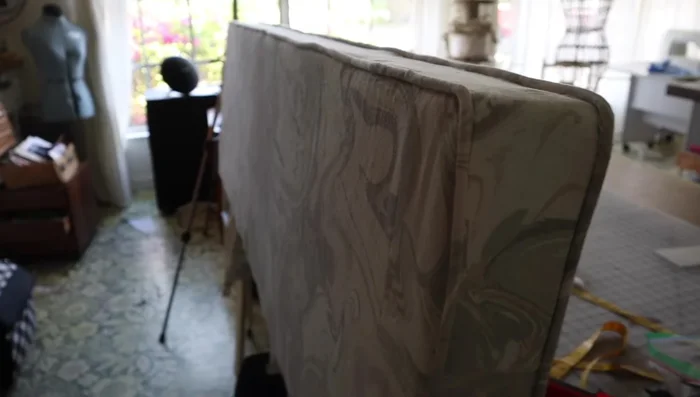
Upholster the Frame Finishing Touches
- Trim excess fabric and add finishing touches.
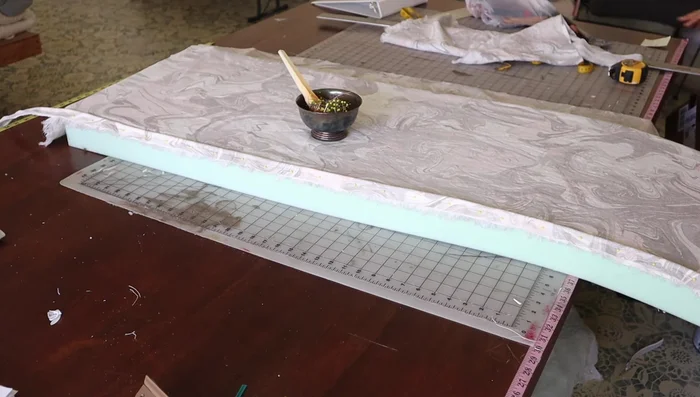
Finishing Touches Cut Foam
- Cut foam to size.
Cut Foam
Read more: DIY Super Cute Whale Shower Curtain: A Step-by-Step Tutorial
Tips
- Pre-shrink your fabric to avoid issues after washing.
- Cut your welt on the bias for flexibility.
- Avoid center seams on the headboard fabric.
- Make relief snips on the welt at corners to allow for proper bending.
- Sew the boxing piece with the welt facing down (against feed dog) to prevent shifting.