Tired of juggling your essentials in a messy handbag? Craving a stylish and functional tote that's uniquely yours? Then get ready to unleash your inner crafter with this DIY project! We'll guide you through creating a sophisticated two-pocket tote bag, featuring a cleverly recessed zipper pocket for secure storage and a convenient magnetic closure for easy access. This design offers the perfect blend of practicality and personalized style, allowing you to customize fabrics and embellishments to match your taste. Imagine the satisfaction of carrying a bag you've made yourself, knowing it's perfectly tailored to your needs.
This detailed tutorial will equip you with the skills and confidence to craft your own stunning two-pocket tote. From choosing the perfect fabrics to mastering the recessed zipper technique, we’ll walk you through each step, ensuring a successful and rewarding DIY experience. Let's dive in and discover how easily you can create this beautiful and functional bag—follow the step-by-step instructions below!
Preparation and Safety Guidelines
- Upholstery weight fabric
- Interior lining fabric
- Interfacing
- Two zippers for interior pockets
- Zipper for main bag
- Two magnetic closures
- Adjustable strap
- Two D-rings
- Anchor hooks
- Scissors
- Ruler
- Measuring tape
- Chalk or soap
- Iron
- Always use sharp fabric scissors to prevent frayed edges and ensure clean cuts. Dull scissors can cause fabric slippage and inaccurate measurements.
- When working with the zipper, be cautious not to catch your fingers. Use zipper pliers or a zipper foot on your sewing machine if available to help prevent injury.
- Before sewing the final seams, double-check your measurements and the placement of pockets and zipper to avoid having to unpick and redo sections of your work.
Step-by-Step Instructions
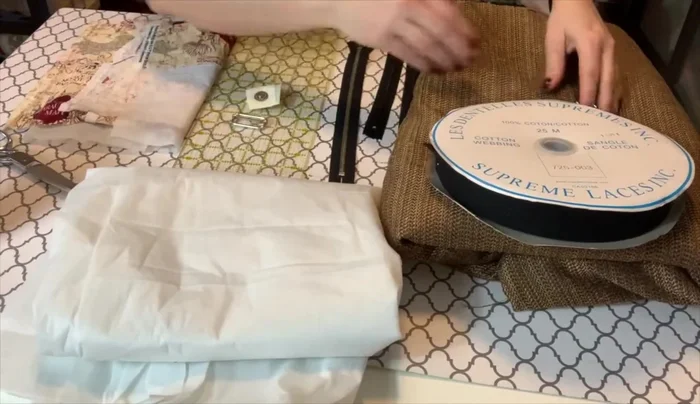
Gather Materials
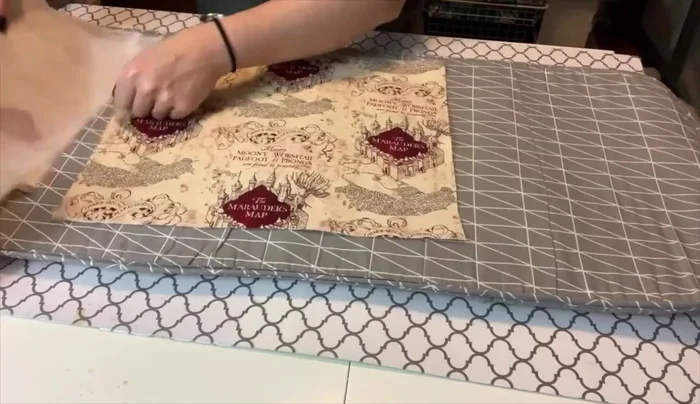
- Lay out all necessary materials.

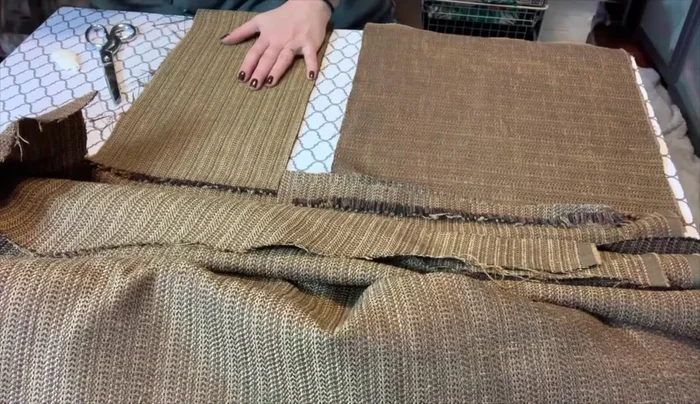
Gather Materials Cut Outer Fabric
- Cut the outer fabric (upholstery weight) to desired dimensions (e.g., 16x15 inches).
Cut Outer Fabric Cut Recessed Zipper & Casing Pieces
- Cut additional pieces for the recessed zipper (4 inches high) and the zipper casing (13x2.25 inches).
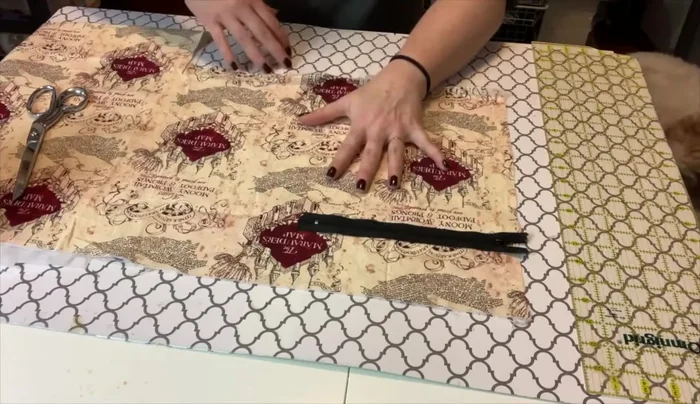
Cut Recessed Zipper & Casing Pieces Cut Lining & Pocket Pieces
- Cut the lining fabric, including pieces for the zippered pockets.
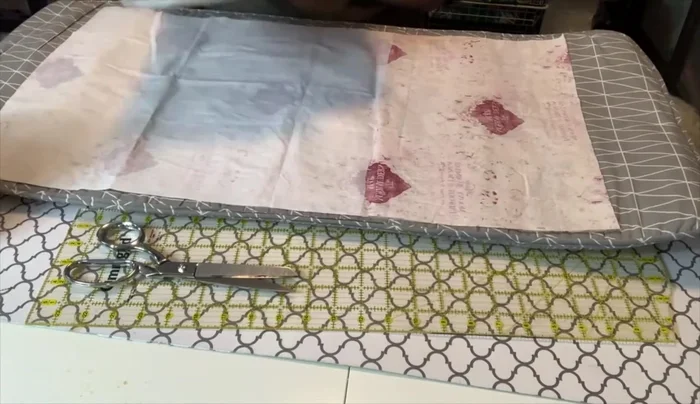
Cut Lining & Pocket Pieces Interface Lining
- Interface the lining fabric.
Interface Lining Prepare Interior Pockets
- Cut openings, sew zippers, and iron.
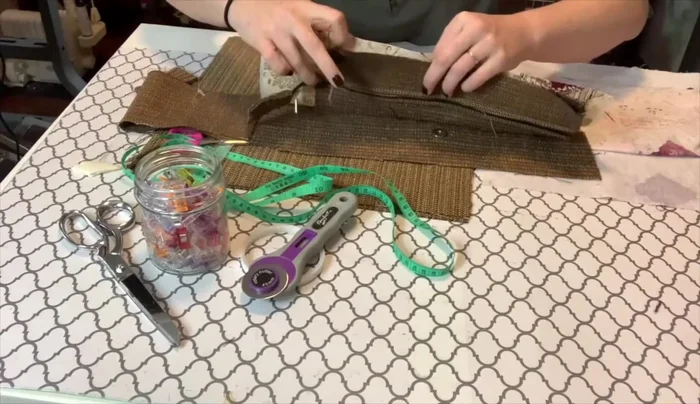
Prepare Interior Pockets Prepare Recessed Zipper
- Attach tabs to the recessed zipper.
- Sew the recessed zipper casing pieces together, flip, and topstitch to attach the zipper.
Prepare Recessed Zipper Attach Magnetic Snaps
- Attach the magnetic snaps, protecting the fabric with interfacing or cardboard.
Attach Magnetic Snaps Attach Lining to Zipper & Snaps
- Attach the lining to the zipper and magnetic snaps.
Attach Lining to Zipper & Snaps Sew Lining Pieces
- Sew together the lining pieces, leaving an opening for turning.
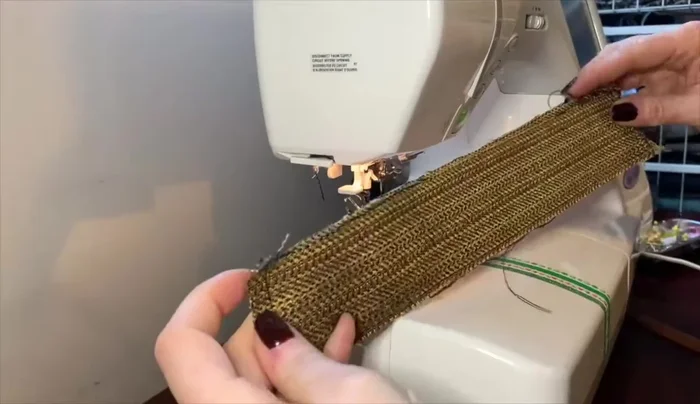
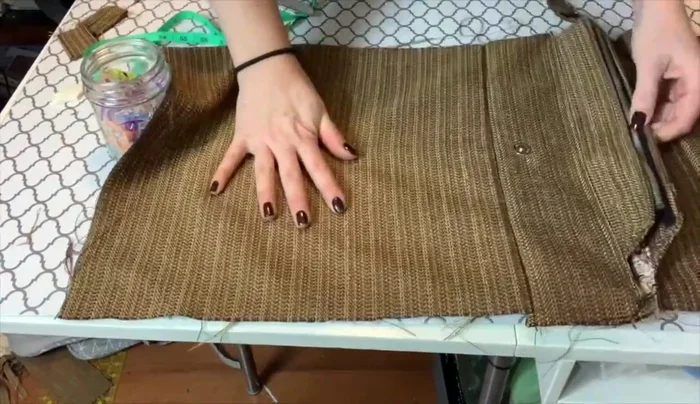
Sew Lining Pieces Sew Outer Fabric Pieces
- Sew together the outer fabric pieces.
Sew Outer Fabric Pieces Create D-ring Tabs
- Iron, fold, and top stitch.
Create D-ring Tabs Attach D-rings
- Attach D-rings and tabs to the bag.
Attach D-rings Turn Bag Right Side Out
- Turn the bag right side out through the pocket opening.
Close Pocket Opening
- Close the pocket opening.
Topstitch Bag Top
- Topstitch around the top edge of the bag.
Make & Attach Strap
- Attach adjusters and anchor hooks to the cotton webbing.


Read more: DIY Quilted Makeup Pouch Tutorial: The Easiest and Fastest Method
Tips
- Use upholstery weight fabric for the outer bag to eliminate the need for interfacing.
- Interfacing is crucial for the lining to provide structure.
- Protect the fabric around the magnetic snaps with interfacing or cardboard to prevent tearing.
- Leave a pocket opening unsewn to easily turn the bag right side out.