Travy shirts – those effortlessly chic, relaxed-fit tops – are everywhere this season. But what if you could create your own unique version, tailored perfectly to your style and at a fraction of the retail price? This easy DIY sewing tutorial will guide you through the process of crafting your very own trendy Travy shirt, from start to finish. Forget expensive boutiques and limited sizes; with just a little patience and these simple instructions, you'll be rocking a custom-made masterpiece in no time.
This guide caters to both beginners and experienced sewers, offering clear, step-by-step instructions and helpful tips along the way. We'll cover everything from choosing the right fabric and pattern to mastering essential sewing techniques. Ready to unleash your inner fashion designer and create the Travy shirt of your dreams? Let's dive into the step-by-step process and start sewing!
Preparation and Safety Guidelines
- Fabric (cotton or linen)
- Sewing machine
- Scissors
- Pins
- Iron
- Interfacing
- 6 buttons
- PDF sewing pattern
- Always use sharp sewing machine needles and pins to prevent fabric from snagging or tearing. Dull needles can cause skipped stitches and frustration.
- Before cutting your fabric, pre-wash and dry it to prevent shrinkage after the shirt is sewn. This ensures a proper fit.
- When using the sewing machine, keep your fingers clear of the needle and presser foot to avoid injury. Use a seam ripper to remove mistakes carefully, not scissors.
Step-by-Step Instructions
Fabric Preparation
- Decate the fabric to prevent shrinking.
Cutting the Fabric
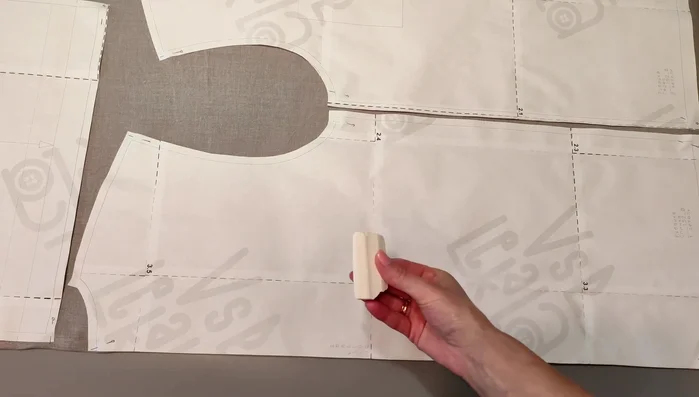
- Lay out the pattern pieces on the fabric, following the grain line. Transfer all markings onto the fabric before cutting.

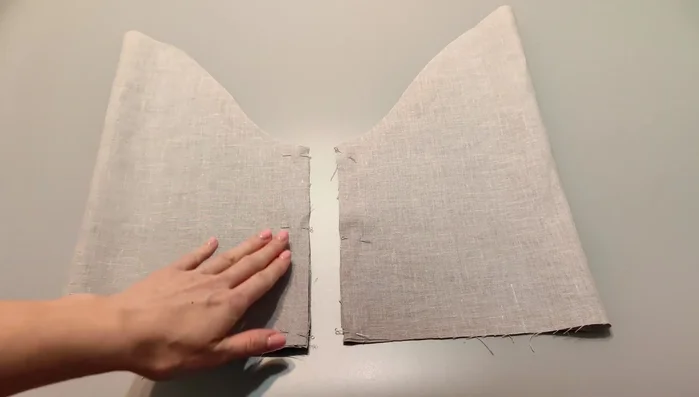
Cutting the Fabric Preparing the Pleats
- Press the pleats to the wrong side on the front pieces by 3cm and again by 3cm.
Preparing the Pockets
- Press the upper allowance of the pocket by 1cm and then by 3cm. Stitch the upper corners, fold allowances over, stitch, turn right side out, and press. Top stitch the pressed upper seam.
Preparing the Pockets Attaching the Pockets
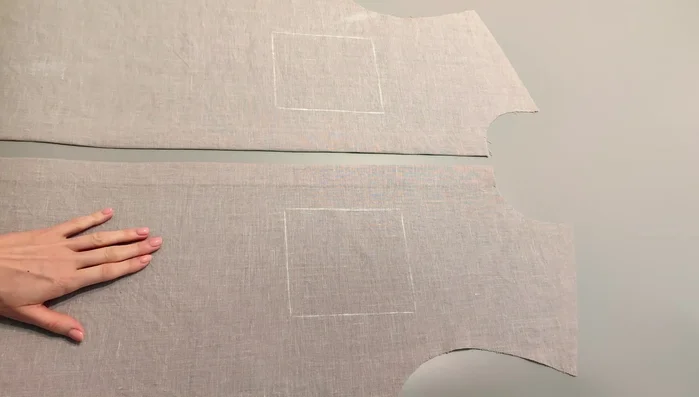
- Mark the pocket positions on the front pieces. Stitch the pockets in place with two lines of stitching (1mm and 5mm from the edge).
Attaching the Pockets Sewing the Body
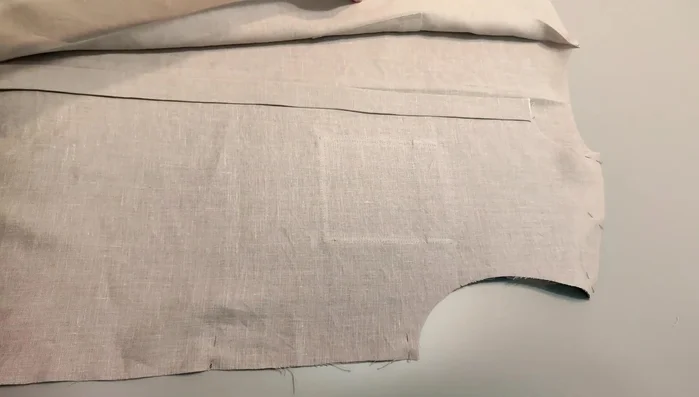
- Place the two front pieces onto the back. Stitch and overlock the shoulder and side seams. Press seam allowances to the back.
Sewing the Body Hemming the Bottom
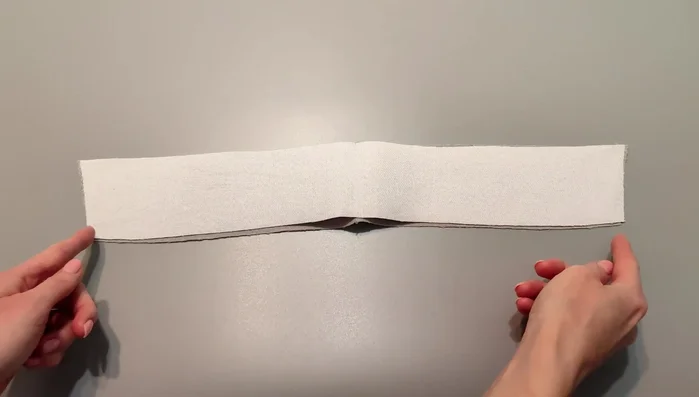
- Overlock the bottom of the shirt and press to 2cm. Stitch the bottom.
Hemming the Bottom Preparing the Placket
- Stitch the bottom corner of the placket along the hemline, fold to the right side, and stitch along the pressed hemline. Turn out and press. Top stitch the bottom of the shirt.
Preparing the Placket Making the Collar
- Place the undercollar on the top collar and stitch along the short sides and collar roll line. Turn out and press. Top stitch along the collar.
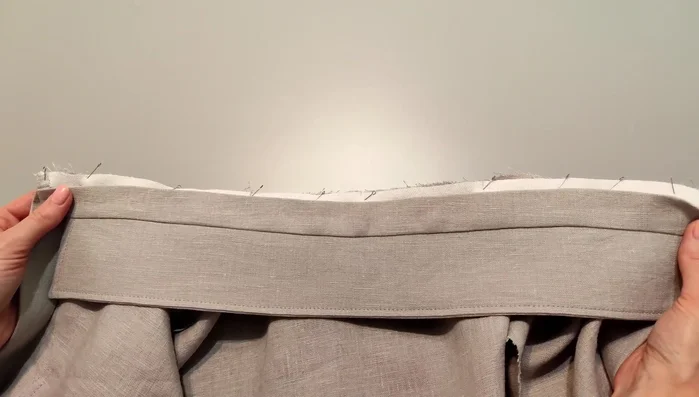
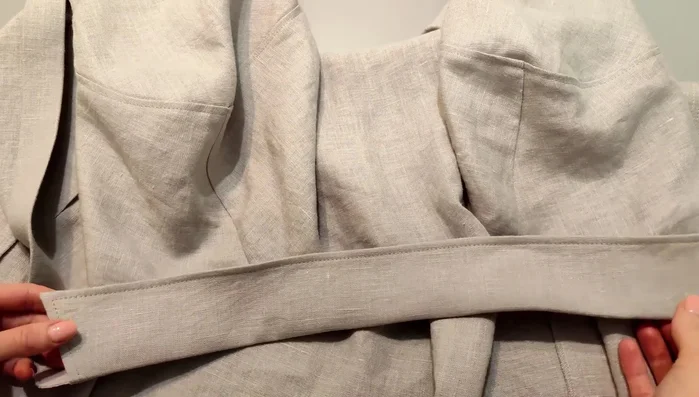
Making the Collar Attaching the Collar
- Press one stand piece with 1cm allowance. Place the collar between the stand pieces, right sides together. Stitch the stand along the entire length, cut allowances, and turn to the right side. Press. Pin and stitch the lower stand to the collar into the neckline from the wrong side. Press seam allowance towards the stand.
- Pin and top stitch the pressed seam allowances of the second stand from the front side at 1mm from the edge, continuing the stitch along the perimeter of the stand.
Attaching the Collar Sewing the Sleeves
- Stitch the sleeves along the edges and overlock them. Press seam allowances to the back. Press the bottom of the sleeves. Top stitch.
Sewing the Sleeves Attaching the Sleeves
- Insert the sleeve into the armhole, right sides together. Stitch and overlock. Press seam to the shoulder and top stitch along the armhole.
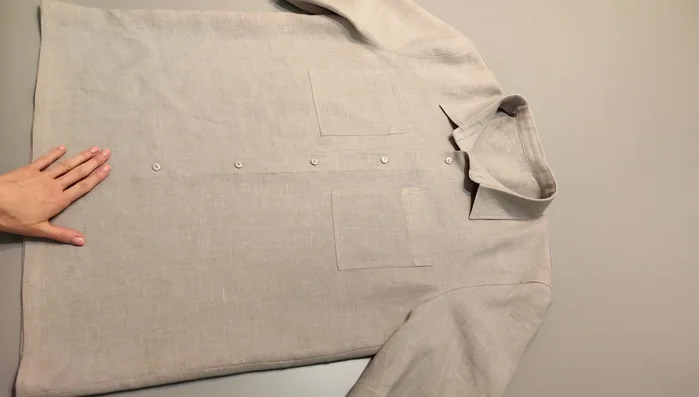
Adding Buttons and Buttonholes
- Press the collar along the fold line. Mark the buttonholes and button positions. Make buttonholes and sew on the buttons.
Adding Buttons and Buttonholes Final Pressing
- Give the garment a final press.
Final Pressing


Read more: Raglan Sleeve Sewing Tutorial: A Step-by-Step Guide
Tips
- Use natural fabrics like cotton or linen for best results.
- Always check the number of cut pieces against your pattern pieces list.