Tote bags are ubiquitous – practical, stylish, and endlessly customizable. Whether you're looking for a reusable shopping bag, a stylish everyday carry-all, or a personalized gift, crafting your own tote bag offers unparalleled freedom of expression. This is especially true when adding a functional detail like a recessed zipper, providing a secure compartment for valuables while maintaining the bag's sleek aesthetic. Forget flimsy, mass-produced bags; discover the satisfaction of creating a durable, unique tote perfectly suited to your needs and taste.
This guide will walk you through the process of making a beautiful, high-quality tote bag featuring a seamlessly integrated recessed zipper. From selecting materials to mastering the final stitching, we'll provide clear instructions and helpful tips to ensure your DIY project is a resounding success. Let's dive into the step-by-step instructions and transform your vision into a stylish, functional tote bag.
Preparation and Safety Guidelines
- Outer fabric (1 yard)
- Lining fabric (1 yard)
- Pelin fusible fleece interfacing (1 yard)
- Pelin de coeur bond fusible stabilizer (1 yard)
- Zipper
- Ruler
- Thread
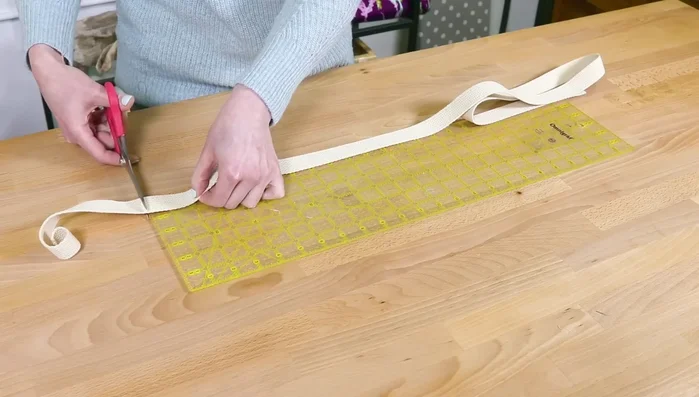
- 3 yards of 1 inch webbing
- Scissors
- Fabric marker
- Pins
- Iron
- Sewing machine with zipper foot
- Always use sharp scissors or rotary cutter when cutting fabric to prevent injury and ensure clean lines. Avoid cutting towards yourself.
- Be cautious when using the sewing machine, especially when working with zippers. Keep fingers clear of the needle and moving parts.
- Before starting, pre-wash your fabric to avoid shrinkage after the bag is completed. Iron the fabric for smoother sewing.
Step-by-Step Instructions
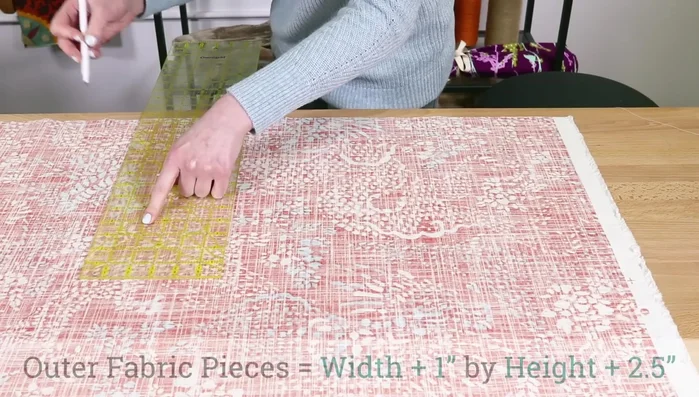
Cut Fabric Pieces
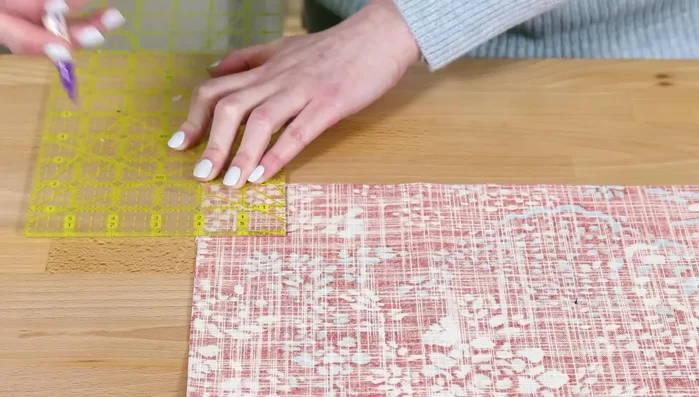
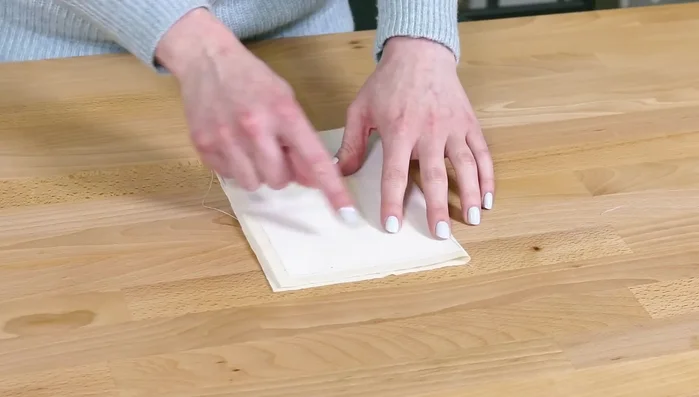
- Cut two rectangles from outer fabric (width you want + 1 inch) x (height + 2.5 inches). Cut two lining fabric rectangles same width as outer fabric, 2 inches shorter.
- Cut 2-inch squares from bottom corners of outer and lining fabrics. This determines the depth of the bag's bottom.
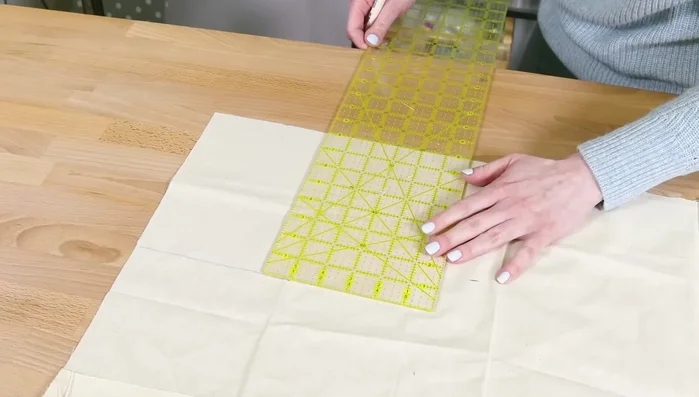
- Cut two lining fabric pieces 2.5 inches high and same width as other pieces. These will be visible above the zipper.

Cut Fabric Pieces Prepare Optional Pocket and Fuse Interfacing
- Cut pocket piece (5x7 inches + 1 inch seam allowance). Fuse stabilizer to outer fabric and upper lining pieces (1/2 inch smaller). Fuse fleece interfacing to lower lining pieces (1/2 inch smaller). Fuse stabilizer to pocket piece.
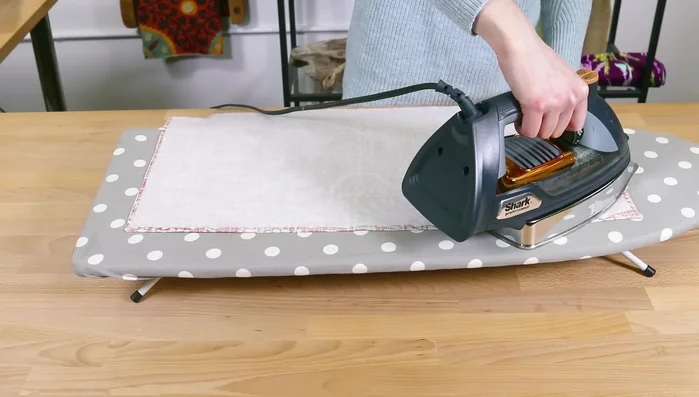
- Center stabilizer on back of outer pieces and upper lining pieces. Press for 10 seconds per section. Repeat for other pieces.
Prepare Optional Pocket and Fuse Interfacing Attach Webbing Handles
- Find center of outer fabric. Mark 3.5 inches on both sides. Pin webbing 1/8 inch from edge, starting from bottom. Sew, stopping at 1.5 inches from top. Repeat for other handle.
Attach Webbing Handles Prepare and Attach Pocket
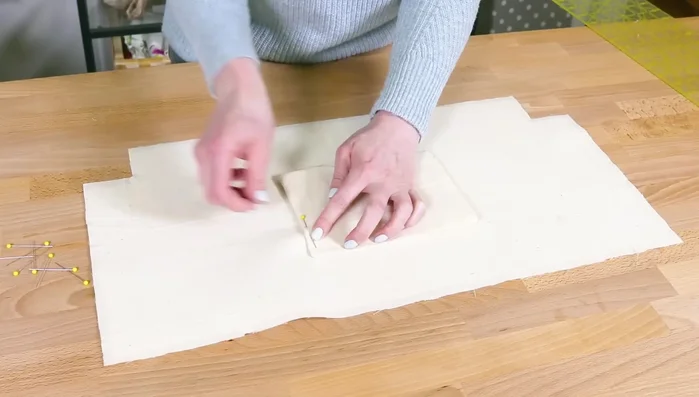
- Fold pocket in half, stabilizer out. Clip corners, turn right-side out.
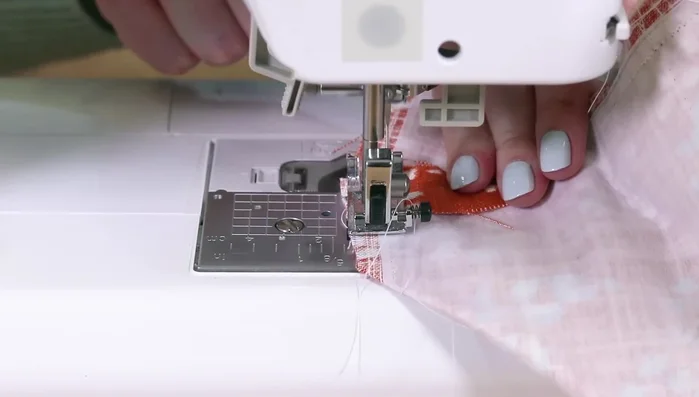
Prepare and Attach Pocket Attach Zipper and Lining
- Center pocket 3 inches from top of lower lining piece. Pin and sew. Place zipper face up on lower lining piece. Place upper lining piece on top, facing down. Align edges, sew. Repeat for other side.
Attach Zipper and Lining Attach Outer Fabric and Lining
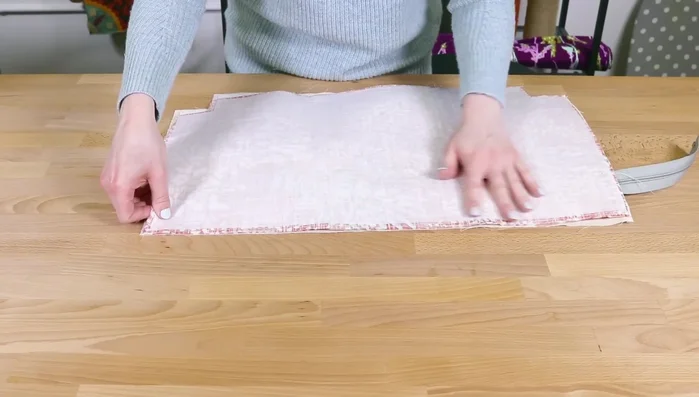
- Fold layers (outer and lining facing each other). Sew bottom edges of outer pieces with 1/2 inch seam allowance. Sew bottom edges of lining pieces. Sew side seam, stopping before zipper teeth. Repeat for other side.
Attach Outer Fabric and Lining Form Gussets
- Open corners, match up seams. Sew across. Repeat for other corner and lining corners.
Form Gussets Turn Right Side Out and Finish
- Turn bag right-side out through lining opening. Tuck lining into bag. Top stitch all around.

Read more: DIY Quilted Makeup Pouch Tutorial: The Easiest and Fastest Method
Tips
- Pre-wash fabric before starting if you plan on washing the bag.
- Use a lightweight fabric for the lining (broadcloth or quilting cotton).
- The stabilizer makes the bag stiffer, and the fleece interfacing makes the lining more cushioned. Both are optional.
- Use a slightly longer stitch length (3.5 mm) for top stitching.
- Open the zipper before sewing the bottoms together.