Embrace your inner fashionista and create a stunning, tiered ruffle maxi skirt – all from the comfort of your own home! This effortlessly chic garment is surprisingly easy to sew, perfect for beginners and experienced sewers alike. Forget expensive boutique prices; with a little patience and this simple tutorial, you can craft a unique piece that reflects your personal style and adds a touch of bohemian elegance to your wardrobe. The flowing ruffles and graceful length create a skirt that's as comfortable as it is stylish, suitable for everything from casual daytime wear to a more dressed-up evening event.
Imagine twirling in a skirt you made yourself, feeling proud of your accomplishment and the unique style you've created. This DIY project is more achievable than you think! Let's dive into the step-by-step process, guiding you through each stage of creating your very own tiered ruffle maxi skirt with clear instructions and helpful images.
Preparation and Safety Guidelines
- Bedsheet
- Tracing paper
- Torso block
- Ruler (straight and curved)
- Paper weights
- Fabric scissors
- Sewing machine
- Gathering foot (optional)
- Elastic
- Marker
- Always use sharp scissors and pins to prevent fabric slippage and injury. Handle your sewing machine with care, keeping fingers clear of moving parts.
- Before cutting your fabric, double-check your measurements and pattern pieces to avoid costly mistakes. Pre-wash your fabric to prevent shrinkage after the skirt is completed.
- If using a rotary cutter, be extra cautious to avoid cutting yourself. Always use a cutting mat underneath to protect your work surface.
Step-by-Step Instructions
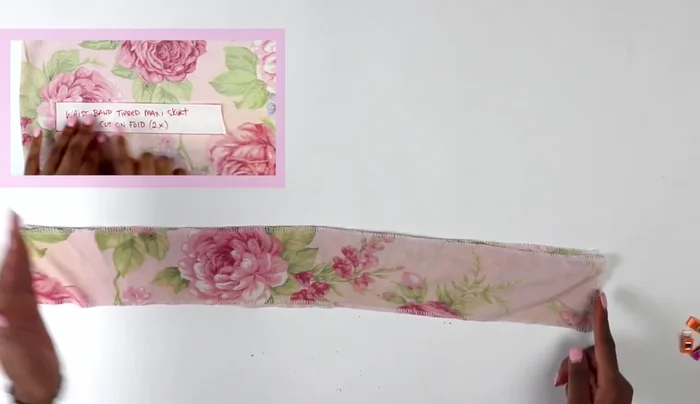
Create Skirt Top and Waistband Patterns
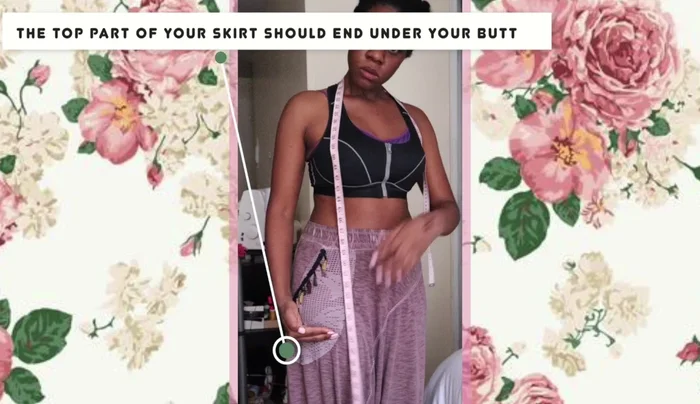
- Measure and trace the skirt's top tier pattern using a torso block and tracing paper.
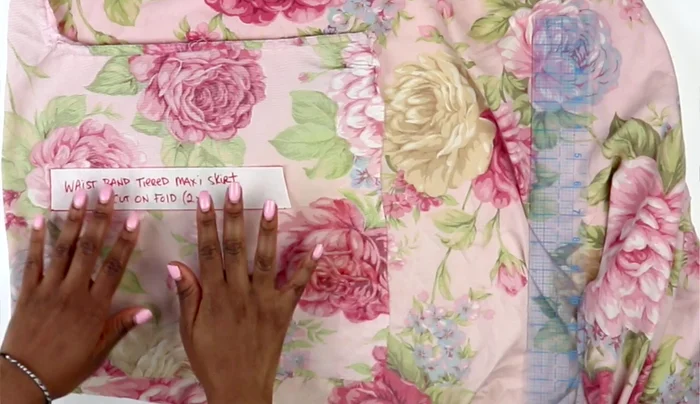
- Cut out the waistband pattern, adding 3.5 inches to your waist measurement for seam allowance. Cut two pieces.

Create Skirt Top and Waistband Patterns Create Ruffle Patterns
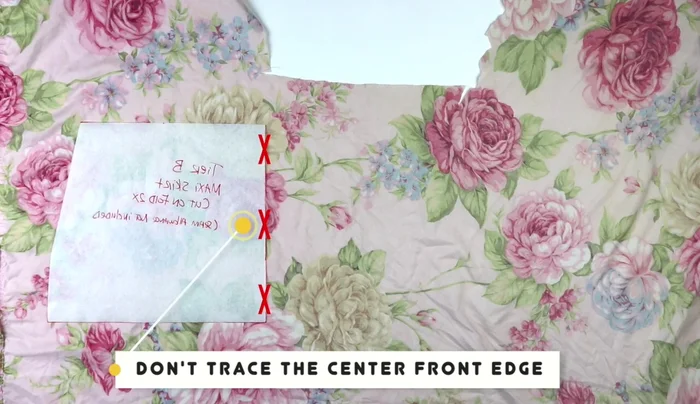
- Trace and cut out the patterns for the ruffles (Tier B and C). Remember to add seam allowance.
Create Ruffle Patterns Prepare Fabric Edges
- Serger or zigzag stitch the edges of all pattern pieces to prevent fraying.
Prepare Fabric Edges Assemble Tier B
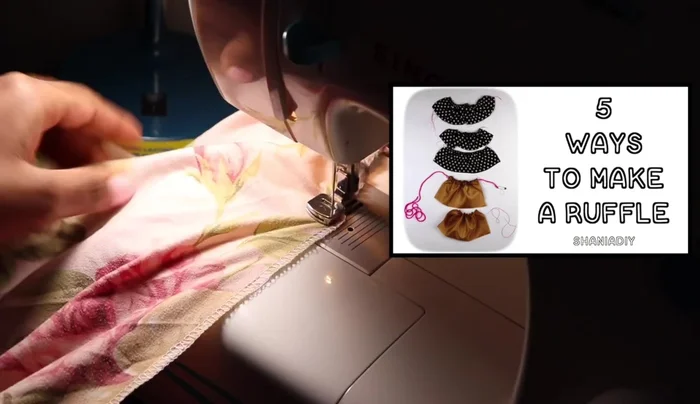
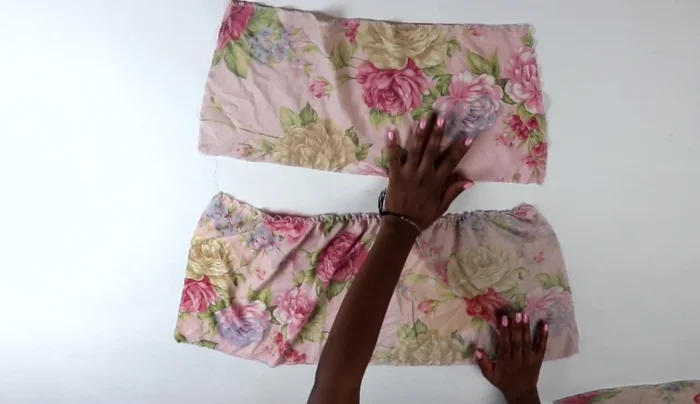
- Gather Tier B using a gathering foot or alternative method. Adjust its length to match Tier A.
- Attach Tier B to Tier A, right sides together, using a straight stitch.
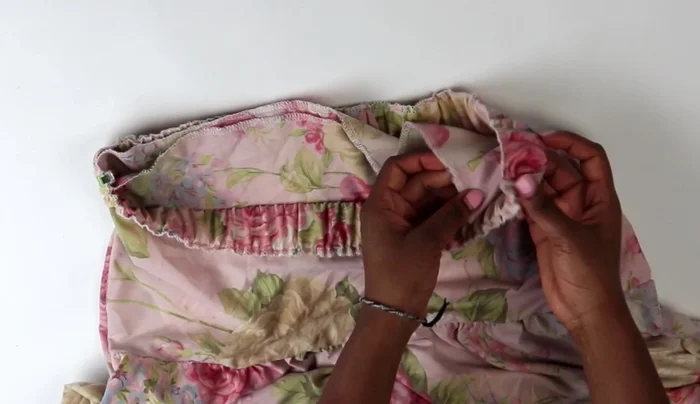
Assemble Tier B Assemble Tier C
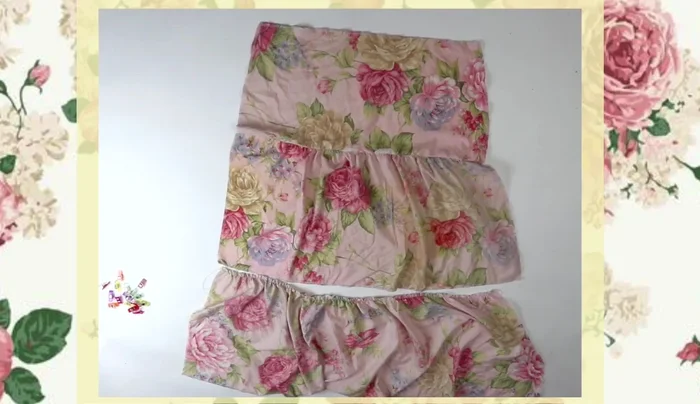
- Gather Tier C and attach it to Tier A and B, right sides together, using a straight stitch.
Assemble Tier C Sew Skirt Front and Back Together
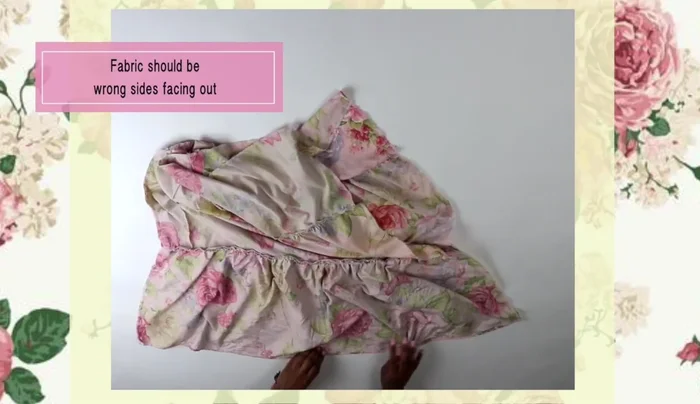
- Join the front and back skirt pieces together, right sides facing, along the side seams.
- Close the side seams of the skirt.
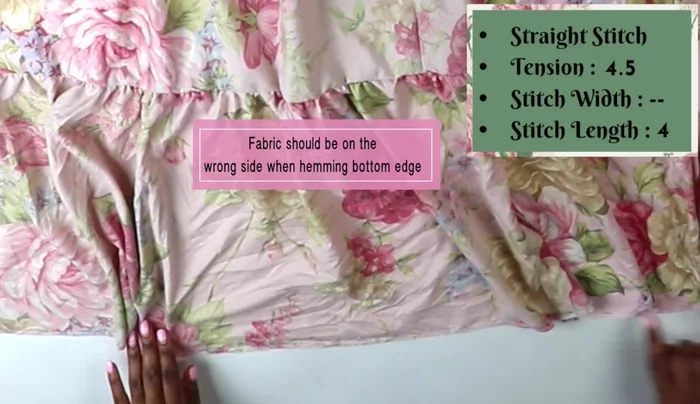
Sew Skirt Front and Back Together Hem Skirt
- Hem the bottom edge of the skirt.
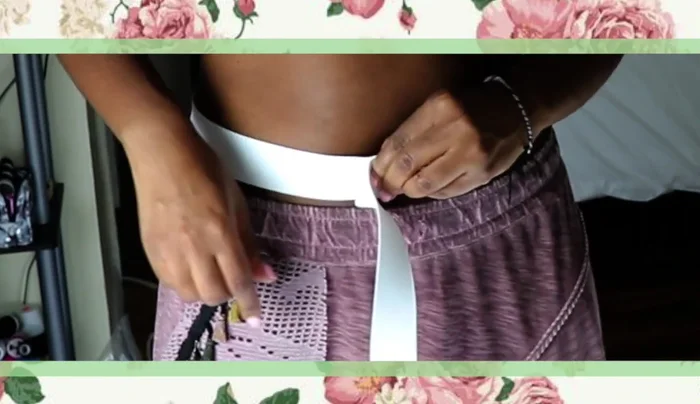
Hem Skirt Create and Attach Waistband
- Sew the waistband pieces together, right sides facing. Turn it right side out.
- Insert elastic into the waistband, overlapping the ends and securing with a zig-zag stitch.
- Attach the waistband to the skirt's waistline, right sides together, and sew along the seam allowance.
Create and Attach Waistband


Read more: Raglan Sleeve Sewing Tutorial: A Step-by-Step Guide
Tips
- Use a transparent tracing paper for easy pattern transfer.
- Ensure your fabric is correctly folded before cutting to avoid uneven pieces.
- Avoid using markers that bleed through your fabric.
- Evenly distribute the gathers on ruffles for a consistent look.
- When attaching ruffles, ensure the edges are properly aligned before stitching.