Transform your living space with a touch of sophisticated style using this ultimate guide to crafting your own DIY throw pillow featuring a striking vinyl or faux leather accent. Throw pillows are an inexpensive and impactful way to refresh your home décor, and adding a unique, textured element like vinyl or faux leather elevates the project beyond the ordinary. Forget generic, mass-produced cushions; this guide empowers you to create a personalized statement piece that perfectly complements your existing aesthetic, whether it's minimalist modern or cozy farmhouse.
This project is surprisingly simple, even for beginners, requiring only basic sewing skills and readily available materials. We'll walk you through each step, from choosing the perfect fabrics and cutting your patterns to the satisfying final stitch. Ready to unleash your inner interior designer and add a touch of luxury to your home? Let's dive into the detailed, step-by-step instructions below.
Preparation and Safety Guidelines
- Sailrite Tempered Cutting Glass
- Edge Hotknife
- Rotary Cutter
- Clear Acrylic Ruler
- Multi-use Pins
- Sewing Machine
- V-69 Thread
- Size 16 Needle
- Hand Sewing Needle
- White Thread
- Always use a well-ventilated area when working with vinyl or faux leather; the fumes can be strong and potentially harmful.
- Use sharp fabric scissors designed for cutting vinyl or faux leather to avoid tearing or fraying the material. Dull scissors can lead to accidents.
- Be mindful of your cutting surface. Vinyl and faux leather can damage some surfaces. Use a self-healing cutting mat to protect your table or workspace.
Step-by-Step Instructions
Prepare Fabric Panels
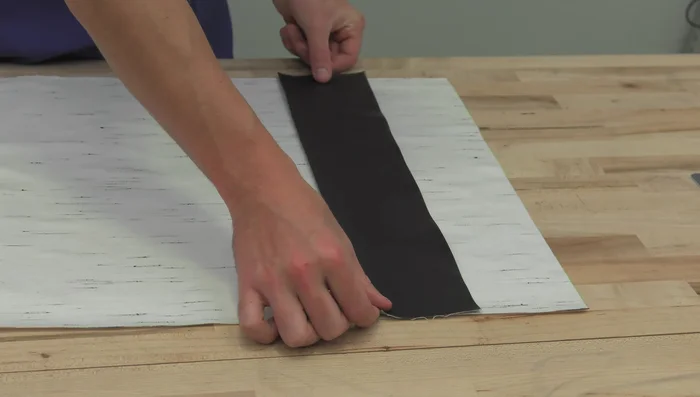
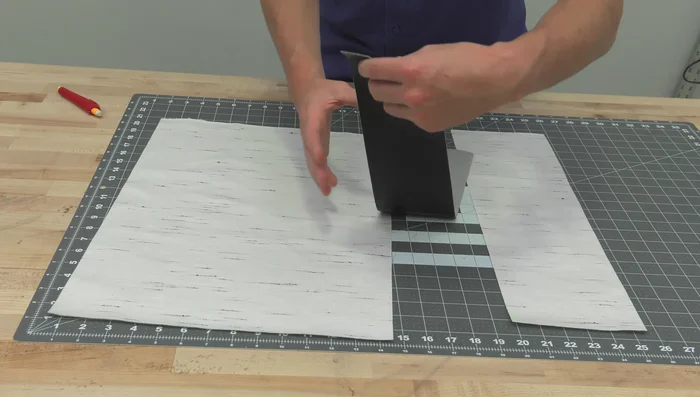
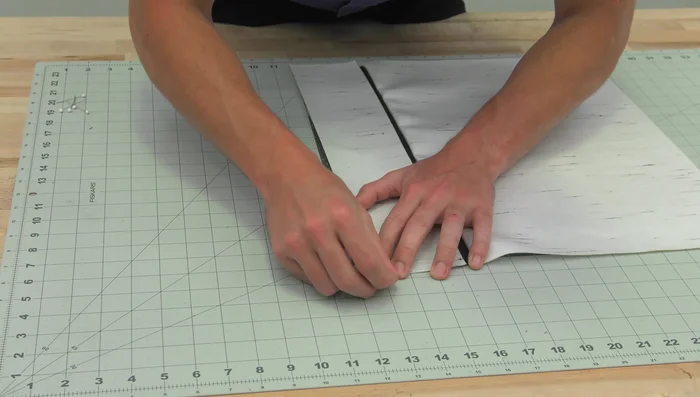
- Cut two pillow plates the same size as your insert (e.g., 18x18 inches). Cut the accent strip plate 2 inches larger (e.g., 20x20 inches). Use the Sailrite tempered cutting glass and edge hotknife for clean cuts and to prevent fraying.
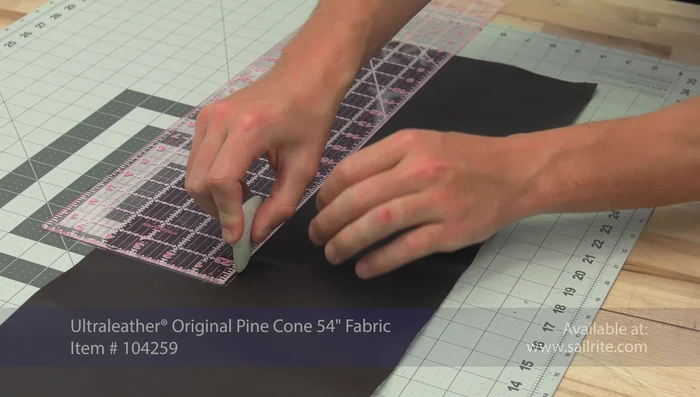
- Cut the faux leather accent strip to the desired size (e.g., 4x20 inches).

Prepare Fabric Panels Attach Accent Strip
- Position and secure the accent fabric onto the larger upholstery panel. Mark the center and top/bottom points to ensure even spacing. Use a rotary cutter and ruler for precise cutting.
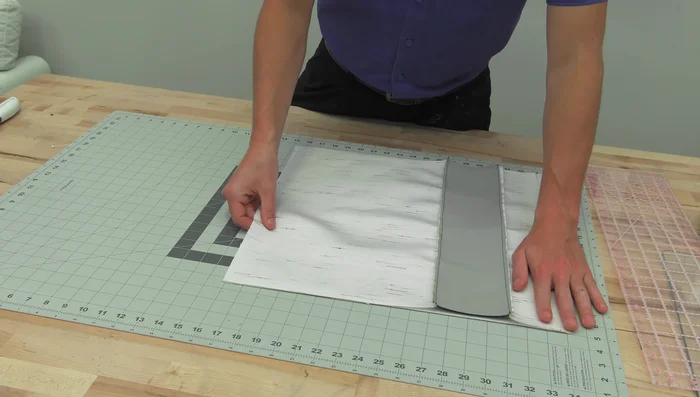
- Sew the accent strip to the larger upholstery panel with outside surfaces facing each other. Use pins to prevent shifting. Backtack at the beginning and end. Seam allowance is about half an inch, stitch length is about 4 millimeters.
Attach Accent Strip Assemble Pillow Cover
- Sew the smaller upholstery panel to the now-assembled panel (with the accent strip). Use the same method as Step 4.
- Trim the combined panels to the size of your pillow form (e.g., 18x18 inches).
- Reduce bulk at the corners by cutting a small wedge from each corner (about a half-inch from the corner, extending diagonally 4.5 inches across the panel).
Assemble Pillow Cover Sew Pillow Cover
- Pin both panels together with outside surfaces facing each other, leaving an 8-inch opening for the pillow insert (ideally on a side, not where the accent strip is).
- Sew around the perimeter, leaving the 8-inch opening. Backtack at the beginning and end. Remember to use the technique for sewing corners.
Insert Pillow Form
- Turn the pillow cover right-side out and insert the pillow form. Push out the corners to ensure a neat fit.
Close Opening
- Close the 8-inch opening using a hand-sewn invisible stitch. Fold under the edges to create even hems, and sew using a hand needle and thread.

Read more: King Size Quilt Tutorial: Efficient Chain Piecing Method
Tips
- Use a hotknife to seal the edges of your fabric and prevent fraying.
- Pin vertically to avoid holes in the faux leather.
- Backtack at the beginning and end of your seams for extra security.
- Use good reversing (back and forth sewing) at the beginning and end of your seams, especially the opening to prevent the stitches from pulling out.
- To make the invisible stitch, sew side to side, a quarter-inch apart, so the stitches are directly across from one another.