Tired of the same old throw pillows adorning your couch? Yearning for a pop of personality or a unique touch that truly reflects your style? Then it's time to ditch the store-bought and dive into the satisfying world of DIY! Making your own throw pillows from scratch is easier than you might think, offering a rewarding crafting experience and a stunningly personalized addition to your home décor. You'll be amazed at the creative freedom you gain, selecting fabrics, patterns, and sizes perfectly tailored to your vision. Forget generic designs; this is your chance to express your individuality through texture, color, and form.
This simple guide will walk you through each step of the process, from choosing your materials to the final, perfectly plump pillow. Let's embark on this exciting journey of crafting comfort and style, learning how to make stunning throw pillows that will transform your living space and leave you feeling accomplished. Get ready to unleash your inner designer and prepare to be amazed at how easily you can create truly unique and beautiful throw pillows!
Preparation and Safety Guidelines
- Zipper
- Main Fabric (Patchwork fabric recommended)
- Muslin or Lightweight Fabric
- Taylor's Chalk
- Pins
- Measuring Tape
- Rulers
- Fabric Scissors
- Fiber (300-500 grams)
- Always use sharp scissors and handle them with care to avoid cuts and injuries.
- When using a sewing machine, be sure to keep your fingers clear of the needle and presser foot to prevent accidental punctures.
- If using a hot glue gun, exercise extreme caution to avoid burns. Work on a heat-resistant surface and keep the hot glue gun away from children and pets.
Step-by-Step Instructions
Plan your pillow
- Determine the desired size of your throw pillow. Remember the cover will be smaller than the insert.

Plan your pillow Make the pillow insert
- Cut out the insert fabric. Fold fabric in half, folded edge against the wall. Mark desired dimensions (e.g., 19x18.5 inches for an 18x18 inch pillow, adding 1 inch seam allowance to width). Connect points for straight lines. Find midpoint of top, mark 2.5 inches left and right, create a tab for top stitching.
- Cut out the marked insert fabric. Pin and sew around, leaving the 5-inch tab area unsewn. Clip corners, turn inside out.
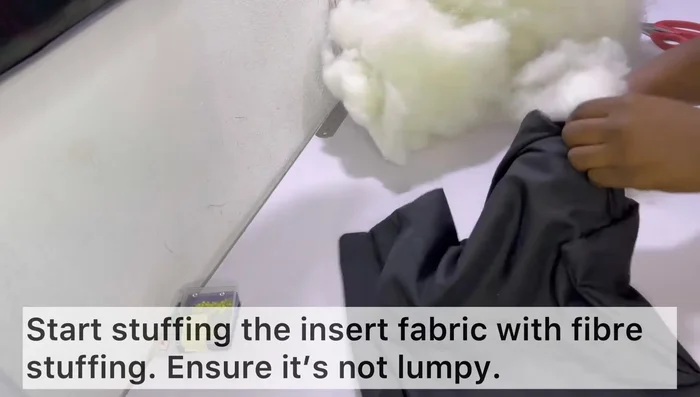
- Stuff the insert with fiber, ensuring even distribution and filling corners. Avoid overstuffing. Top stitch the tab closed.
Make the pillow insert Cut and prepare the pillow cover fabric
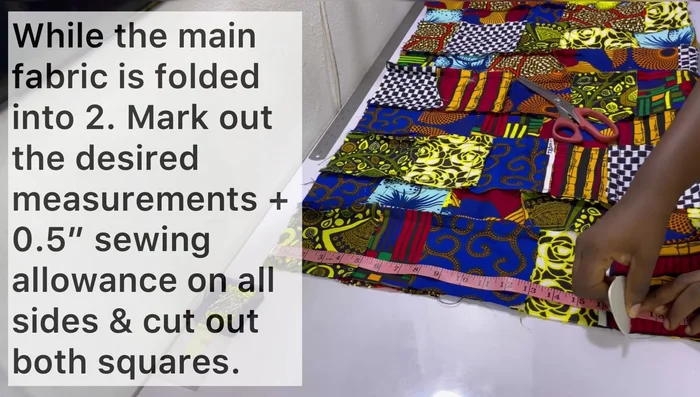
- Cut out the main fabric for the pillow cover. Fold fabric in half. Mark desired dimensions (e.g., 17x17 inches for a 16x16 inch pillow, adding 0.5-inch seam allowance to all sides).
Cut and prepare the pillow cover fabric Install the zipper
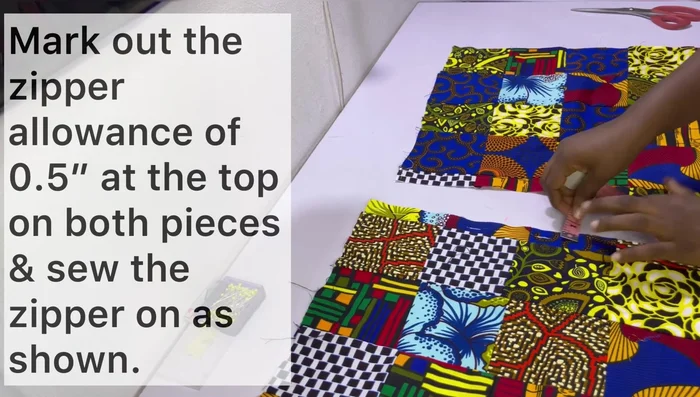
- Mark zipper allowance (0.5 inch) on both fabric pieces. Install the zipper (refer to linked video for instructions).
Install the zipper Sew the pillow cover
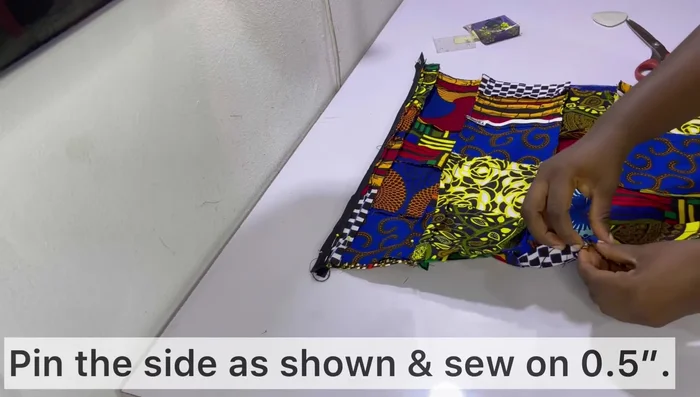
- Pin and sew the sides of the pillow cover together, leaving the bottom and one side open. Sew carefully around the zipper.
Sew the pillow cover Finish the pillow cover
- Turn the pillow cover right side out. Iron thoroughly.
Assemble the pillow
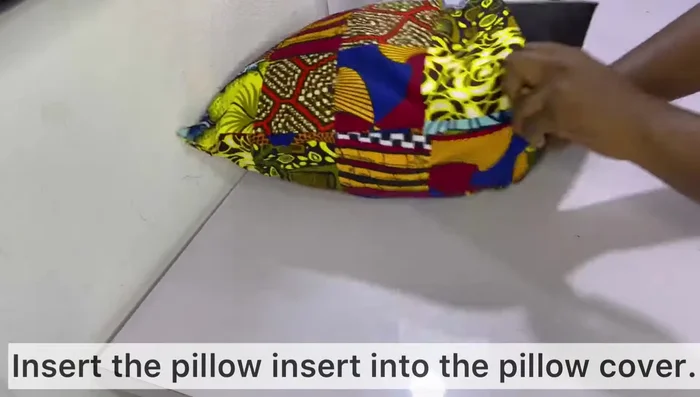
- Insert the pillow insert into the cover. Zip closed.
Assemble the pillow

Read more: King Size Quilt Tutorial: Efficient Chain Piecing Method
Tips
- Use a lightweight fabric for the insert for better fluffiness.
- The insert should be slightly larger than the cover (e.g., 18x18 inches for a 16x16 inch pillow cover).
- Evenly distribute the stuffing in the insert to avoid lumps.
- Don't overstuff the insert; it should be firm but not hard.
- Carefully sew around the zipper area, taking extra care due to its thickness.