Add a touch of bohemian charm or festive flair to any space with a DIY tassel garland! These vibrant, handcrafted decorations are surprisingly simple to make, requiring minimal materials and even less time. Whether you're sprucing up your living room for a party, adding a playful element to a child's bedroom, or creating a stunning backdrop for a photoshoot, a tassel garland is a versatile and impactful addition. They're perfect for adding a pop of color, texture, and personality to your home, and the best part? You can completely customize them to match any theme or color palette you desire.
Forget expensive store-bought decorations – creating your own tassel garland is both rewarding and incredibly budget-friendly. This guide will walk you through a quick and easy step-by-step process, empowering you to craft stunning garlands in a matter of minutes. Get ready to unleash your creativity and transform your space with this simple yet elegant DIY project!
Preparation and Safety Guidelines
- Plastic rectangle tablecloth (54" x 108")
- Rotary cutter
- Scissors
- Low-temp glue gun
- Clear straightedge ruler
- Rotary cutting mat with 1-inch squares
- Always supervise children when using scissors or other sharp tools.
- Be mindful of long tassel lengths, especially around young children or pets to prevent choking hazards.
- If using hot glue, ensure adequate ventilation and keep away from flammable materials. Use caution to avoid burns.
Step-by-Step Instructions
Prepare the Fabric
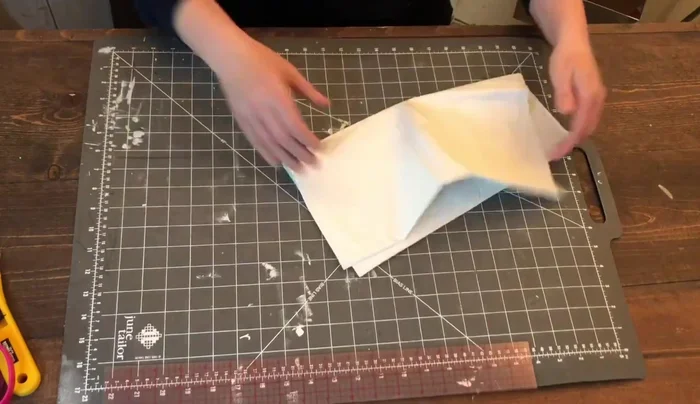
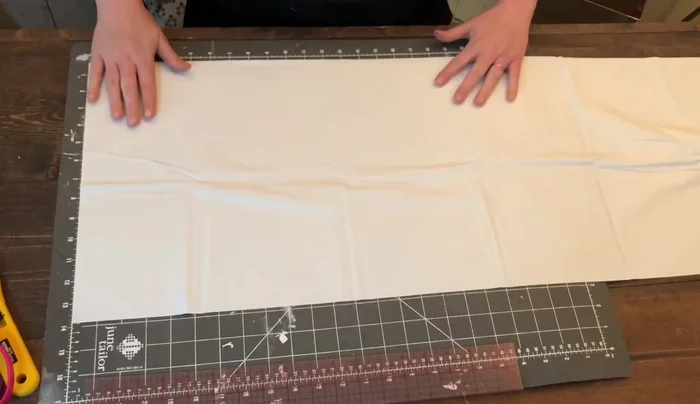
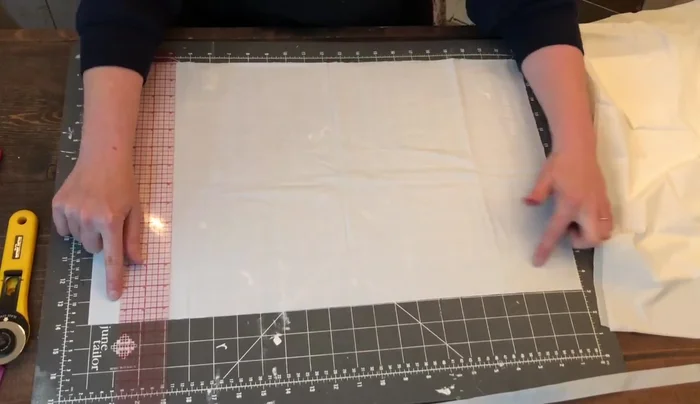
- Unfold the tablecloth lengthwise, keeping the width folded.
- Align the tablecloth with the lines on your cutting mat. Cut to your desired length (e.g., 23 inches).
- Cut the single folded edge at the bottom to create two separate pieces.

Prepare the Fabric Cut the Fringe
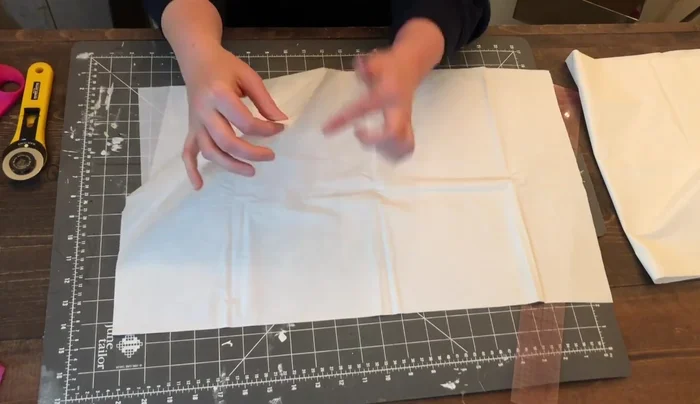
- Place one piece with the fold on top and the opening at the bottom. Align the top and sides.
- Cut three-quarters of an inch off one side using the rotary cutter.
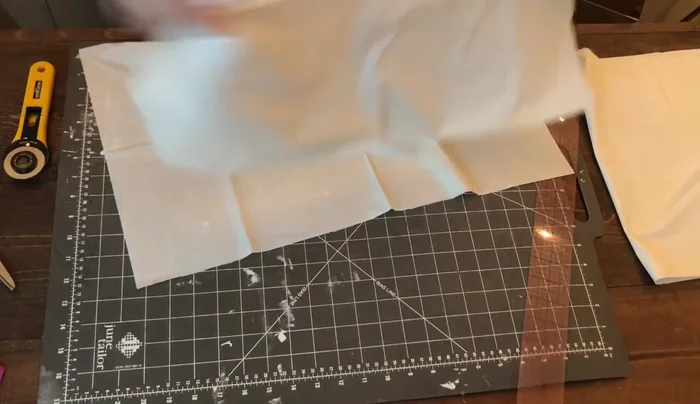
- Cut one-inch strips along the bottom up to the one-inch mark using the clear ruler as a guide. Leave a one-inch seam at the top.
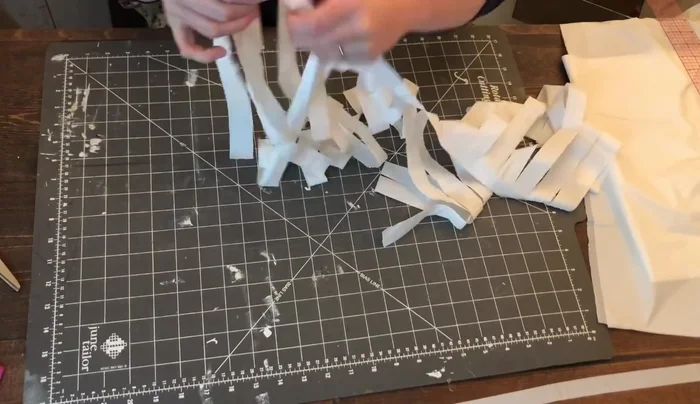
- Comb through the cut strips to separate them. Unfold the piece completely, being careful not to pull too hard.
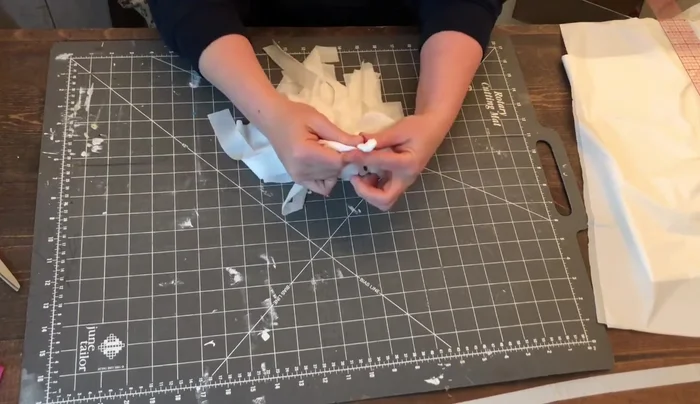
Cut the Fringe Create the Tassel
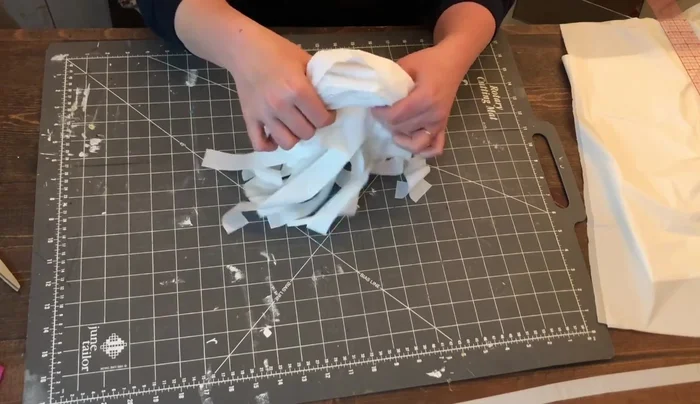
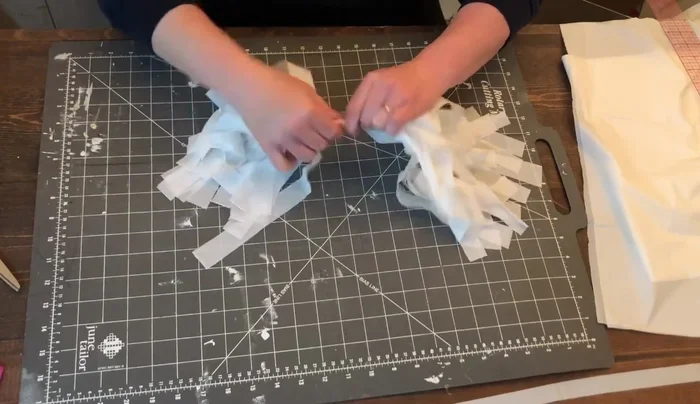
- Gather the two ends together to create fringe on both sides, leaving the two-inch seam in the middle. Gather the middle tightly.
- Twist the middle section tightly for about two inches to prevent unraveling.
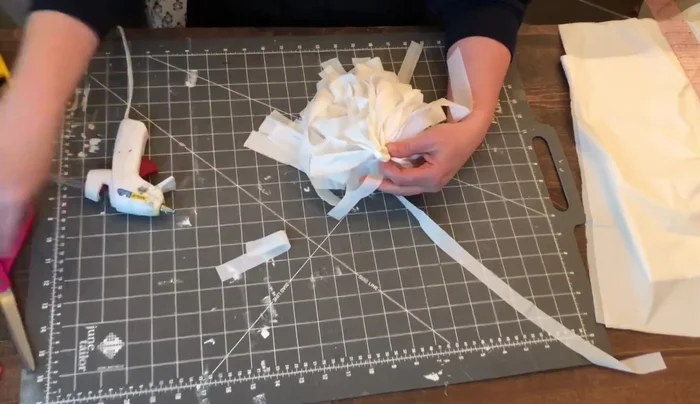
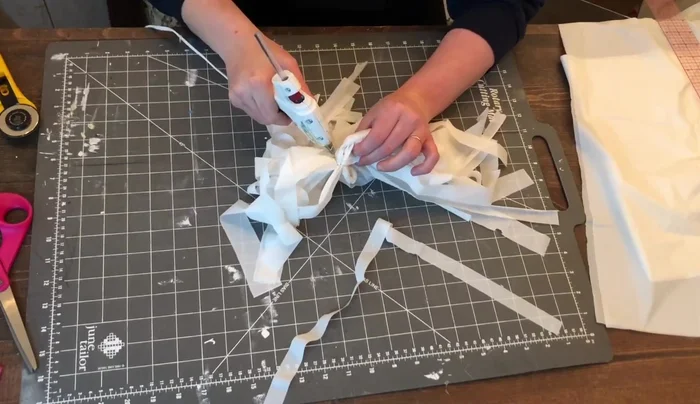
- Make a loop with the twisted piece and apply a dab of glue to secure it. Avoid touching the glue gun to the plastic.
- Cut about three or four inches from the three-quarter-inch piece saved earlier. Wrap this around the bottom of the loop and secure with glue. Do not pull too tightly.
Create the Tassel - For extra stability, add a dab of glue in the center of the tassel and pinch together.
Create the Tassel

Read more: DIY Super Cute Whale Shower Curtain: A Step-by-Step Tutorial
Tips
- Use a rotary cutter for even cuts. If you don’t have one, scissors work but will take longer.
- Don't pull the plastic too tightly when wrapping and gluing, as it tears easily.