Are you dreaming of a charming, handmade swing top but intimidated by the sewing process? Fear not! This tutorial will guide you through creating your own stylish and comfortable swing top with bias binding, faster and easier than you ever thought possible. We'll ditch the complicated patterns and focus on a simple, straightforward method that's perfect for beginners and experienced sewists alike, delivering professional-looking results without the fuss. Forget spending hours wrestling with intricate techniques; this project prioritizes speed and simplicity, allowing you to enjoy the satisfying process of crafting your own unique garment.
This easy-to-follow tutorial breaks down the entire process into manageable steps, utilizing a minimal number of supplies and techniques. Whether you’re a seasoned sewist looking for a quick project or a complete beginner taking your first steps into garment making, get ready to dive into the step-by-step instructions and create your stunning DIY swing top with bias binding!
Preparation and Safety Guidelines
- Sewing Machine
- Binding Attachment
- Scissors
- Tape
- Pins
- Always use a strong, high-quality fabric rated for the weight of your swing top. Weak fabric can tear under stress, causing injury.
- Ensure all seams are securely sewn and reinforced, especially around the neck and armholes, to prevent unraveling and potential choking hazards.
- Carefully check the finished swing top for any loose threads or sharp points that could cause injury before allowing children to wear it.
Step-by-Step Instructions
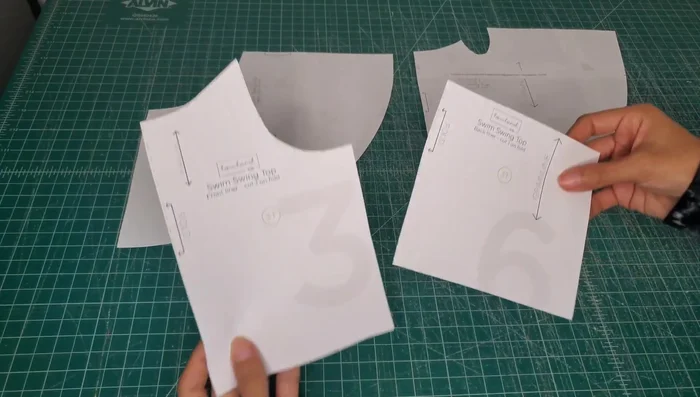
Prepare Pattern Pieces
- Tape together non-directional fabric pattern pieces for efficient cutting.

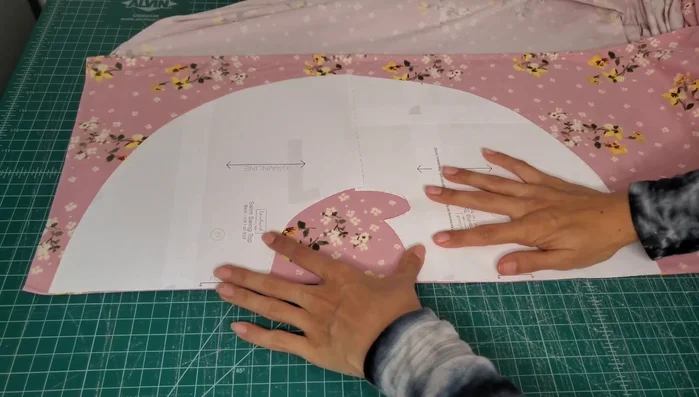
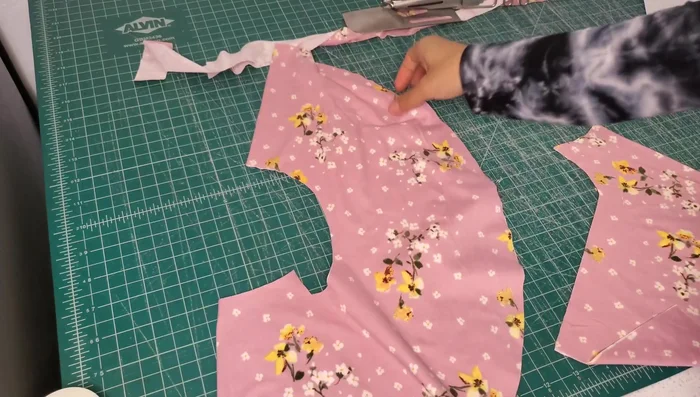
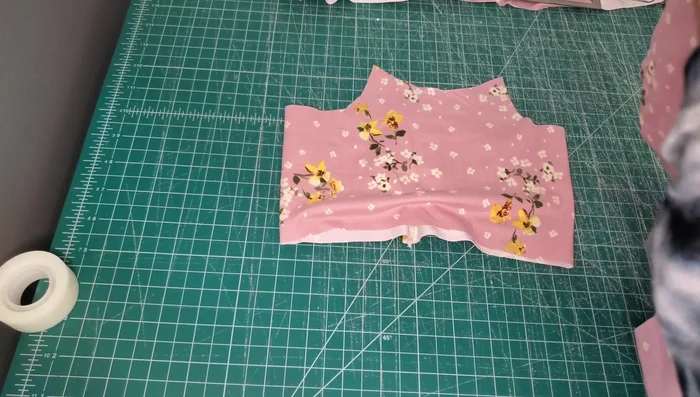
Prepare Pattern Pieces Cut Fabric Pieces
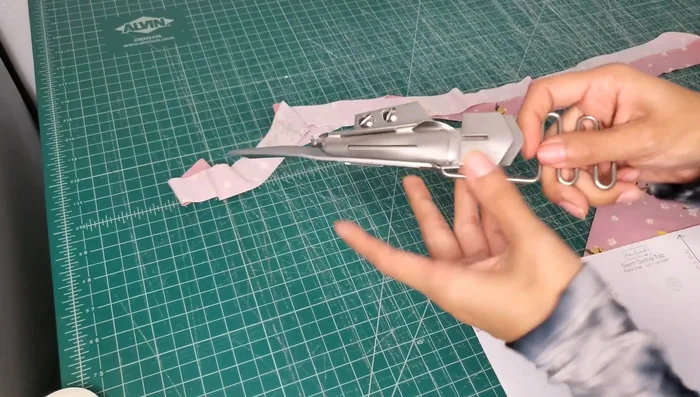
- Fold fabric, place taped pattern pieces on the fold, and cut around. Use a sharp blade for clean cuts.
Cut Fabric Pieces Sew Liner (Optional)
- If using a liner, sew the raw edges of the liner together, leaving the top edge open.
Sew Liner (Optional) Prepare Binding
- Cut a long strip of fabric for binding. The width depends on your binding attachment (e.g., 20mm with 10mm finished width).
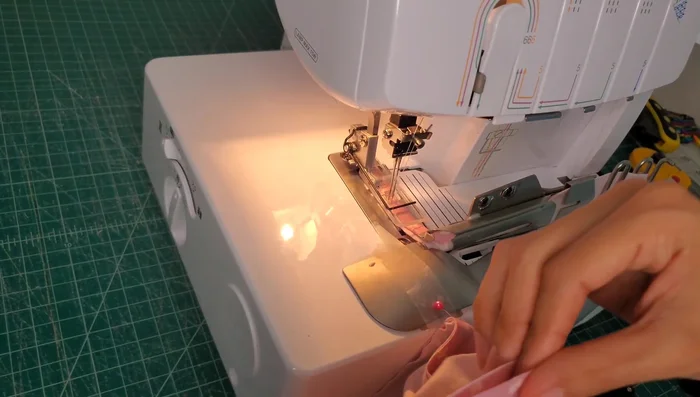
Prepare Binding Attach Binding to Neckline
- Place the main fabric piece and lining right sides together. Use the binding attachment to bind the neckline, ensuring the fabric is in the groove and the binding isn't twisting.
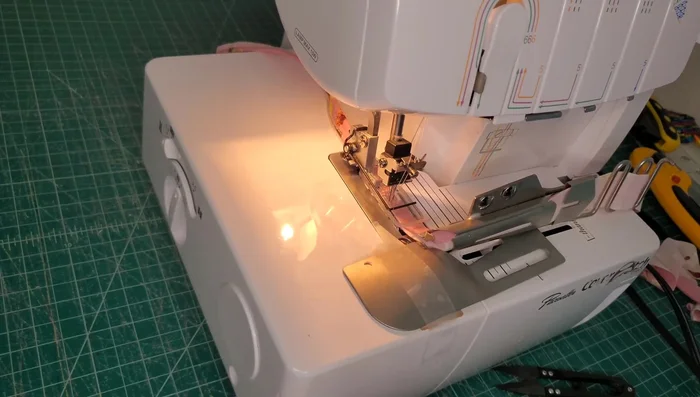
Attach Binding to Neckline Attach Binding to Shoulder Seams
- Pin the center back of both fabric pieces, ensuring the liner is stretched appropriately. Sew shoulder seams, feeding the binding from the right side.
Attach Binding to Shoulder Seams Finish Binding the Garment
- Continue feeding the binding around the garment, keeping an eye on the tail and stretching as needed to match raw edges. Finish the binding at the starting point.
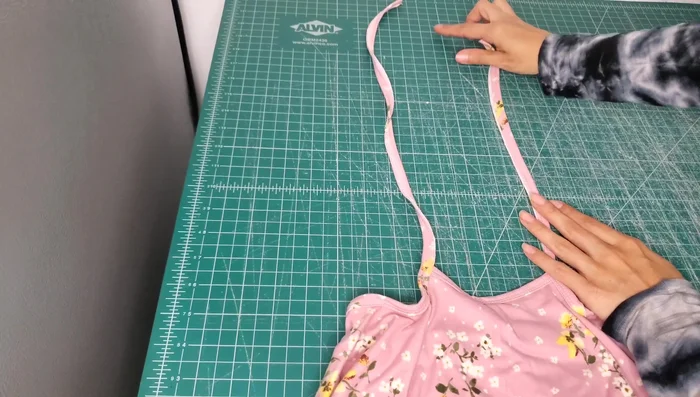
Finish Binding the Garment Create and Finish Straps
- Cut the excess binding, leaving enough for straps. Secure the ends of the straps with a knot, fray check, or fabric glue.
Create and Finish Straps
Read more: Raglan Sleeve Sewing Tutorial: A Step-by-Step Guide
Tips
- Use a sharp blade for clean cuts when cutting around curves.
- Don't place pattern pieces under your fabric while cutting.
- A binding attachment makes binding much easier.
- Keep an eye on the end of the binding to prevent twisting.