Valentine's Day is a time for expressing love and affection, and what better way to do so than with handcrafted decorations that radiate warmth and personality? Forget mass-produced, impersonal trinkets; this year, embrace the charm of DIY stuffed hearts! These adorable creations aren't just limited to romantic celebrations; their versatility extends far beyond February 14th, making them perfect for birthdays, anniversaries, or simply adding a touch of handmade whimsy to your home décor all year round. From simple felt hearts to more intricate designs using patterned fabrics, the possibilities are endless, allowing you to personalize your creations to match any style or occasion.
This guide will walk you through creating your own unique stuffed hearts, from choosing the right materials to mastering the essential sewing techniques. We'll explore various design ideas, embellishment options, and clever ways to incorporate these charming hearts into your home. Ready to get started? Let's dive into the step-by-step instructions and begin crafting your own collection of love-filled (or friendship-filled, or just generally cheerful-filled!) stuffed hearts!
Preparation and Safety Guidelines
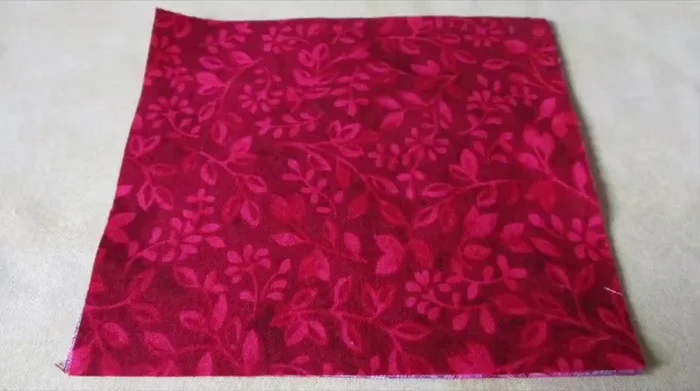
- Fabric
- Fiberfill stuffing
- Pinking shears
- Printable template
- Sewing supplies
- Adult supervision is required, especially when using sharp objects like scissors or needles. Keep these tools out of reach of children.
- Always supervise children around small craft items like buttons or beads to prevent choking hazards.
- If using fabric glue or other adhesives, ensure adequate ventilation and follow the manufacturer's safety instructions. Avoid contact with skin and eyes.
Step-by-Step Instructions
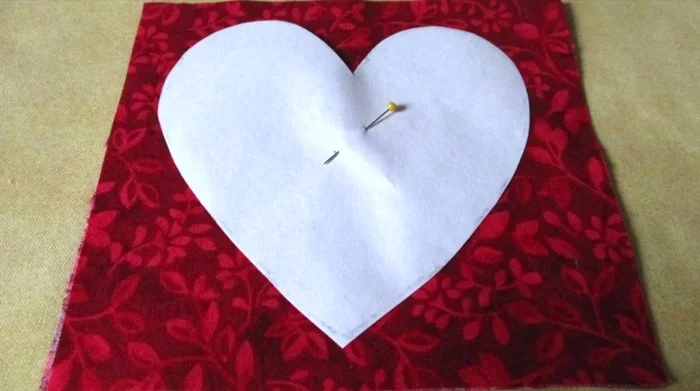
Prepare Fabric and Template
- Cut out the template and place a piece of fabric (right side down) with another piece on top (right side up).
- Center the template on the fabric stack and pin it in place.

Prepare Fabric and Template Stitch the Heart
- Stitch around the outside of the template, close to the edge, leaving a space open for stuffing.
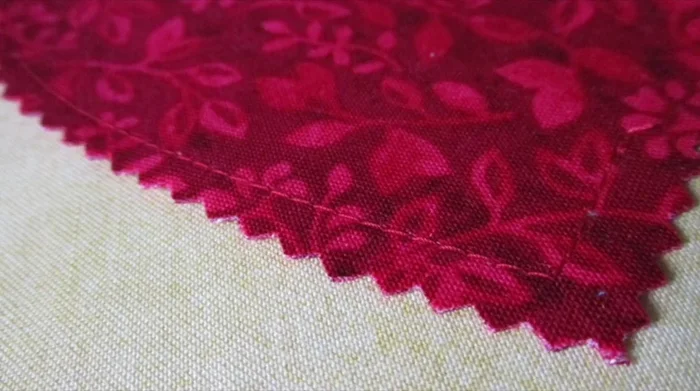
Stitch the Heart Trim and Finish
- Remove the paper template and trim 1/4 to 1/2 inch outside the stitching line using pinking shears.
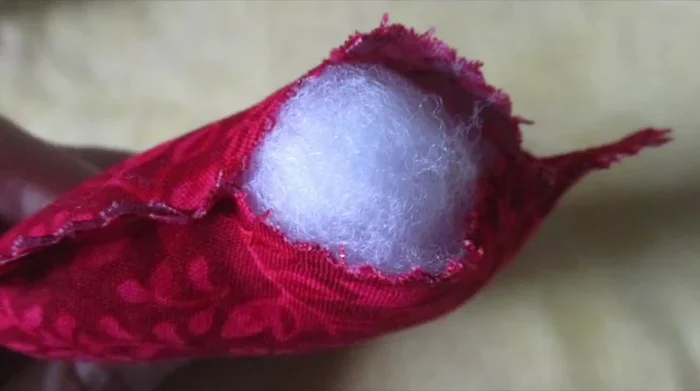
Trim and Finish Stuff and Close
- Stuff the heart with fiberfill, adjust the stuffing away from the opening, and stitch the edge closed.
- For a neater look, re-trim the opening with pinking shears.
Stuff and Close


Read more: DIY Fluffy Duck Plushie Tutorial: A Step-by-Step Guide
Tips
- Subscribe to the YouTube channel and check out the blog at debsdays.com for more projects and the printable template.
- Fill the heart as full as desired for a plump look.