Autumn's vibrant hues and crisp air inspire cozy creativity, and what better way to embrace the season than with charming DIY décor? This year, skip the expensive store-bought decorations and delve into the simple joy of crafting your own adorable stuffed apple ornaments. These charming little apples, crafted from readily available materials, add a touch of rustic elegance to any fall display, whether perched on a mantelpiece, nestled in a bowl, or adorning your autumnal wreath. They’re the perfect project for a weekend afternoon, providing a relaxing and rewarding creative outlet.
Forget complicated techniques and expensive supplies; this project focuses on ease and affordability. These stuffed apples are incredibly simple to make, perfect for beginners and experienced crafters alike, resulting in delightful decorations you'll cherish throughout the fall season. Ready to bring a touch of autumnal charm to your home? Let's dive into the step-by-step instructions to create your own adorable stuffed apple crafts!
Preparation and Safety Guidelines
- Old tights
- Polyfill stuffing
- Needle
- Thread (any color)
- Scissors
- Optional: Fake leaves, stem, hot glue
- Adult supervision is required, especially when using sharp objects like scissors or knives for cutting apples and other materials.
- Ensure proper handwashing before and after handling the apples and crafting materials to maintain hygiene.
- Store finished stuffed apples in a cool, dry place to prevent mold or spoilage. Consider using a sealant or preservative if storing for an extended period.
Step-by-Step Instructions
Prepare the Fabric
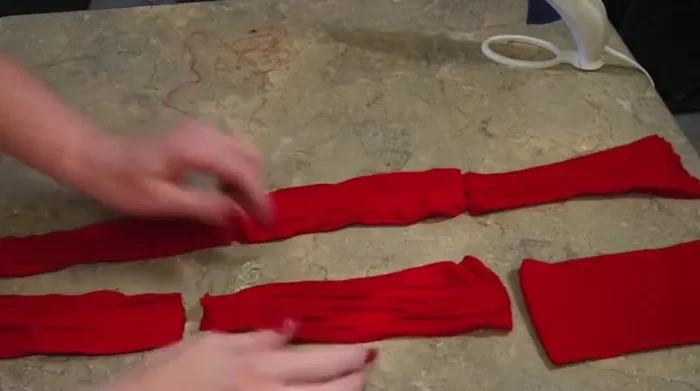
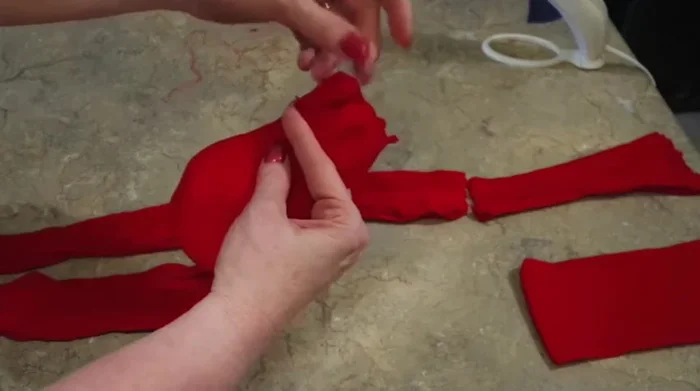
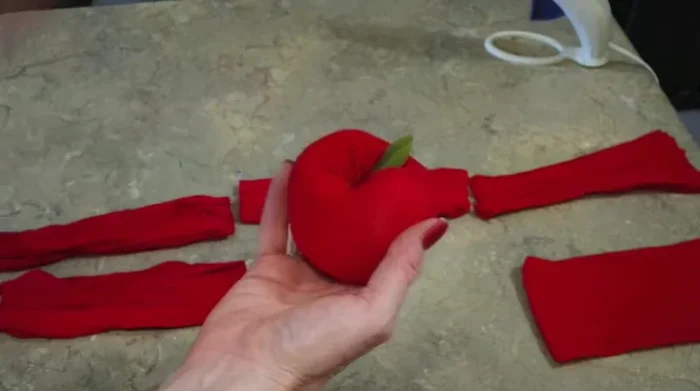
- Cut the legs off of a pair of old tights. You should have six pieces.

Prepare the Fabric Create the Apple Base
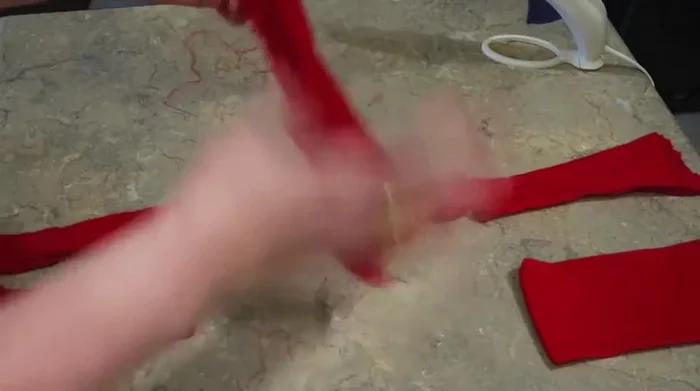
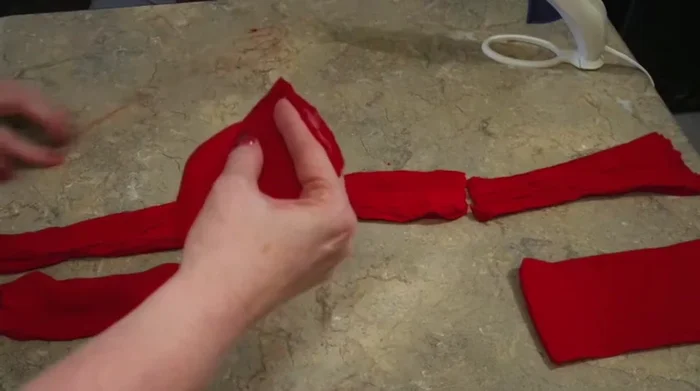
- Tie a knot at the end of one of the strips. This will be the bottom of your apple.
- Turn the strip inside out to create a small sack.
Create the Apple Base Stuff the Apple
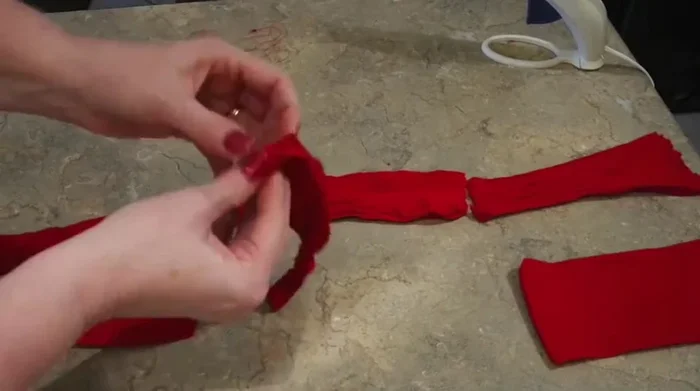
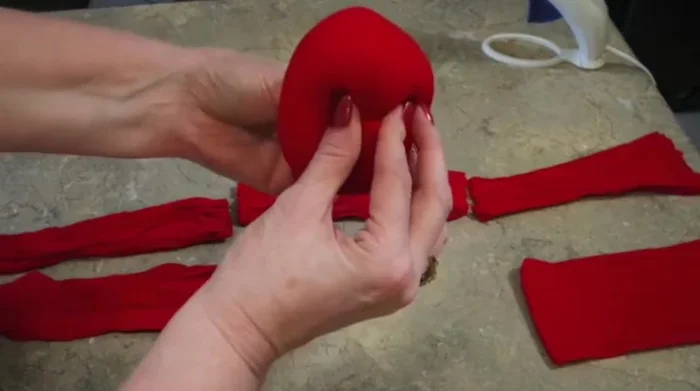
- Fill the sack with a handful of polyfill stuffing, adjusting the amount to determine the apple's size.
- Trim excess fabric from the top of the sack.
Stuff the Apple Close and Shape the Apple
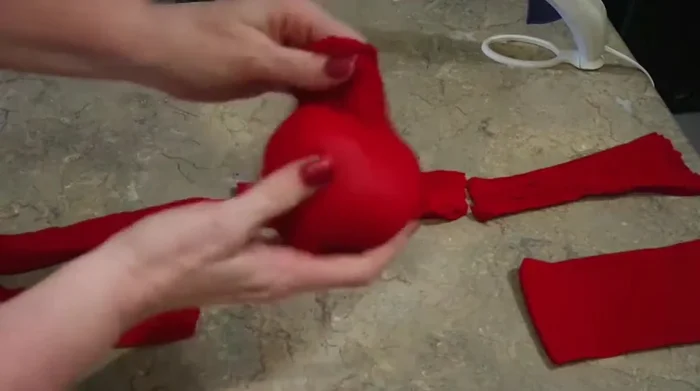
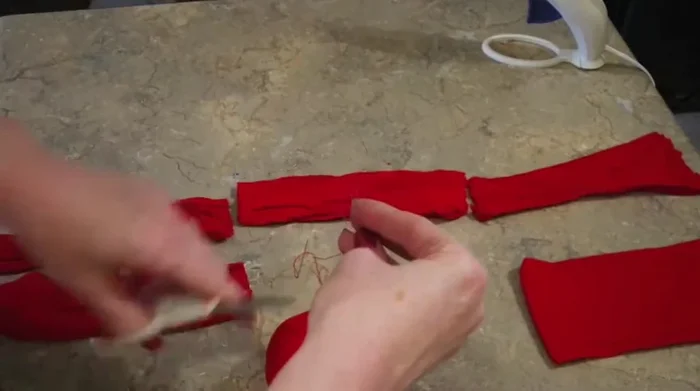
- Using a needle and thread, sew several stitches across the top of the sack to close it. You'll need about five to six stitches.
- To shape the apple, repeatedly insert the needle down the center of the stuffed sack, from top to bottom, to create the apple shape.
- Shape and adjust the apple, squeezing and molding it into a desired shape.
Close and Shape the Apple Add Finishing Touches
- Attach fake leaves and/or a stem using hot glue.
Add Finishing Touches
Read more: DIY Fluffy Duck Plushie Tutorial: A Step-by-Step Guide
Tips
- The amount of polyfill stuffing determines the apple's size and shape. More stuffing creates a fuller apple; less stuffing may result in a flatter apple, potentially resembling a tomato instead.
- To avoid a tomato-like shape, make sure your apples are taller rather than wider.