Fall fashion calls for cozy comfort and effortless style, and what better way to achieve both than by sewing your own dress? This project guides you through creating a versatile knit dress, perfect for everything from crisp autumn days to cozy nights in. Forget stiff fabrics and complicated patterns; we're focusing on a stretchy, forgiving knit that’s easy to work with, even for beginner sewists. Imagine a dress that drapes beautifully, moves with you, and can be dressed up or down with ease – all made by your own hands!
This DIY project is designed to empower you to create a stunning, custom-fit garment without the hefty price tag of store-bought options. We'll use simple techniques and readily available materials to produce a piece that's uniquely yours. Ready to transform your fabric scraps into a chic fall staple? Let's dive into the step-by-step instructions to sew your own stretchy, versatile knit dress.
Preparation and Safety Guidelines
- Sewing machine
- Measuring tape
- Marking chalk
- Fabric scissors
- Pins
- Iron
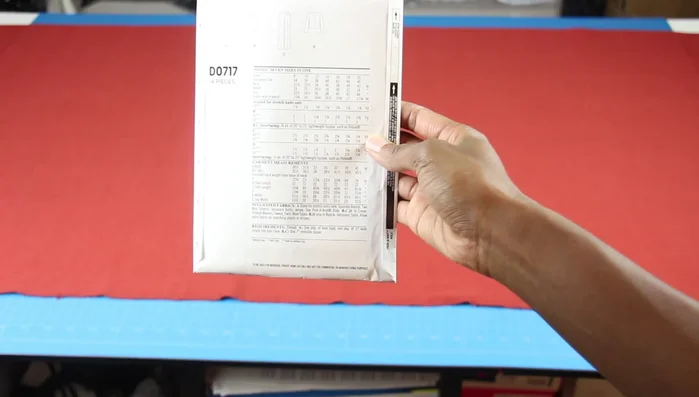
- New Look pattern D0717 (view A)
- Always use sharp, well-maintained sewing machine needles appropriate for knit fabrics to prevent skipped stitches and fabric damage. Dull needles can cause snags and breakage.
- Use a ballpoint needle or a stretch needle designed for knit fabrics. Standard needles can pierce the knit fibers, causing runs and holes.
- Test your stitch settings and tension on a scrap piece of the same knit fabric before sewing your dress. This will help you avoid mistakes and ensure a professional finish.
Step-by-Step Instructions
Take Measurements
- bust, waist, hips, arm length (shoulder to just below wrist), wrist circumference, and desired dress length (high point shoulder to ground).
Prepare Pattern
- Choose the correct size from the New Look pattern D0717 view A based on your measurements. Cut out the front pattern piece.

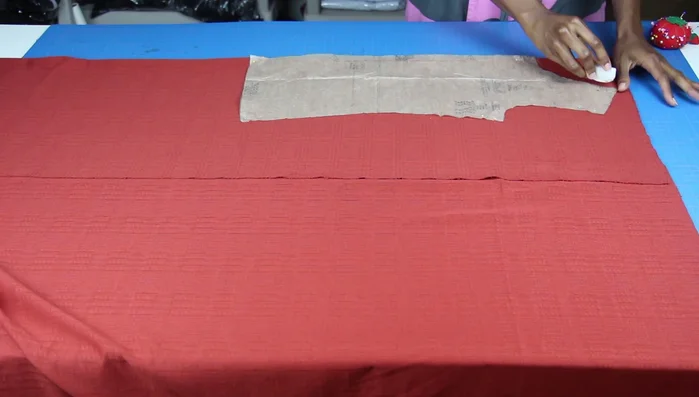
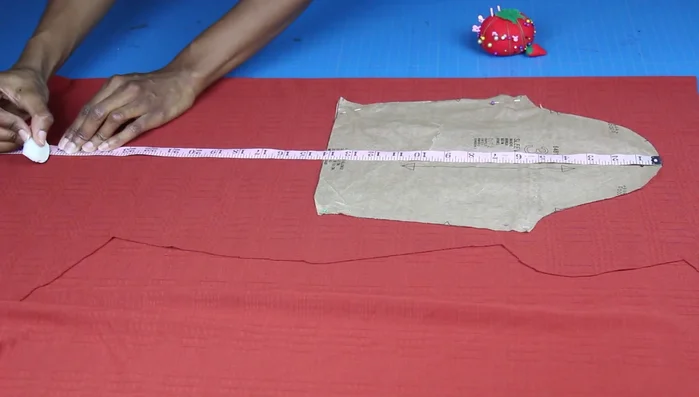
Prepare Pattern Cut and Adjust Front Pattern Piece
- Trace the front pattern piece onto your fabric, making adjustments for the desired dress length. Mark your hip and waistline on the pattern and add length accordingly.
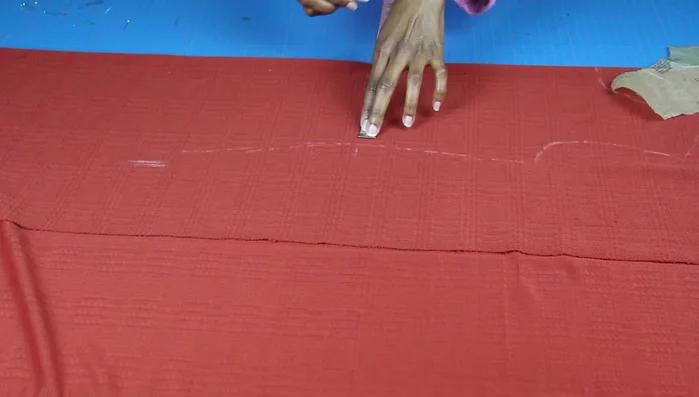
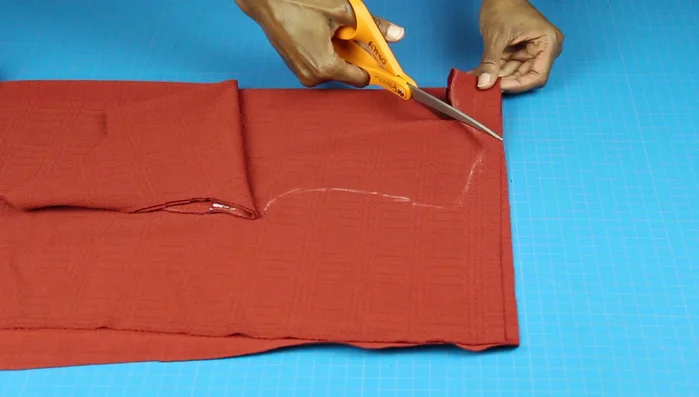
Cut and Adjust Front Pattern Piece Create A-Line Shape and Cut
- Draw a diagonal line from hip to hem, using your measurements as a guide to create the dress's A-line shape. Cut along this line to adjust the hem width.
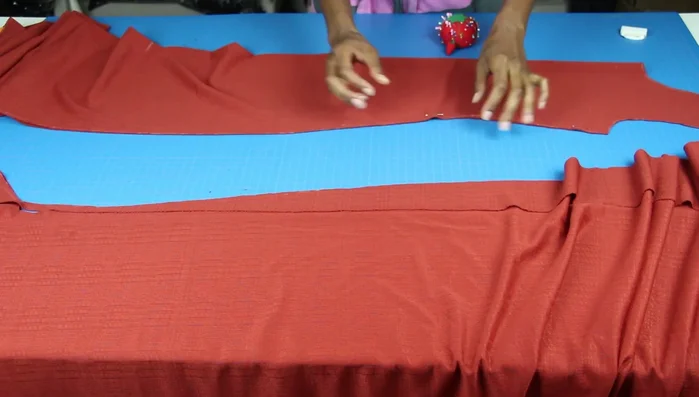
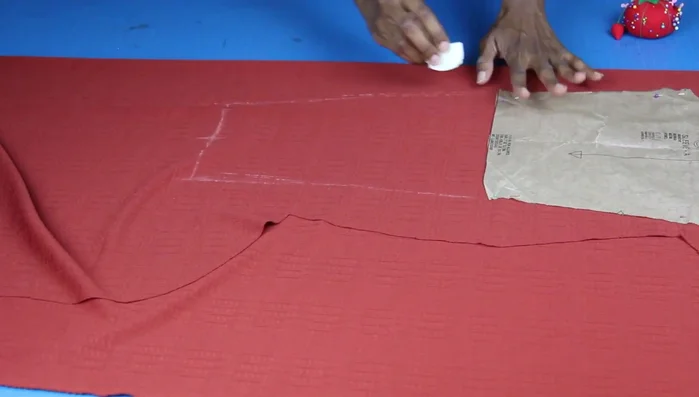
Create A-Line Shape and Cut Cut and Adjust Back Pattern Piece
- Use the adjusted front piece as a guide for the back piece, ensuring the underarm seams match. Pin and trace the back piece.
Cut and Adjust Back Pattern Piece Sew Body
- Cut out both the front and back pieces, following your adjusted pattern. Pin and sew the shoulder and side seams together.
Sew Body Cut and Prepare Sleeves
- Measure and cut the sleeve pieces, adding extra fabric for the hem. Draw a line down the center and mark the sleeve opening (7 inches). Create a curve from the top to the opening, and cut.
Cut and Prepare Sleeves Attach Sleeves
- Pin and sew the sleeves to the dress, right sides together. Sew the armholes.
Attach Sleeves Finish Neckline and Hem
- Finish the neckline and hem by rolling the edges under and sewing with a coverstitch or regular stitch (stretching the fabric as you sew).
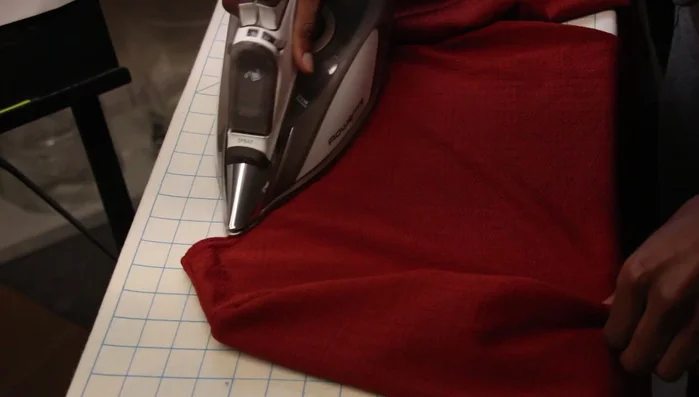
Finish Neckline and Hem Press and Finish
- Press the seams to finish.
Press and Finish

Read more: Raglan Sleeve Sewing Tutorial: A Step-by-Step Guide
Tips
- Use a stretchy knit fabric for best results.
- This method adapts a leotard pattern to create a dress; it's easier than making a dress from scratch.
- If you don't have a coverstitch machine, use a regular sewing machine and stretch the fabric as you sew the neckline and hem.