Tired of stiff, restrictive clothing? Craving a comfortable, effortlessly chic garment that you can create yourself? Then get ready to embrace the wonderfully simple world of DIY fashion! This guide will walk you through the creation of a stretchy, figure-flattering dress using only basic hand-sewing skills and readily available materials. No complex patterns or intimidating techniques are required – this project is perfect for beginners and experienced sewers alike, offering a rewarding experience with minimal fuss. Forget expensive boutiques and frustrating alterations; you'll be surprised at how easily you can design and sew a dress that perfectly fits your body and style.
This project focuses on a streamlined, adaptable design that allows for personal customization. We'll explore a simple rectangle-based construction that utilizes the natural stretch of the fabric to create shape and drape. From choosing the right fabric to mastering a few essential hand-sewing stitches, we'll cover every step of the process, providing clear instructions and helpful tips along the way. Ready to dive in? Let's begin with the step-by-step instructions for your very own DIY stretchy dress.
Preparation and Safety Guidelines
- Chair
- Dress (pattern)
- Fabric
- Thread
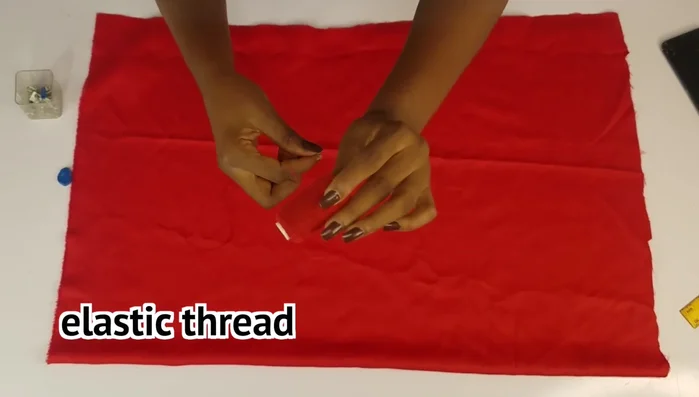
- Elastic Thread
- Ruler
- Scissors
- Chalk
- Bobby pin
- Needle
- Use sharp, appropriately sized needles to avoid pricking yourself. Handle needles with care and never leave them unattended.
- Always test your fabric's stretch and recovery before cutting and sewing to ensure your garment fits correctly and doesn't distort.
- If using pins, be mindful of their placement to avoid accidentally sewing over them and damaging your needle or machine (if applicable).
Step-by-Step Instructions
Prepare Materials
- Fabric, thread, elastic thread, ruler, scissors, chalk, and a chair.

Prepare Materials Cut Fabric Pieces
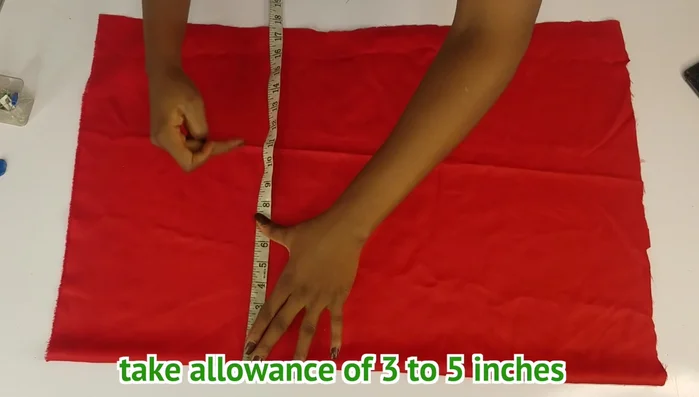
- Take your measurements, add seam allowances, and cut the fabric pieces for the front and back of the dress. (Detailed measurements are given in the video, but vary based on individual body size).
Cut Fabric Pieces Hem Dress Pieces
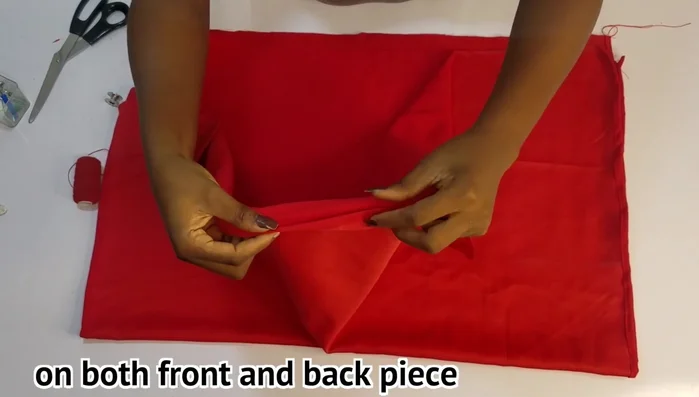
- Hem the top and bottom of the front and back pieces.
Hem Dress Pieces Prepare Elastic Thread
- Wind the elastic thread onto an empty bobby pin for easier hand-sewing.
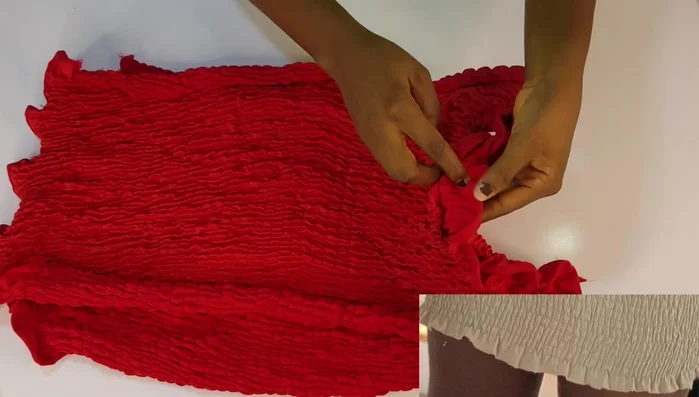
Prepare Elastic Thread Sew Elastic to Dress
- Sew the elastic thread to the front and back pieces, leaving a 1-inch gap at the base and top for stretch.
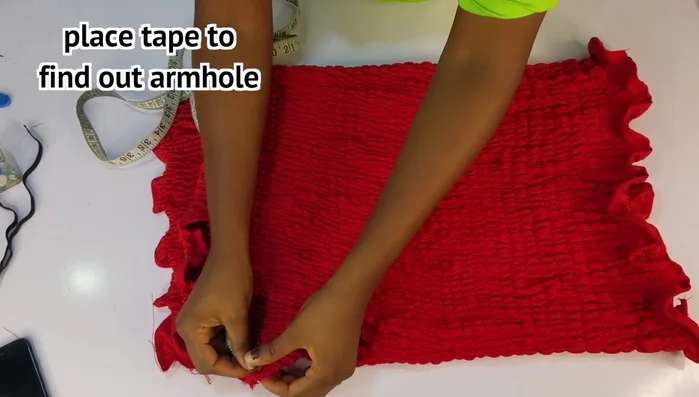
Sew Elastic to Dress Join Front and Back
- Attach the front and back pieces together at the armholes using regular thread, ensuring proper alignment.
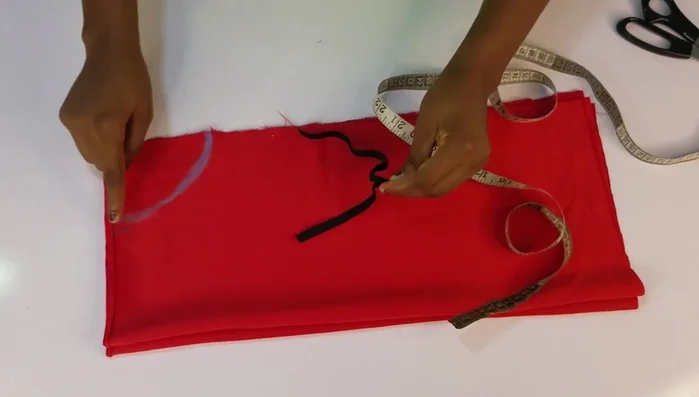
Join Front and Back Cut and Prepare Sleeves
- Measure and cut the fabric for the sleeves (specific measurements are provided in the video).
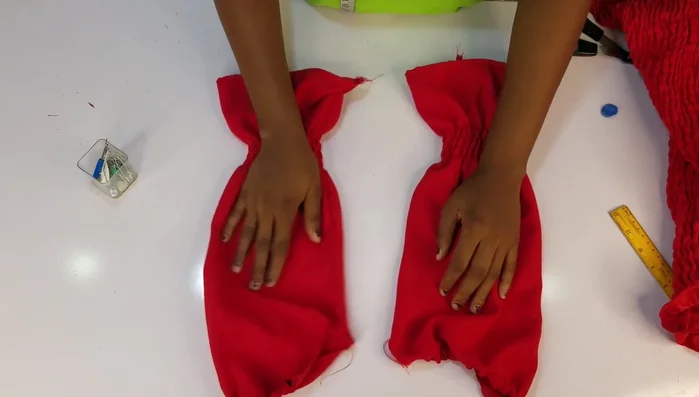
Cut and Prepare Sleeves Sew Elastic to Sleeves
- Add elastic to the top of the sleeves by hand-sewing.
Sew Elastic to Sleeves Attach Sleeves
- Attach the finished sleeves to the dress.
Attach Sleeves

Read more: Raglan Sleeve Sewing Tutorial: A Step-by-Step Guide
Tips
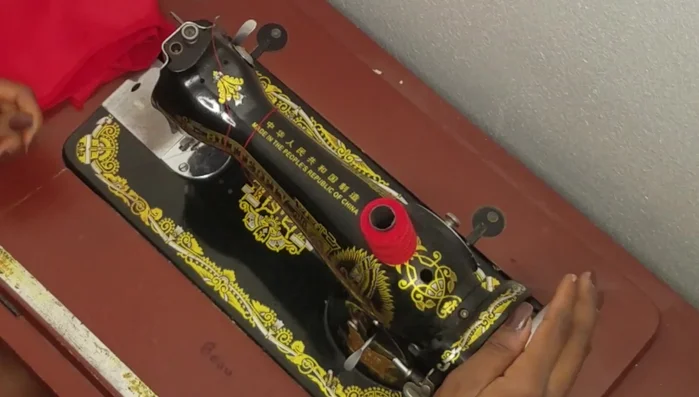
- Be patient, especially when using a manual sewing machine. It takes more time than an industrial machine.
- When hand-sewing the elastic thread, do not stretch the thread while reeling it in.