Get ready to add a touch of Irish charm to your home this St. Patrick's Day with a festive and personalized door banner! Forget expensive store-bought decorations; this year, we're crafting our own using a simple yet effective appliqué technique. Creating a unique door banner is easier than you think, allowing you to express your creativity and showcase your St. Patrick's Day spirit in a truly handmade way. Think vibrant greens, cheerful shamrocks, and maybe even a cheeky leprechaun – the possibilities are endless! This project is perfect for crafters of all skill levels, requiring only basic supplies and a bit of patience.
This DIY St. Patrick's Day door banner project utilizes an easy appliqué method, perfect for adding intricate details without the fuss. We'll guide you through each step, from choosing your fabrics and cutting out your shapes to securely attaching them to your banner base. Ready to transform your entryway into a vibrant celebration of Irish heritage? Let's dive into the step-by-step process and create a stunning door banner you'll be proud to display!
Preparation and Safety Guidelines
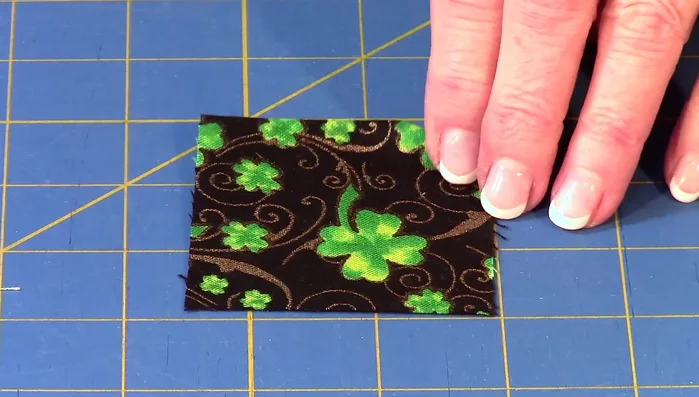
- Fabric (light and dark squares, banner body, backing)
- Heavy iron-on interfacing
- 3/8 inch wide ribbon (9 inches long)
- Two-sided fusible web
- Wooden rod (approx. 27 inches long)
- Scissors
- Rotary cutter (optional)
- Ruler
- Iron
- Damp cloth
- Sewing machine with open-toe presser foot (recommended)
- Pins
- Adult supervision is required, especially when using sharp scissors or hot glue. Keep these tools away from children.
- Always test your fabric glue on a scrap piece of fabric first to ensure it doesn't bleed or damage your chosen materials.
- If using an iron for adhering fabric, ensure the iron's heat setting is appropriate for your fabric type to prevent burning or melting.
Step-by-Step Instructions
Prepare Appliqué Letters
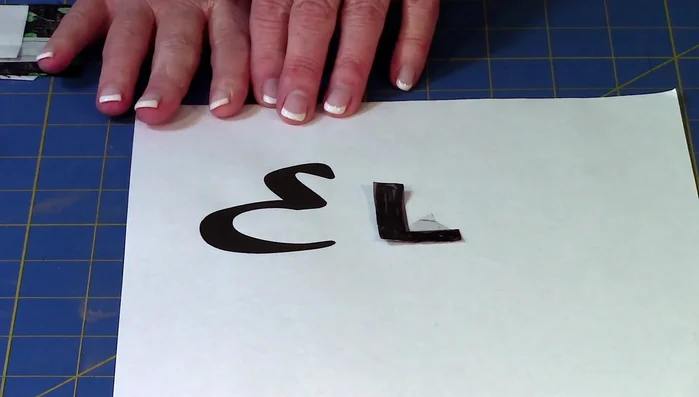
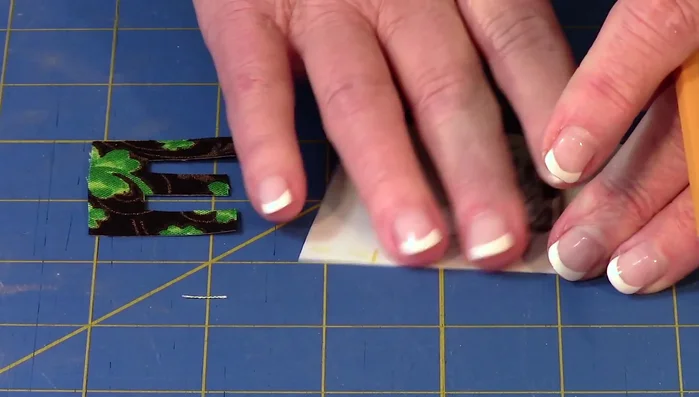
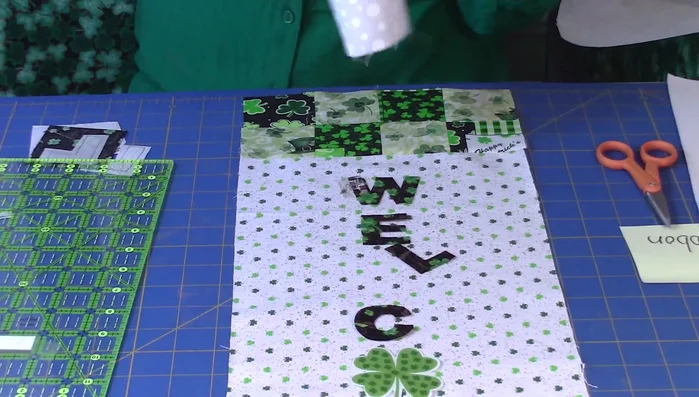
- Enlarge chosen font to maximum size on computer, print, and trace onto fusible web (remember to reverse letters like 'L' if necessary).
- Cut out letter shapes from fusible web, leaving extra web around the edges.
- Remove paper backing from fusible web, place on fabric, and finger press. Cut out fabric letters along drawn lines.

Prepare Appliqué Letters Construct Banner Body
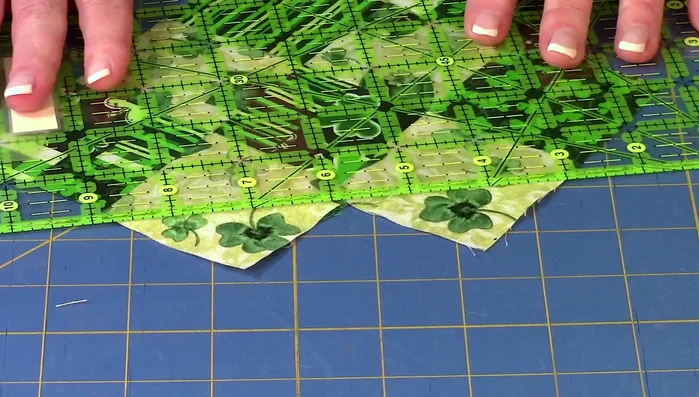
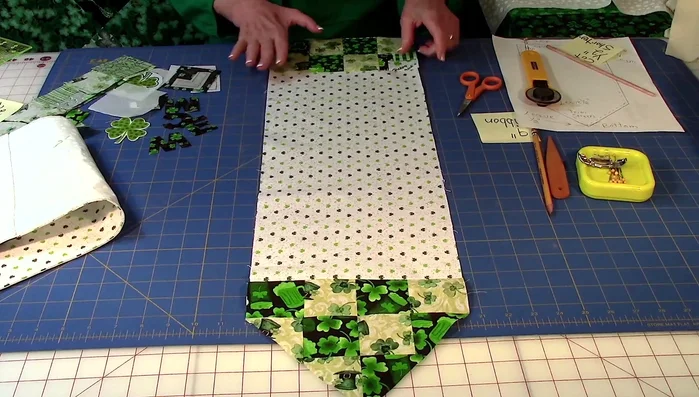
- Sew together light and dark fabric squares in alternating rows, creating two sets of four rows each for the top and bottom of the banner.
- Press seams on the back and then on the front, ensuring seams on each row run in opposite directions.
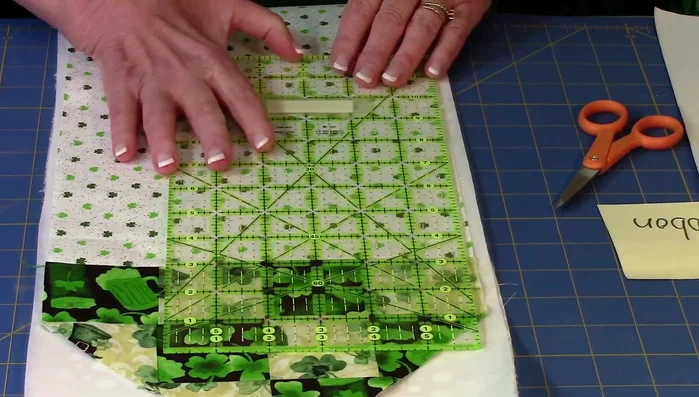
- Attach top and bottom square sections to the banner body using a 1/4 inch seam, pressing each seam towards the square section.
- Use a rotary cutter and ruler to trim the edges of the square sections for a clean finish, ensuring a 1/4 inch seam allowance.
Construct Banner Body Prepare and Attach Backing
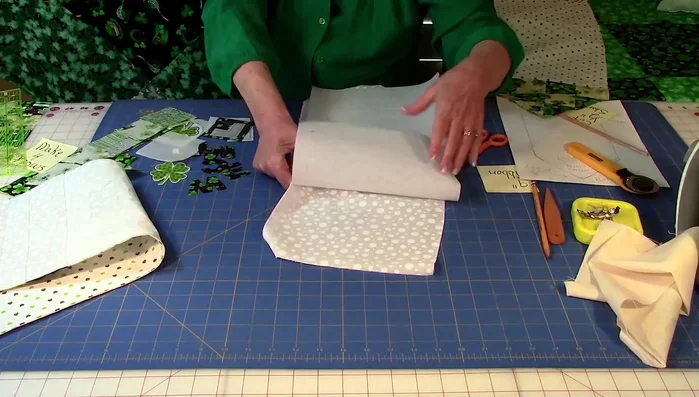
- Place backing fabric on a flat surface, interfacing (shiny/glue side up) on top, then center the banner on the fabrics.
- Trim excess backing fabric and interfacing to match the banner size.
- Use a damp cloth and iron to permanently adhere interfacing to the banner (follow interfacing instructions).
Prepare and Attach Backing Apply and Secure Letters
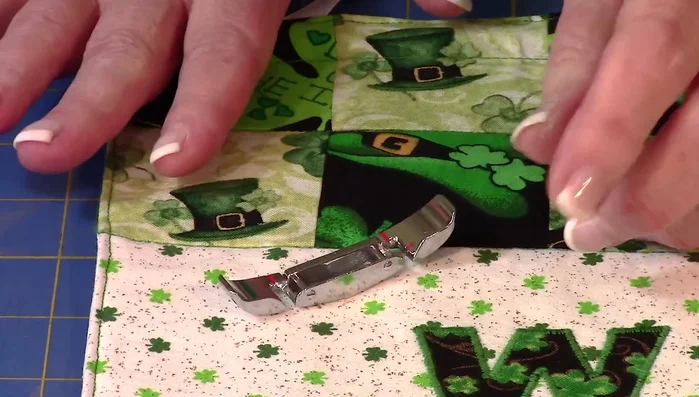
- Position letters onto the banner, ensuring correct spelling and even spacing. Finger press, then permanently fuse with an iron and damp cloth.
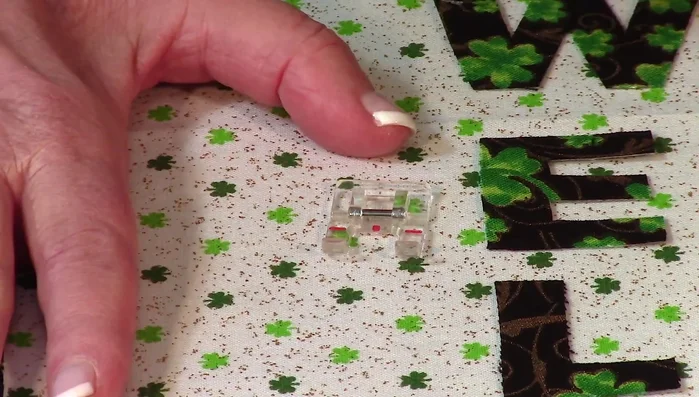
- Using an open-toe presser foot (recommended), stitch around each appliqué letter using a small satin stitch or zigzag stitch.
Apply and Secure Letters Sew Banner Layers
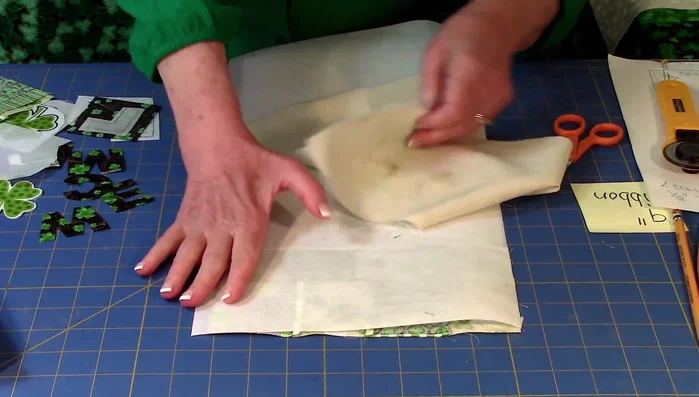
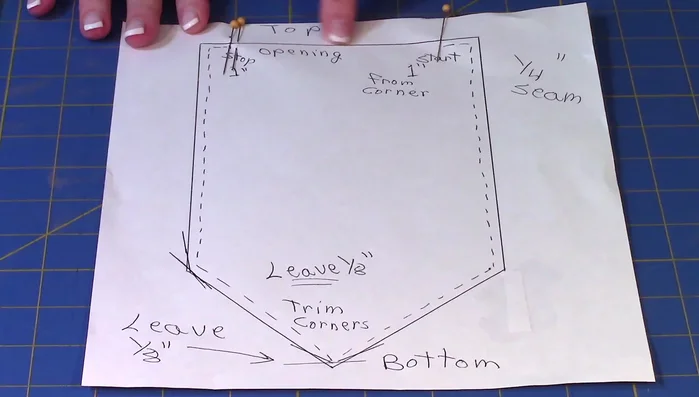
- Pin the front and back layers of the banner together, leaving an opening at the top for turning.
- Stitch the layers together with a 1/4-inch seam, remembering to leave the top opening.
Sew Banner Layers Finish and Hang Banner
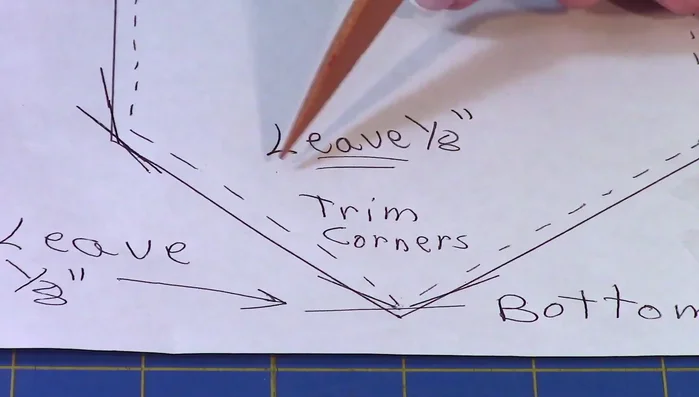
- Trim the corners, leaving an 1/8-inch seam allowance. Turn the banner right side out through the opening.
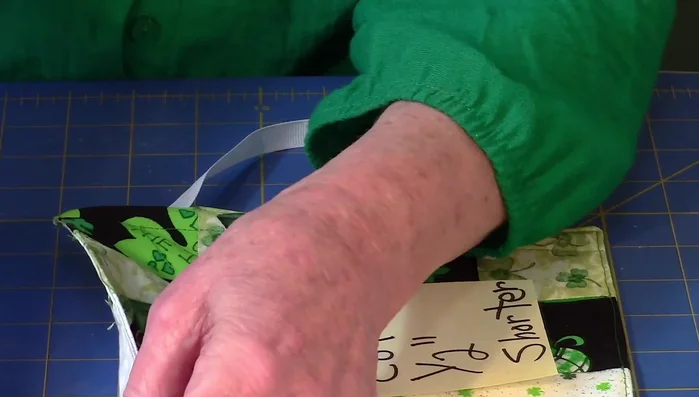
- Insert the wooden dowel into the top opening. Insert ribbon into the top opening at each side.
- Fold and pin the top opening's edges, then stitch close to the edge.
- Use a zipper foot to stitch across the top to secure the rod.
Finish and Hang Banner


Read more: DIY Super Cute Whale Shower Curtain: A Step-by-Step Tutorial
Tips
- Use heavy interfacing for a sturdy banner.
- Reverse letters like 'L' when tracing onto fusible web.
- Press seams in alternating directions for a cleaner look.
- Use an open-toe presser foot for easier appliqué stitching.
- Use smaller stitches for smaller appliqué pieces.