Embrace the magic of winter and craft your own breathtaking Snow Queen costume! This enchanting DIY project allows you to channel your inner Elsa with a unique, handcrafted gown perfect for festive celebrations, theatrical performances, or simply indulging in whimsical winter fun. Forget overpriced store-bought costumes; this guide empowers you to create a stunning, personalized masterpiece, tailored to your exact vision and size. Imagine shimmering fabrics, intricate details, and the satisfaction of bringing your creative vision to life, stitch by stitch.
This whimsical winter sewing project is surprisingly achievable, even for those with limited sewing experience. We’ll guide you through each step, from choosing the perfect fabrics and embellishments to mastering the techniques needed to create a truly regal ensemble. Ready to transform your winter wardrobe and unleash your inner ice queen? Let's dive into the step-by-step process and begin crafting your very own DIY Snow Queen dress!
Preparation and Safety Guidelines
- Sewing machine
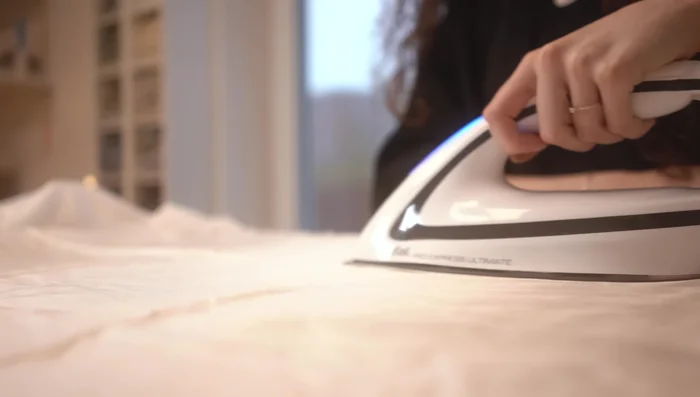
- Iron
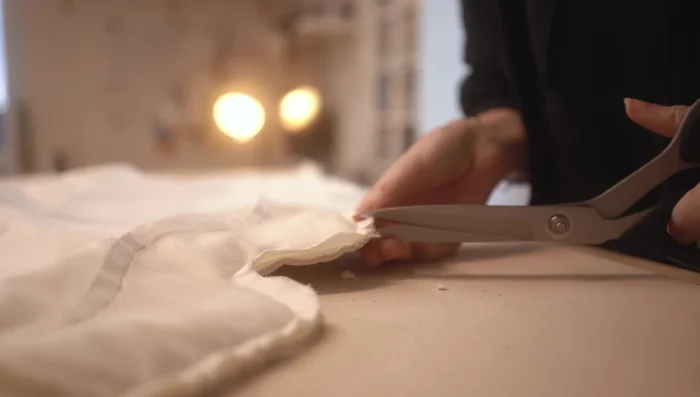
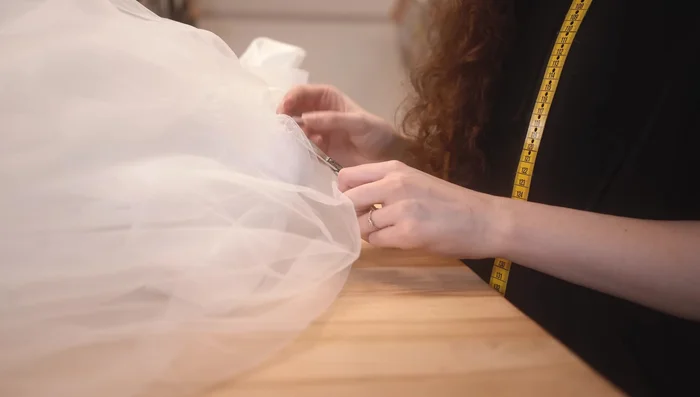
- Scissors
- Pins
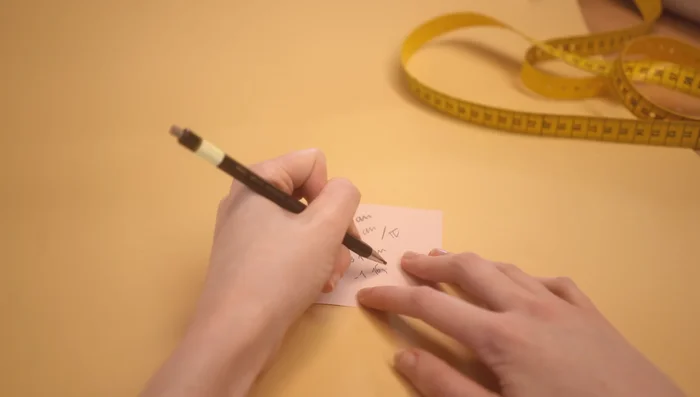
- Measuring tape
- Pattern paper
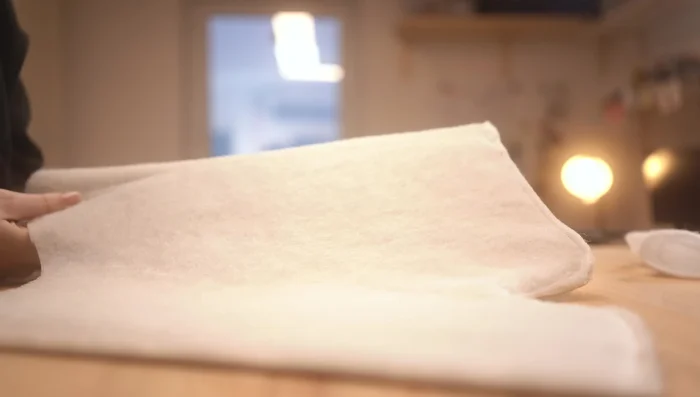
- Fabric (cotton velvet, muslin, lining, interfacing)
- Boning (cable ties)
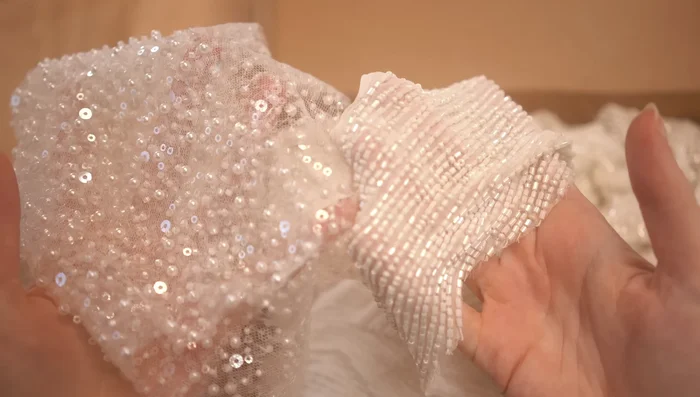
- Beads
- Twill tape
- Always use sharp, well-maintained scissors and needles to prevent accidental injury. Adult supervision is required, especially for younger crafters.
- Be mindful of fabric types and use appropriate needles and thread to avoid breakage or damage. Test your sewing machine settings on a scrap piece of fabric first.
- When working with embellishments like beads or sequins, ensure they are securely attached to prevent choking hazards, particularly if the dress is for a child.
Step-by-Step Instructions
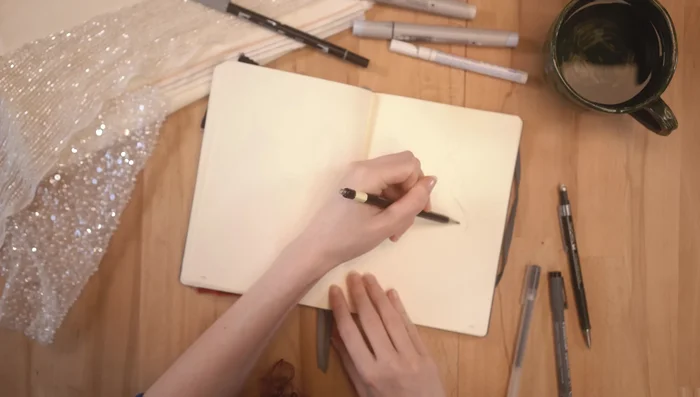
Design & Planning
- Design the dress (short bubble skirt, 18th-century stay-inspired bodice)

Design & Planning Stay Construction: Pattern & Inner Structure
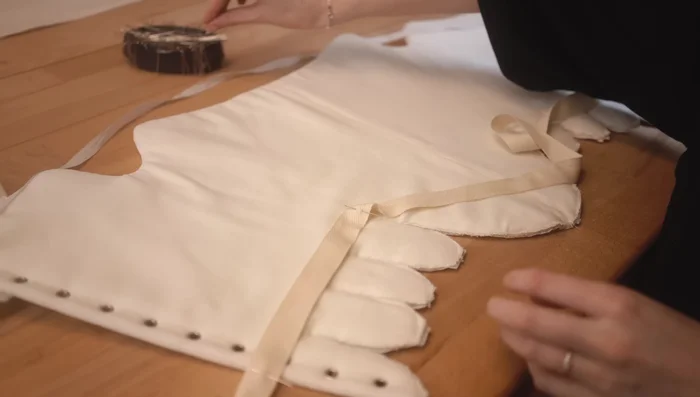
- Create the stay pattern (using existing stays as a base, adjusting armhole and length)
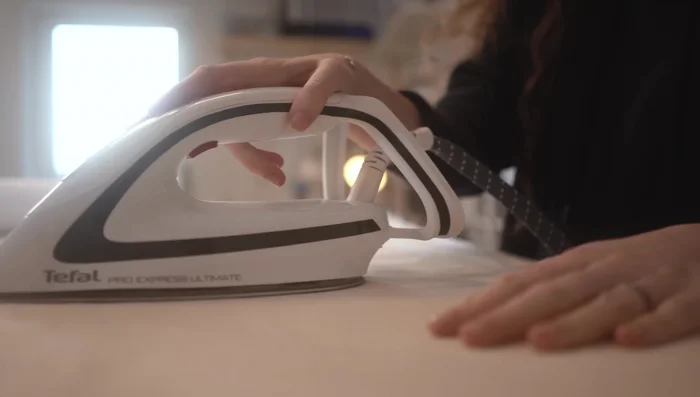
- Construct the stay inner structure (cut muslin, sew boning channels, trim, add seam allowance)
Stay Construction: Pattern & Inner Structure Stay Construction: Outer Layer & Assembly
- Create and attach the velvet outer layer of the stays (trace, cut, sew center front)
- Add padding layer between the stay's inner and outer layers for puffiness
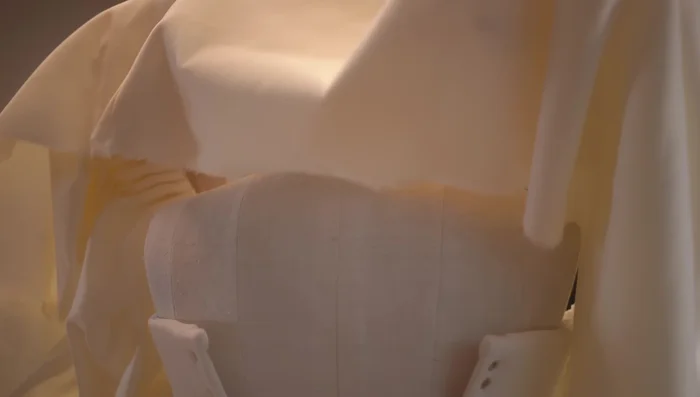
- Assemble the stay layers (attach padding and velvet to the structural layer)
- Create and attach the lining to the stays
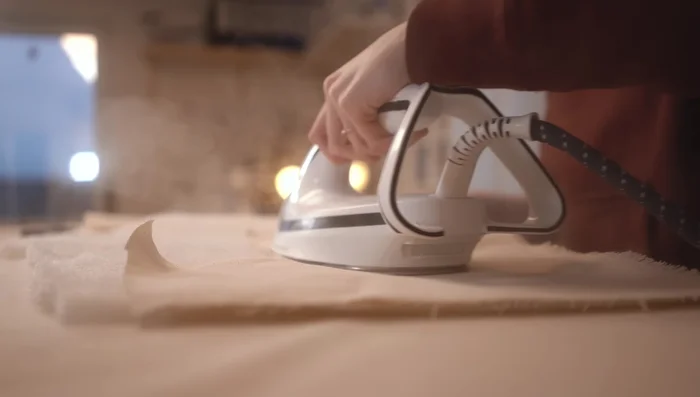
Stay Construction: Outer Layer & Assembly - Turn the stays inside out, clip seams, press, and finish the edges.
- Add eyelets to the stays
Stay Construction: Outer Layer & Assembly Skirt Construction: Preparation
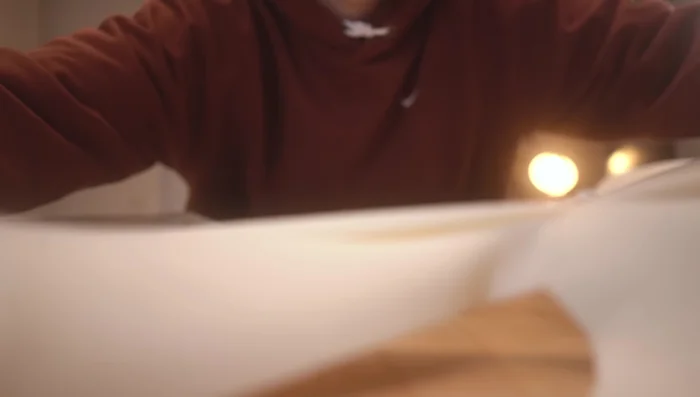
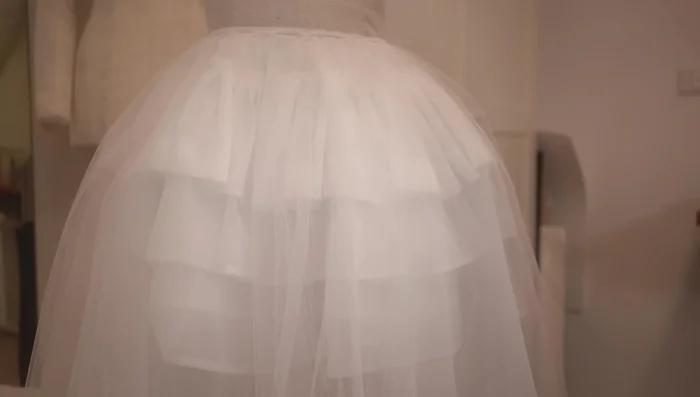
- Prepare the skirt fabric (cut velvet into panels)
- Cut and prepare the lining for the skirt (circle skirt)
Skirt Construction: Preparation Skirt Construction: Pleating & Assembly
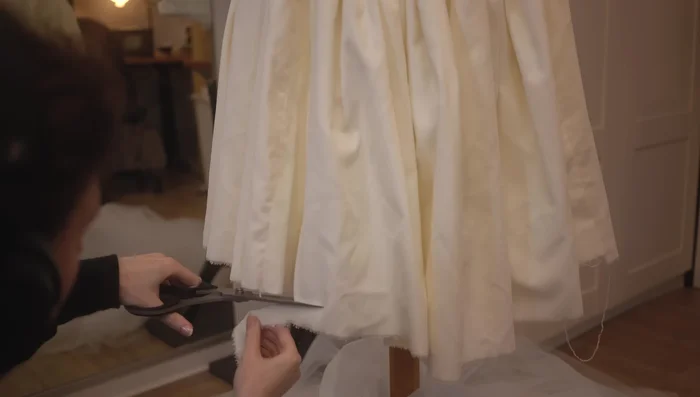
- Pleat the velvet skirt panels (create folds, sew together)
- Attach the pleated velvet skirt to the bodice
- Attach the lining skirt to the velvet skirt, creating irregular pleats at the hem.
- Shorten and attach the petticoat to provide extra support and puffiness.
Skirt Construction: Pleating & Assembly Finishing Touches
- Add beading to the bodice and skirt
Finishing Touches


Read more: Raglan Sleeve Sewing Tutorial: A Step-by-Step Guide
Tips
- Sew boning channels in one direction to minimize bulk.
- Use a slightly smaller boning than the channel to ensure a snug fit.
- Fold the seam allowance inwards when finishing the stays for a smooth look.