Protecting your valuable sewing machine from dust, accidental damage, and the general wear and tear of everyday life is crucial for maintaining its longevity and performance. A custom-made sewing machine cover not only safeguards your investment but also adds a personalized touch to your crafting space. Store-bought covers can be expensive and often lack the specific dimensions or aesthetic you desire. Fortunately, creating a beautiful and functional cover is easier than you might think, requiring minimal sewing skills and readily available materials.
This DIY project empowers you to design a cover perfectly tailored to your sewing machine's size and your personal style, all while saving money. Whether you prefer a simple, practical design or something more elaborate and decorative, we’ll guide you through each step of the process, using clear instructions and helpful visuals. Let's get started with our step-by-step guide to crafting your own unique sewing machine cover!
Preparation and Safety Guidelines
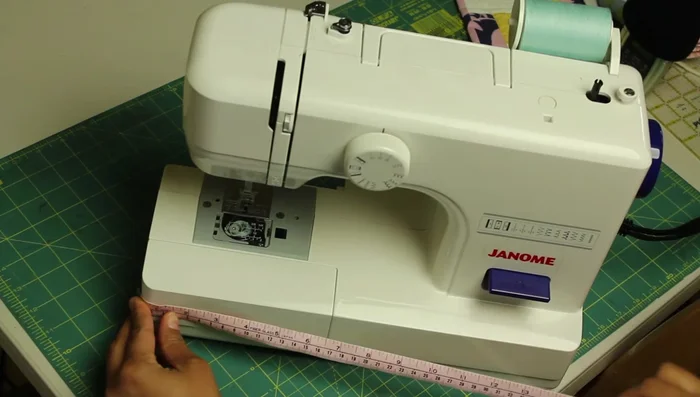
- sewing machine
- fabric
- pelon's fusible fleece
- pins
- measuring tape
- scissors
- iron
- Always unplug your sewing machine before handling it or its cover. Electricity and fabric are a dangerous combination.
- Use fabric that is durable enough to protect your machine from dust and minor impacts. Avoid delicate materials.
- Ensure the cover fits snugly but doesn't restrict ventilation. Overheating can damage your sewing machine.
Step-by-Step Instructions
Measure and Calculate
- length, height, and width. Add 1 inch seam allowance to the length measurement.
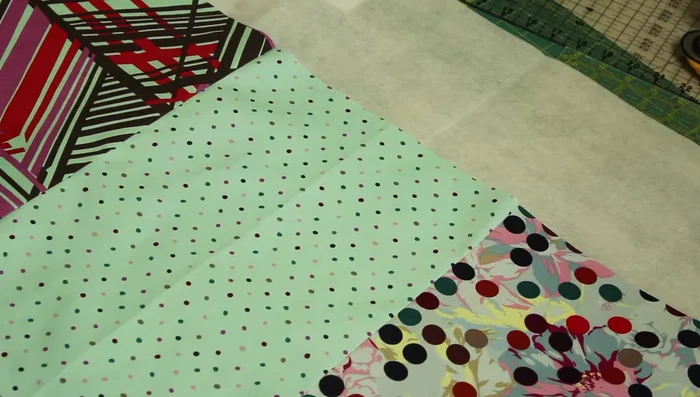
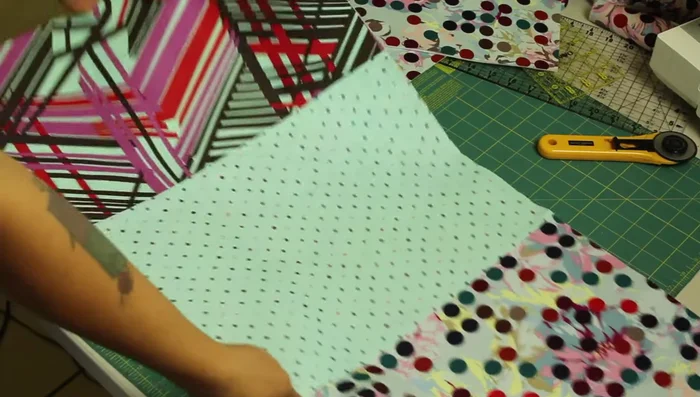
- Use the measurements to determine the size of the main body piece and two side panels. Cut these pieces from your fabric and matching pieces from the fusible fleece.

Measure and Calculate Fuse Fabric and Fleece
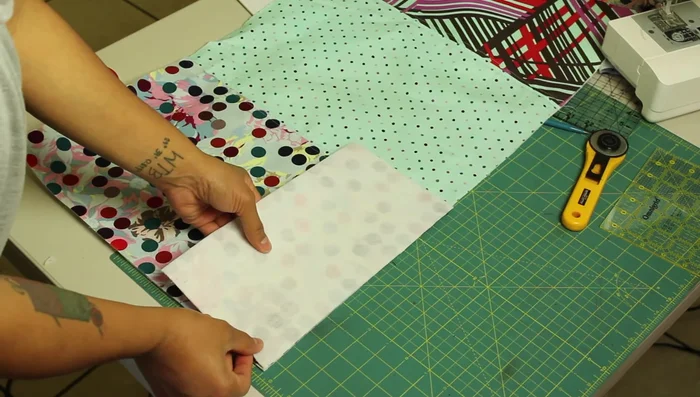
- Place the fusible fleece (adhesive side up), lay the fabric on top, and fuse using an iron. Trim excess fleece.
Fuse Fabric and Fleece Quilt (Optional)
- Quilt the main body piece with decorative stitches.
Quilt (Optional) Attach Side Panels
- Place the long fabric piece vertically. Attach one side panel by aligning the bottom edges, pinning from bottom to top, pivoting at corners, and stitching along three sides. Repeat for the other side panel.
Attach Side Panels Finish Bottom Edge
- Choose a method to finish the bottom edge (bias tape, quilt binding, serging, hem, or zigzag stitch).
Finish Bottom Edge

Read more: DIY Super Cute Whale Shower Curtain: A Step-by-Step Tutorial
Tips
- Always measure up to the next whole number for your fabric pieces to ensure adequate coverage.
- Use pelon's fusible fleece for a quick and easy way to add body to the fabric, eliminating the need for basting.
- When stitching around corners, stop with the needle down, lift the presser foot, pivot, and continue stitching to create clean corners.