Tired of your keys rattling around in your bag, looking dull and unorganized? Spice up your everyday carry with a unique, handmade key fob crafted from scrap fabric! This simple project is perfect for beginners, utilizing readily available materials and requiring minimal sewing skills. It's a fantastic way to repurpose those beloved fabric scraps lingering in your craft box, transforming them into a stylish and functional accessory. Think vibrant patterns, cozy textures, or even a personalized touch with embroidered initials – the possibilities are as limitless as your fabric stash.
Forget expensive, mass-produced keychains; you can create a beautiful and personalized key fob in minutes using this quick and easy tutorial. This step-by-step guide will walk you through the process, from selecting your fabric to creating the final, polished product. Get ready to unleash your creativity and add a touch of handmade charm to your keys!
Preparation and Safety Guidelines
- Scrap fabric (3.5 inches wide x 10 inches long)
- Fusible interfacing (same length as fabric, half the width)
- Metal key fob tab
- Iron
- Scissors
- Pins or clips
- Pliers
- Scrap wadding (optional)
- Always ensure the fabric is securely attached to prevent the key fob from falling apart and losing your keys. Use strong stitching and consider adding extra reinforcement like interfacing.
- Avoid using fabrics that are too bulky or stiff, as this can make it difficult to use your key fob. Opt for thinner, more pliable materials.
- Do not use fabrics that might fray easily or weaken over time, especially if the fob will be exposed to the elements. Choose durable materials for longevity.
Step-by-Step Instructions
Prepare the Fabric
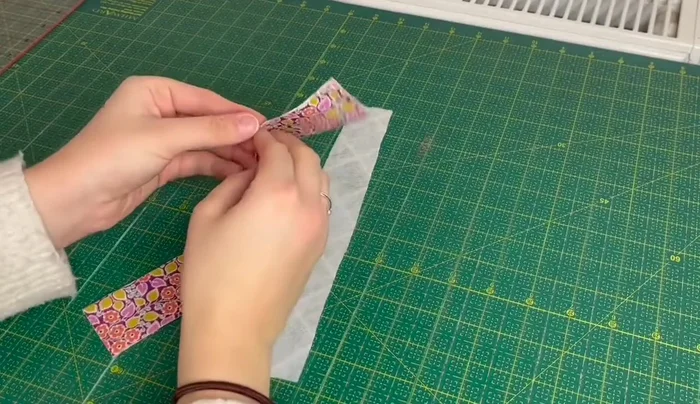
- Fold fabric in half and press to create a crease.
- Apply interfacing to one side of the folded fabric.
- Iron one edge in at just over a quarter of an inch, then iron the other edge in at just over half an inch.
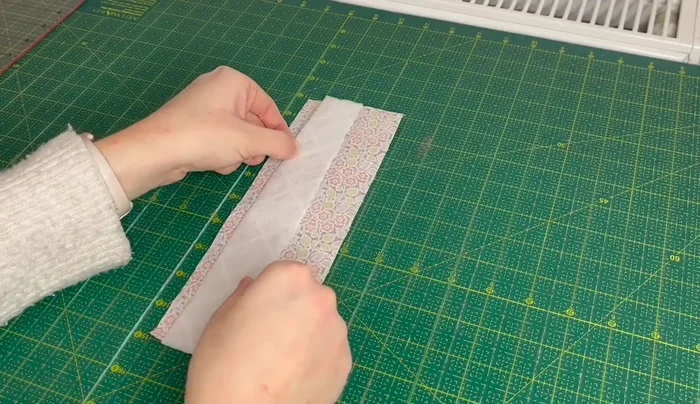
- Fold the fabric in half again, matching the ironed edges, and press.

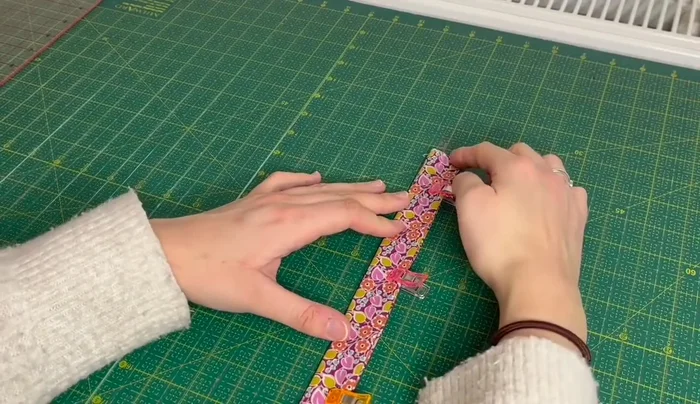
Prepare the Fabric Sew the Fabric
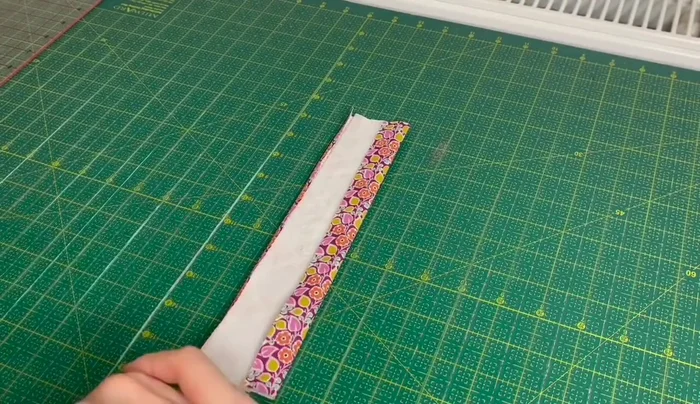
- Sew along the open edge (1/8 inch from the edge) using a 3.5 stitch length.
- Flip the fabric and sew the other edge (1/8 inch from the edge).
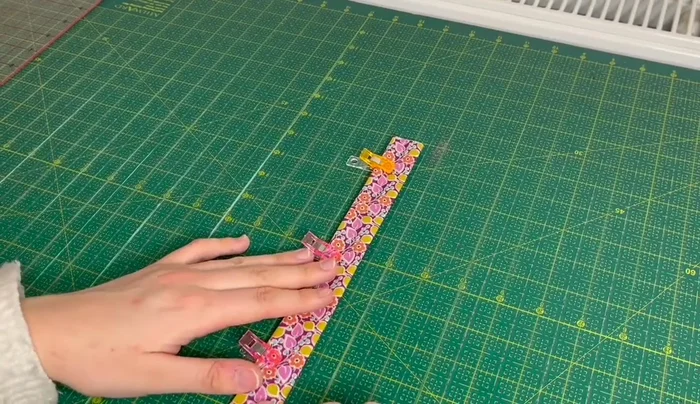
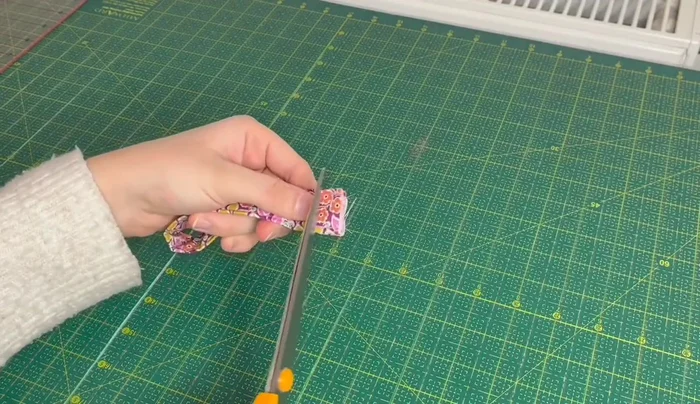
Sew the Fabric Prepare the Tab
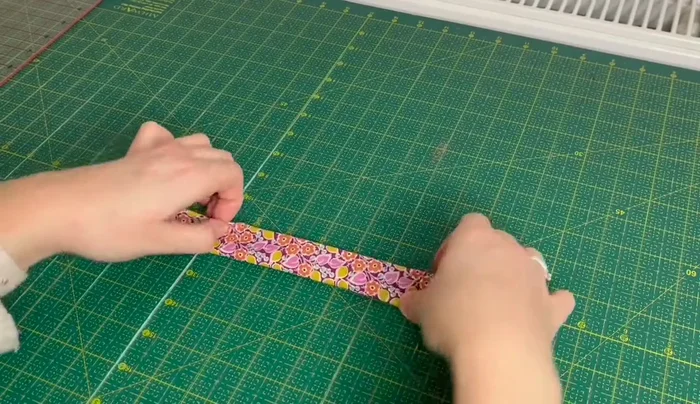
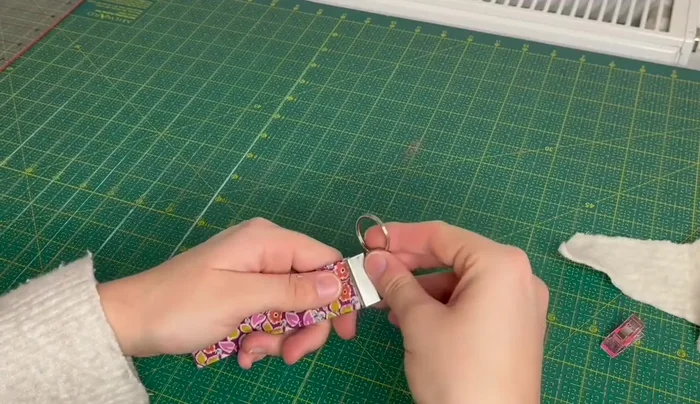
- Cut off a small bit (about 1/4 inch) from the top.
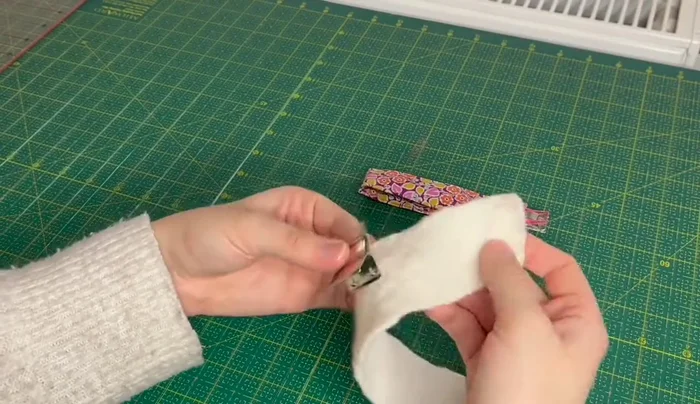
- Partially close the metal key fob tab with pliers.
Prepare the Tab Assemble the Key Fob
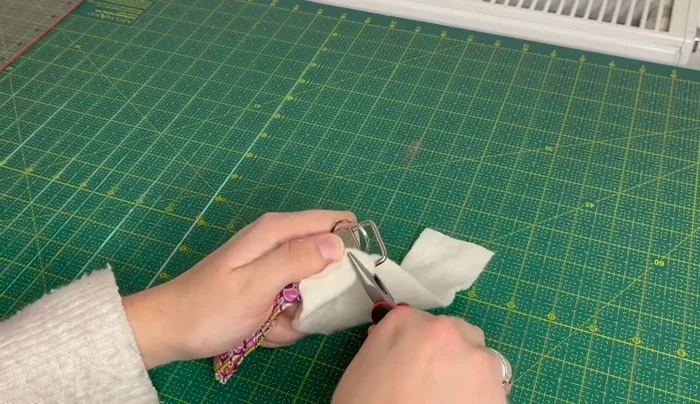
- Insert the fabric into the metal tab.
- Add a piece of wadding (optional) and fully close the tab using pliers.
Assemble the Key Fob
Read more: DIY Super Cute Whale Shower Curtain: A Step-by-Step Tutorial
Tips
- Use pins or clips to hold the fabric together before sewing.
- Adding a decorative stitch down the middle is optional.
- Be careful not to press too hard with the pliers, to avoid damaging the metal tab and fabric.